Removing car panels can seem daunting, but with the right homemade tool, it can be a straightforward process. Whether you’re installing new speakers, fixing a power window, or simply exploring your car’s inner workings, a Homemade Tool For Removing Car Panels can save you both time and money. This guide will explore how to create and effectively use such a tool, empowering you to tackle car maintenance tasks with confidence.
Creating Your Homemade Car Panel Removal Tool
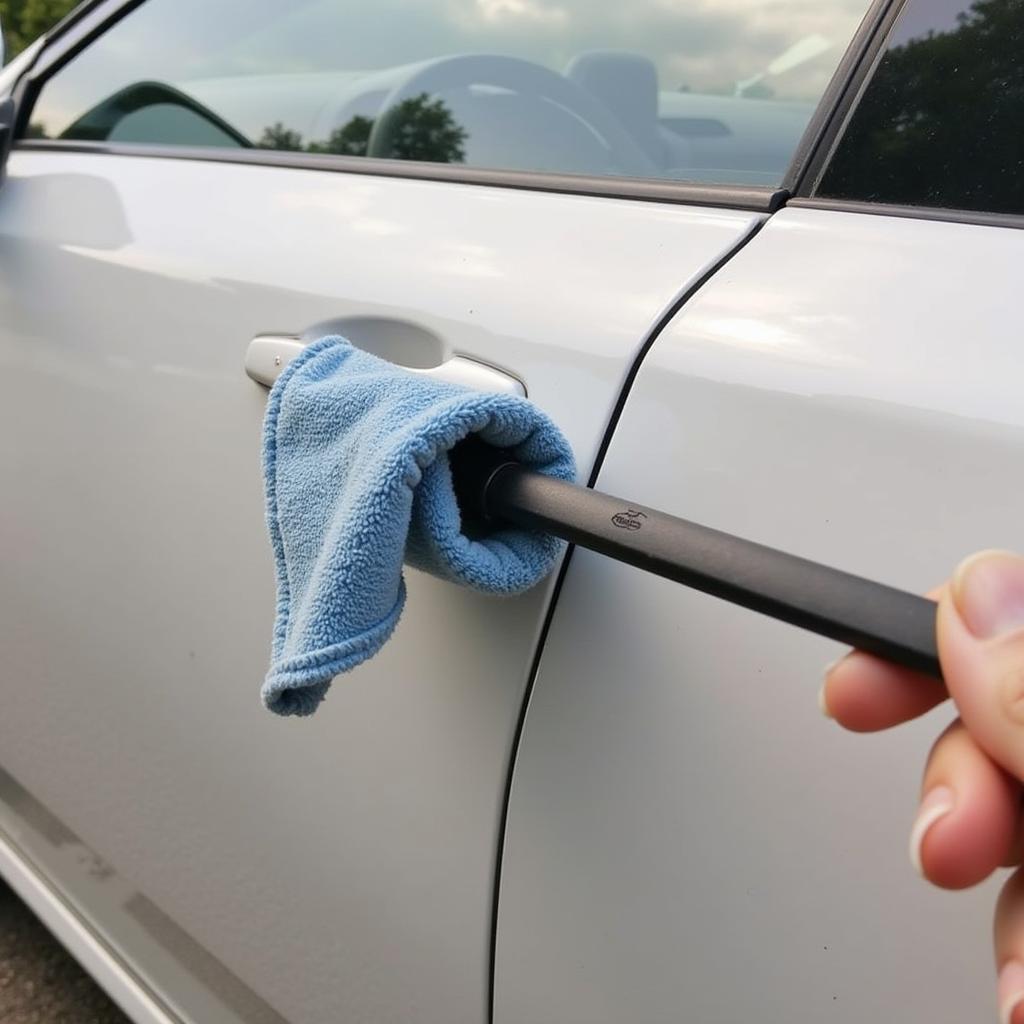
There are several ways to create a homemade tool for removing car panels, all using readily available materials. One popular method involves using a flathead screwdriver and a piece of cloth or thin plastic. Simply wrap the cloth or plastic around the head of the screwdriver to create a padded lever. This prevents the screwdriver from scratching or damaging the car’s delicate plastic panels. Another option is to modify a putty knife by grinding down the corners to a smooth curve, again minimizing the risk of damage. You could also use a plastic wedge, similar to those used for opening paint cans, as a gentle prying tool. Each tool has its advantages, and the best choice depends on the specific panel and your comfort level.
 DIY Car Panel Removal Tool: Screwdriver and Cloth
Why Use a Homemade Tool?
Why bother crafting a homemade tool when specialized tools are readily available? Well, several reasons make a DIY approach appealing. Firstly, it’s cost-effective. Instead of purchasing a dedicated panel removal tool, you can utilize items commonly found around the house. This is particularly helpful for infrequent use. Secondly, a homemade tool can be customized to the specific task. You can adjust the size and shape of your tool to fit the panel’s contours and clips, offering greater control and precision. Finally, using a homemade tool can be a satisfying experience, empowering you to tackle car maintenance independently.
Using Your Homemade Tool Effectively
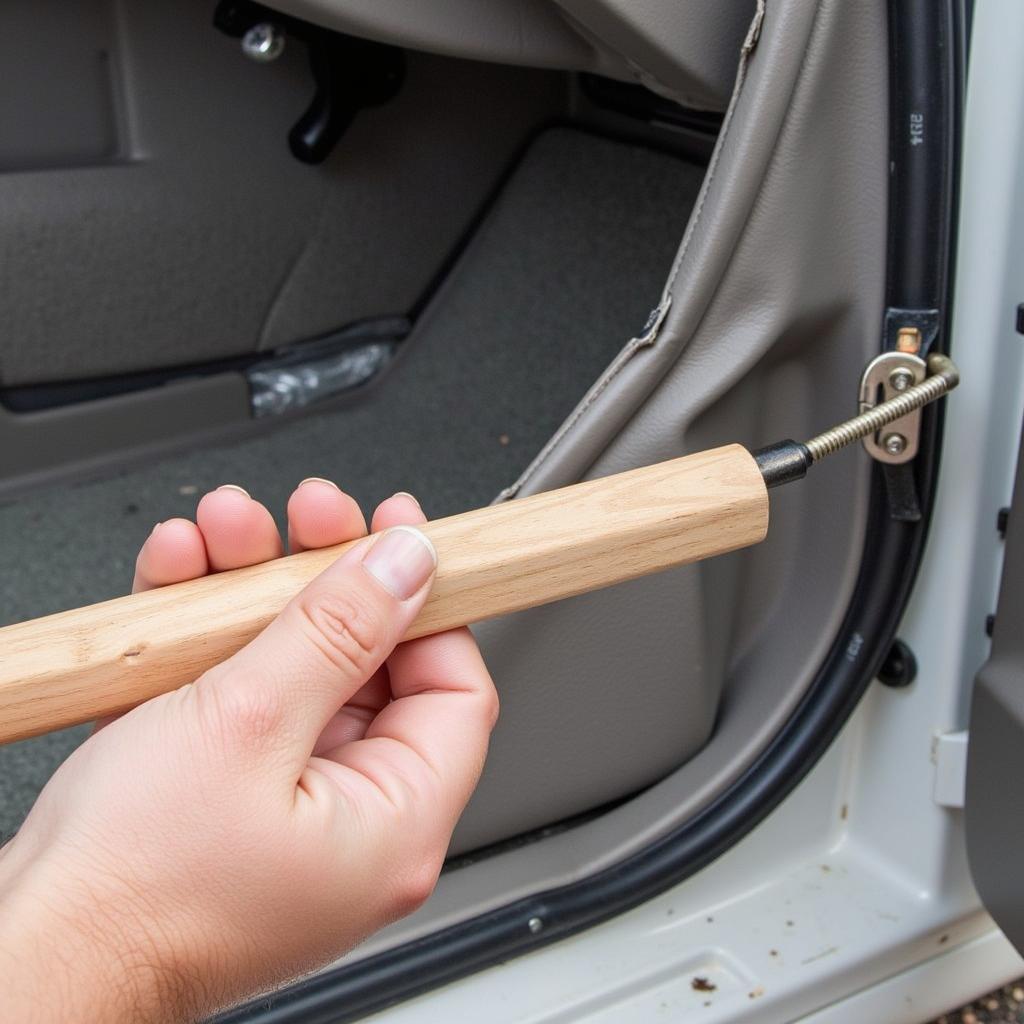
Using your newly created tool requires patience and a delicate touch. First, identify all the clips holding the panel in place. These are usually located along the edges and may be hidden beneath small covers. Insert your homemade tool gently between the panel and the car body, near a clip. Apply slow, even pressure to pry the panel outwards. Avoid using excessive force, as this can break the clips or damage the panel.
 Using Homemade Tool to Remove Car Panel
Common Mistakes to Avoid
While using a homemade tool for removing car panels is relatively simple, there are some common pitfalls to avoid. Using excessive force is a major culprit for broken clips and damaged panels. Impatience can also lead to mistakes. Taking your time to locate all the clips and applying gentle pressure is crucial for a successful removal. Another common error is using the wrong tool for the job. A blunt instrument can mar the panel’s surface, while a sharp tool can cause scratches. Choosing the appropriate homemade tool, as discussed earlier, is essential for preventing damage.
Tips for a Smoother Removal
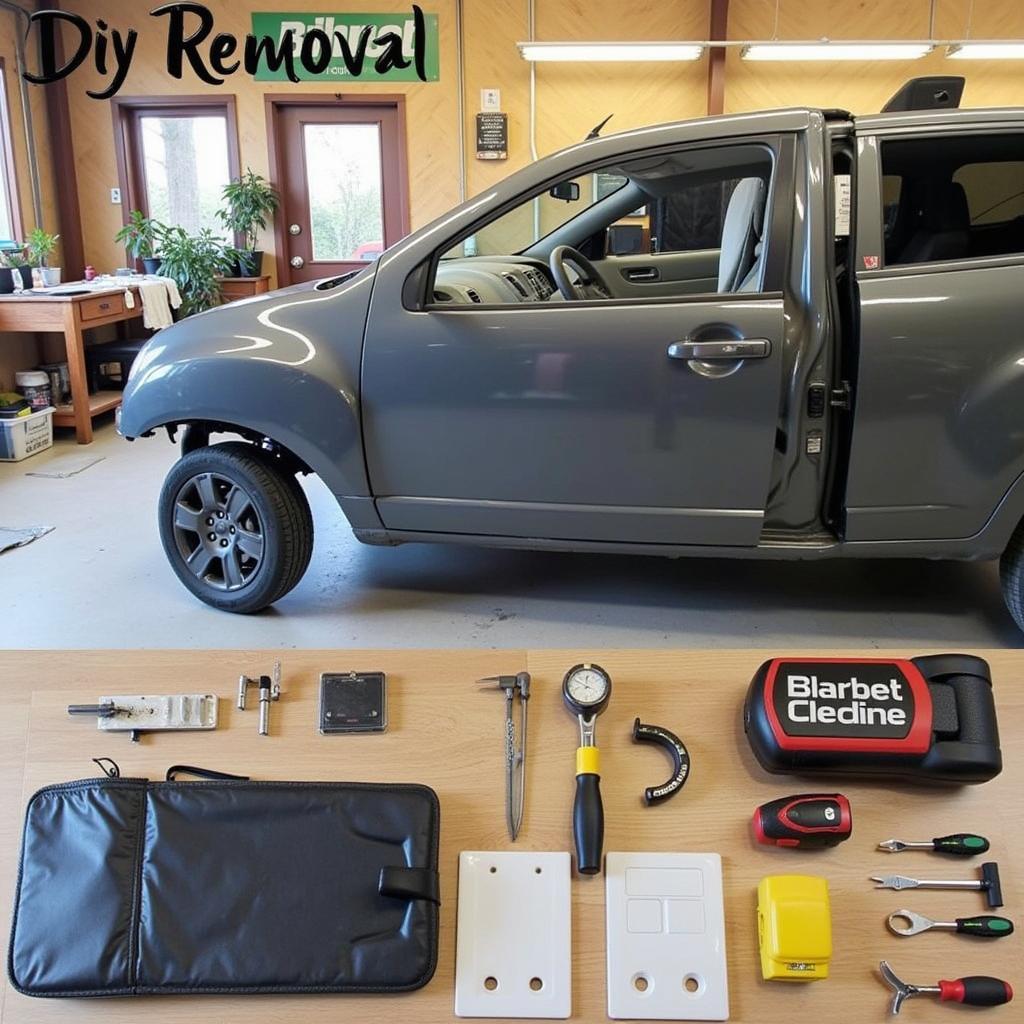
Before you begin, consider these tips for a smoother panel removal process. Start by researching the specific panel you’re removing. Online forums and videos can offer valuable insights into clip locations and removal techniques. Having a spare clip or two on hand is also advisable, as these small plastic pieces can sometimes break during removal. Finally, maintaining a clean and organized workspace can prevent lost clips and make the entire process less frustrating.
 Organized Workspace for Car Panel Removal
What to Do If a Clip Breaks
Even with the best precautions, a clip can sometimes break. Don’t panic! Replacement clips are readily available online or at most auto parts stores. Make sure you purchase the correct type of clip for your car model. Installing the new clip is usually a simple process, often involving just pushing it into place.
Conclusion
Removing car panels with a homemade tool can be a cost-effective and empowering DIY project. By following the tips and techniques outlined in this guide, you can successfully remove panels without causing damage. Remember to exercise patience, use the correct tool for the job, and avoid excessive force. With a little practice, you’ll be removing car panels like a pro, saving yourself money and gaining a deeper understanding of your vehicle. A homemade tool for removing car panels is a valuable addition to any DIY enthusiast’s toolkit.
FAQ
-
What materials can I use to make a homemade car panel removal tool?
- Common household items like flathead screwdrivers wrapped in cloth, modified putty knives, or plastic wedges work well.
-
How can I avoid damaging my car panels during removal?
- Use gentle, even pressure and avoid using excessive force. Locate all the clips before you begin prying.
-
Where can I buy replacement clips if one breaks?
- Most auto parts stores and online retailers carry a wide variety of car panel clips.
-
What should I do if I’m unsure about removing a specific panel?
- Research online forums and videos for specific instructions related to your car model.
-
Are there any specific safety precautions I should take?
- Disconnect the battery if working near electrical components.
Need Further Assistance?
For expert guidance and support on all your car diagnostic needs, contact DiagFixPro via WhatsApp: +1(641)206-8880, Email: [email protected] or visit us at 910 Cedar Lane, Chicago, IL 60605, USA. Our 24/7 customer support team is ready to assist you. We also have other articles on our website that can provide more information on various car maintenance topics.

Leave a Reply