Removing a car radio doesn’t have to be a daunting task reserved for professionals. With the right car radio removal tool and a little know-how, you can tackle this DIY project with confidence. This guide will equip you with the knowledge and steps to successfully remove your car radio, saving you time and money.
Whether you’re upgrading to a new stereo, troubleshooting electrical issues, or simply need access behind the dashboard, understanding the process is crucial. We’ll explore various tools, common removal procedures, and tips to avoid damaging your car’s interior. Let’s get started!
Understanding Car Radio Removal Tools
Before diving into the removal process, it’s essential to familiarize yourself with the necessary car radio removal tools. These tools are specifically designed to release the locking mechanisms holding your radio in place, minimizing the risk of damage.
Using the correct tools is paramount. Improvised tools can scratch your dash, damage the radio, or even cause electrical problems. Invest in a proper set of din car radio removal tool. These are inexpensive and will save you headaches in the long run.
Types of Car Radio Removal Tools
Different car manufacturers use different locking mechanisms, so the required tools may vary. Here are some common types:
- U-Shaped Tools: These are the most common type and are often included with aftermarket radios. They are inserted into slots on the sides of the radio and used to release the spring clips holding it in place.
- DIN Release Keys: Similar to U-shaped tools, these are specifically designed for DIN and double-DIN radios, a standard size used by many car manufacturers.
- Flat Removal Tools: These are helpful for prying off trim pieces without causing damage, providing access to the radio’s mounting screws. A good car interior pry tool is invaluable for this.
Step-by-Step Car Radio Removal Guide
Now that you understand the tools, let’s walk through the general removal process. Remember to consult your car’s owner’s manual for specific instructions.
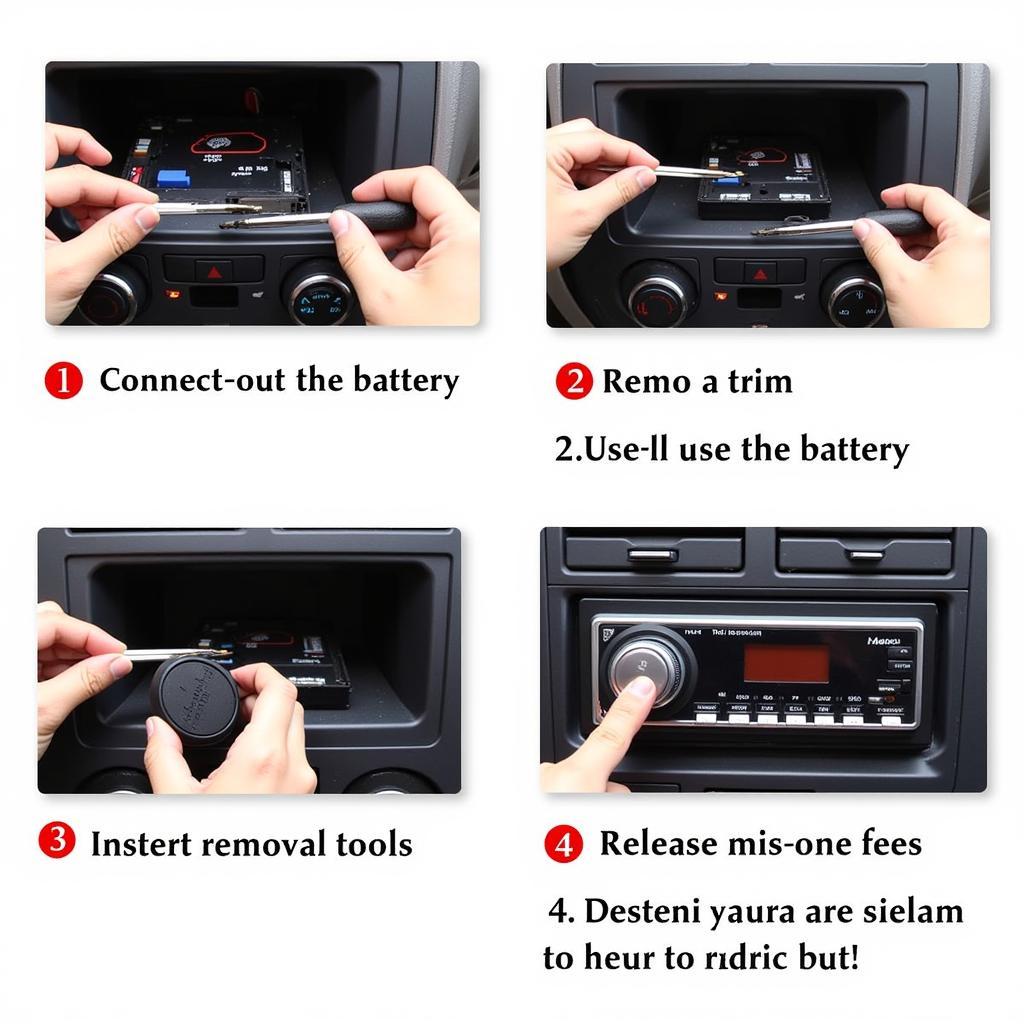
- Disconnect the Battery: This is the most crucial step. Disconnecting the negative terminal prevents accidental shorts and protects your car’s electrical system.
- Remove Trim Pieces: Carefully pry off any trim surrounding the radio using a tool to take off car trim. These may be held in place by clips or screws.
- Insert Removal Tools: Insert the appropriate car radio removal tools into the designated slots on the sides of the radio. You should feel the tools engage with the locking mechanisms.
- Release the Radio: Gently pull the tools outwards while simultaneously pulling on the radio. The radio should slide out of the dashboard.
- Disconnect Wiring: Once the radio is free, disconnect the wiring harnesses at the back. Take note of the wiring configuration for reinstallation.
 Step-by-Step Guide to Removing a Car Radio with Removal Tools
What if My Car Radio Won’t Come Out?
Sometimes, radios can be stubborn. If your radio resists, double-check that the removal tools are fully inserted and engaging the locking mechanisms. Avoid excessive force, which could damage the radio or dashboard. If you’re still stuck, consult a professional.
“Patience is key when removing a car radio,” advises John Smith, Senior Automotive Technician at Smith’s Auto Repair. “Taking your time and using the correct tools will prevent unnecessary damage and ensure a smooth removal process.”
Choosing the Right Car Radio Removal Tool
With various Car Radio Removal Tool Diy options available, selecting the right one can be confusing. Consider the following factors:
- Compatibility: Ensure the tool is compatible with your car’s make and model. Check the product description or consult your owner’s manual.
- Quality: Invest in durable, high-quality tools. Cheaply made tools can break or bend easily, making the job more difficult.
- Kit vs. Individual Tools: Removal tool kits offer a variety of tools for different radio types, providing flexibility for future projects. If you only plan on removing one specific radio, individual tools may suffice.
A car scratch repair tool will be useful if you accidently scratch the dashboard during the process, though using proper tools like a car interior pry tool greatly minimizes this risk.
Conclusion: DIY Car Radio Removal Made Easy
Removing your car radio with car radio removal tool diy can be a straightforward and rewarding DIY project. By following the steps outlined in this guide and using the correct tools, you can save time and money while gaining valuable hands-on experience. Remember, patience and the right tools are key to a successful removal. Now, go ahead and conquer that car radio removal project!
FAQ
-
What is a car radio removal tool?
A tool specifically designed to release the locking mechanisms holding your car radio in place. -
Why should I disconnect the battery before removing the car radio?
To prevent accidental shorts and protect the car’s electrical system. -
What are the different types of car radio removal tools?
Common types include U-shaped tools, DIN release keys, and flat removal tools. -
Where can I find instructions specific to my car model?
Consult your car’s owner’s manual. -
What should I do if my car radio won’t come out?
Double-check that the removal tools are fully inserted and avoid excessive force. If it still resists, consult a professional. -
How do I choose the right car radio removal tool?
Consider compatibility, quality, and whether you need a kit or individual tools. -
Can I use household tools instead of specialized car radio removal tools?
It’s highly discouraged as it can damage the dashboard or radio.
Need Assistance? Contact us via WhatsApp: +1(641)206-8880, Email: [email protected] or visit us at 910 Cedar Lane, Chicago, IL 60605, USA. We have a 24/7 customer support team.
You may also be interested in these related topics: tool to take off car trim, car scratch repair tool, and din car radio removal tool. Check out our other articles for more helpful tips and guides.

Leave a Reply