Car Sanding Tools are essential for achieving a smooth, flawless finish in auto body repair and restoration. Whether you’re a seasoned professional or a weekend warrior tackling a DIY project, understanding the different types of sanding tools, their uses, and proper techniques is crucial. This guide will delve into the world of car sanding tools, providing you with the knowledge and expertise to achieve professional-grade results.
Types of Car Sanding Tools
From powered sanders to hand sanding blocks, a variety of tools are available to meet the demands of different sanding tasks. Choosing the right tool for the job is essential for efficiency and achieving the desired finish.
Power Sanders
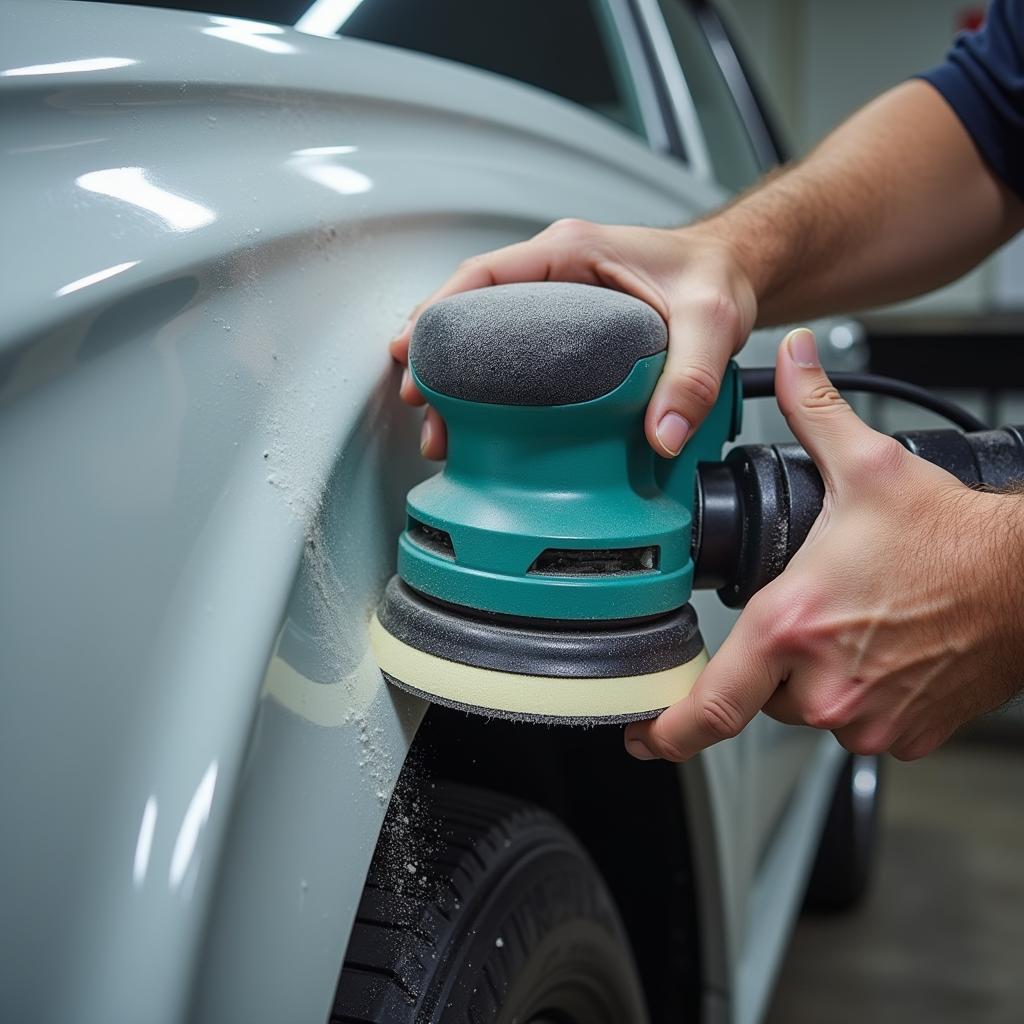
- Dual-Action (DA) Sanders: These versatile sanders are ideal for both removing material and finishing. Their random orbital motion minimizes swirl marks, making them suitable for a wide range of applications.
- Orbital Sanders: These sanders offer aggressive material removal but can leave swirl marks, making them more suited for initial sanding stages.
- Belt Sanders: Powerful tools for rapid material removal, belt sanders are best used on large, flat surfaces and require careful control to prevent gouging.
Hand Sanding Tools
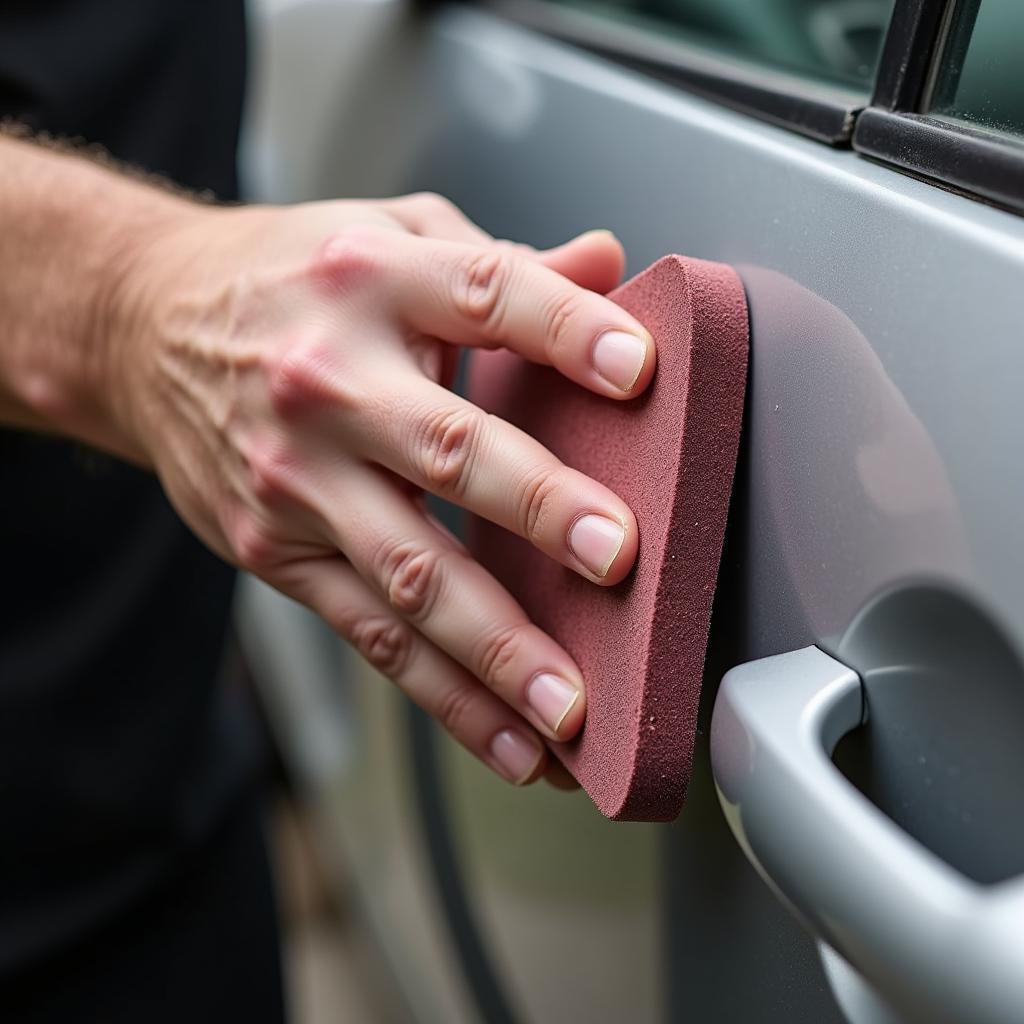
- Sanding Blocks: These blocks provide a flat, even surface for sanding, ensuring consistent pressure and preventing unevenness. They’re available in various shapes and sizes to accommodate different contours.
- Sanding Sponges: Flexible and conforming, sanding sponges are ideal for sanding curved surfaces and intricate details.
- Sandpaper Sheets: Available in various grits, sandpaper sheets can be used with sanding blocks or by hand for detail work.
After the initial bodywork, you might consider adding some modifications to your car. Check out our guide on car modification tools.
 Dual-action sander smoothing car panel
Choosing the Right Grit
Sandpaper grit refers to the size of the abrasive particles. Lower grit numbers indicate coarser sandpaper for rapid material removal, while higher grit numbers signify finer sandpaper for smoothing and polishing.
- 40-80 Grit: Used for aggressive material removal, stripping paint, and shaping body filler.
- 100-180 Grit: Ideal for smoothing rough surfaces and removing imperfections.
- 220-320 Grit: Used for fine sanding and preparing the surface for primer.
- 400-600 Grit: Used for wet sanding primer and preparing for paint.
- 1000+ Grit: Used for polishing and achieving a high-gloss finish.
Techniques for Effective Car Sanding
Proper sanding techniques are essential for achieving a professional-quality finish and preventing damage to the underlying surface.
Preparing the Surface
Clean the surface thoroughly to remove any dirt, grease, or debris that could interfere with the sanding process. Mask off any areas that you don’t want to sand.
Sanding in Stages
Start with a coarser grit sandpaper and gradually move to finer grits. This ensures that you remove imperfections efficiently without creating unnecessary scratches.
Using the Right Pressure
Apply even pressure to the sander or sanding block. Avoid excessive pressure, which can cause gouging or unevenness.
 Hand sanding a car door with a sanding block
You may also need other tools for your car project. Find out what’s necessary with our guide on tools needed for project car.
Wet Sanding
Wet sanding, which involves using water as a lubricant, is commonly used for smoothing primer and achieving a flawless finish before painting.
Common Car Sanding Mistakes to Avoid
- Skipping Grits: This can result in scratches that are difficult to remove later.
- Using Excessive Pressure: Can lead to uneven surfaces and damage the underlying material.
- Sanding in Only One Direction: Creates noticeable scratches and an uneven finish.
- Using the Wrong Type of Sander: Can be inefficient and may damage the surface.
Need a complete list of tools for sanding your car? Check out our article on what tools needed for sanding a car.
“Using the correct car sanding tools and techniques is essential for a professional finish,” says automotive expert, John Miller, Certified Collision Repair Technician. “Taking the time to understand the nuances of each tool and grit will greatly improve the quality of your work.”
Conclusion
Mastering car sanding tools and techniques is crucial for achieving a flawless finish in any auto body project. By understanding the different types of sanders, grits, and techniques, you can achieve professional-grade results. Invest in quality car body tools and take the time to practice proper techniques to transform your projects from amateur to expert level.
FAQ
- What is the best type of sander for removing paint? An orbital sander is best for quick paint removal, followed by a DA sander for smoothing.
- What grit sandpaper should I use for wet sanding primer? Start with 400-grit and progress to 600-grit for a smooth finish.
- How do I prevent swirl marks when sanding? Use a dual-action (DA) sander and overlap your passes.
- Can I use a belt sander on curved surfaces? Belt sanders are not recommended for curved surfaces due to the risk of gouging.
- How often should I replace my sandpaper? Replace sandpaper when it becomes dull or clogged.
- What’s the difference between dry and wet sanding? Wet sanding uses water as a lubricant, creating a finer finish.
- Do I need to wear a mask when sanding? Yes, always wear a dust mask to protect your lungs.
You can also find a comprehensive selection of professional car body tools at professioal car body tools.
“Patience and attention to detail are key when it comes to car sanding,” adds Maria Sanchez, Lead Auto Body Technician at Prestige Auto Restoration. “Don’t rush the process, and always double-check your work before moving to the next stage.”
Need help with car diagnostics or repairs? Contact us via WhatsApp: +1(641)206-8880, Email: [email protected] or visit our workshop at 910 Cedar Lane, Chicago, IL 60605, USA. We offer 24/7 customer support.

Leave a Reply