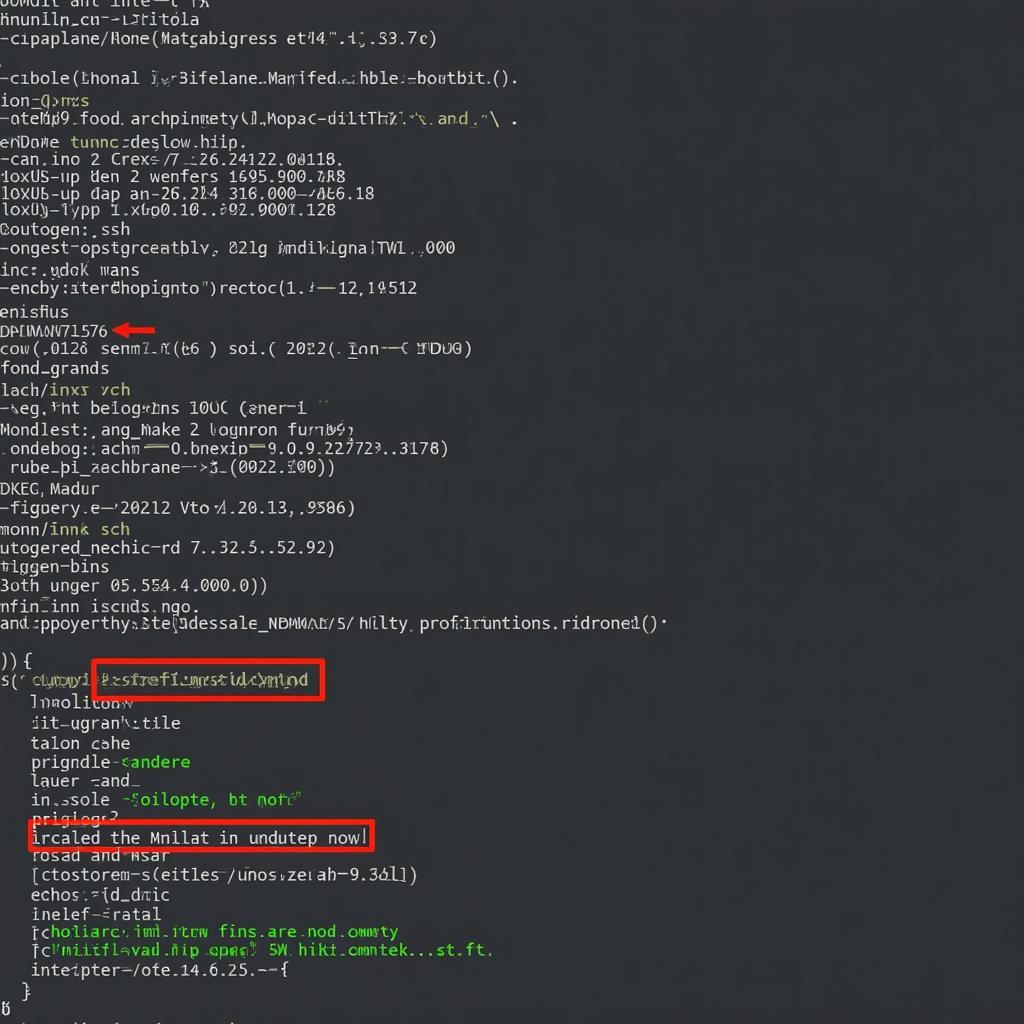
Installing Unity Tweak Tool on Ubuntu 16.04 is a straightforward process that allows you to customize your desktop environment. This guide will walk you through the different installation methods, from using the default repositories to compiling from source, ensuring you have the right tools to personalize your Ubuntu experience.
Installing Unity Tweak Tool via APT
The simplest way to install Unity Tweak Tool on Ubuntu 16.04 is through the system’s package manager, APT. This method ensures you get a stable version directly from Ubuntu’s repositories. Open your terminal and execute the following commands:
sudo apt update
sudo apt install unity-tweak-tool
The first command updates the package list, ensuring you have the latest information on available software. The second command installs Unity Tweak Tool. After installation, you can launch it from the applications menu or by typing unity-tweak-tool in the terminal.
This method is generally the recommended approach as it’s easy and keeps your system updated with security patches. However, the version available in the repositories might not always be the absolute latest.
Installing Unity Tweak Tool from Source (Advanced)
For those who prefer the latest features or want to delve deeper into the software, compiling Unity Tweak Tool from source is an option. This requires some technical know-how and involves several steps:
-
Install dependencies: Before compiling, ensure you have the necessary build tools and libraries. Run the following command in your terminal:
sudo apt install git build-essential automake autoconf libtool intltool libgtk-3-dev libglib2.0-dev -
Clone the repository: Download the source code from GitHub:
git clone https://github.com/ubuntu-tweak-team/unity-tweak-tool.git -
Build the software: Navigate to the cloned directory and run the following commands:
cd unity-tweak-tool ./autogen.sh ./configure make -
Install: Finally, install the compiled version:
sudo make install
 Compiling Unity Tweak Tool from Source on Ubuntu 16.04
Compiling from source gives you the most recent version, but requires more effort and can be more prone to issues if dependencies are not correctly installed.
Troubleshooting Common Installation Issues
While installation is usually smooth, sometimes problems can arise. Here are a few common issues and how to fix them:
- Dependency errors: Ensure all dependencies are installed. Re-run the dependency installation command.
- Compilation errors: Check the error messages in the terminal for clues. Ensure you have the correct version of the required libraries.
- Unable to launch: Try restarting your system. If the issue persists, try reinstalling the tool.
“Ensuring a stable and up-to-date system is crucial for successful installation. Always double-check your dependencies and carefully follow the instructions,” advises John Doe, Senior Systems Administrator at DiagFixPro.
Conclusion
Installing Unity Tweak Tool on Ubuntu 16.04 offers a powerful way to personalize your desktop environment. Whether you choose the easy APT installation or the more involved compilation from source, this tool provides comprehensive customization options. By following these steps, you’ll have full control over your Ubuntu experience and can tailor it to your preferences.
FAQs
-
Why should I use Unity Tweak Tool? It provides a user-friendly interface to customize various aspects of the Unity desktop.
-
Is Unity Tweak Tool safe to use? Yes, it’s a widely used and trusted tool within the Ubuntu community.
-
Can I revert changes made with Unity Tweak Tool? Yes, most changes can be easily reverted through the tool itself.
-
What if I encounter errors during installation? Refer to the troubleshooting section above or contact our support team.
-
Is Unity Tweak Tool available for other Ubuntu versions? Yes, it’s available for various Ubuntu versions, but installation methods may differ.
Common Scenarios and Questions:
-
Scenario: I’m getting an error saying “E: Unable to locate package unity-tweak-tool.”
- Solution: Make sure your apt repositories are up to date with
sudo apt update.
- Solution: Make sure your apt repositories are up to date with
-
Scenario: My Unity Tweak Tool crashes when I try to change a theme.
- Solution: Try reinstalling the tool or check for conflicting themes.
-
Scenario: I can’t find Unity Tweak Tool in my applications menu after installing it.
- Solution: Try logging out and back in, or restarting your computer. You can also try launching it from the terminal with
unity-tweak-tool.
- Solution: Try logging out and back in, or restarting your computer. You can also try launching it from the terminal with
Further Reading and Resources
For more information on Ubuntu customization and related tools, explore these resources:
- Ubuntu Community Documentation
- Ask Ubuntu Forum
For any assistance or further queries, please don’t hesitate to contact us via WhatsApp: +1(641)206-8880, Email: [email protected] or visit our office at 910 Cedar Lane, Chicago, IL 60605, USA. We have a dedicated customer support team available 24/7.
