Removing a Pioneer car stereo doesn’t have to be a frustrating experience. Knowing which Tool For Removing Pioneer Car Stereo is best suited for your model can save you time, prevent damage, and ensure a smooth removal process. This comprehensive guide will explore the various tools and techniques you can use to safely and effectively remove your Pioneer car stereo.
Understanding Your Pioneer Car Stereo Removal Needs
Before diving into the specific tools, it’s essential to understand the different types of Pioneer car stereo removal mechanisms. Older models often used screws or bolts, requiring basic tools like screwdrivers. However, most modern Pioneer stereos utilize specialized release keys or tools designed for a cleaner, more streamlined removal. Knowing your stereo model will help you choose the correct tool for removing pioneer car stereo.
Identifying Your Pioneer Stereo Model
The model number is usually located on a sticker on the front of the unit, sometimes hidden behind a removable panel or on the top or sides of the stereo. Once you have the model number, consult your owner’s manual or the Pioneer website for specific removal instructions. This is crucial for identifying the appropriate tool for removing pioneer car stereo.
Why Use the Correct Removal Tool?
Using the correct tool for removing pioneer car stereo is vital for several reasons. Improper tools can damage the stereo, the dashboard, or even cause injury. The right tools ensure a snug fit, allowing you to safely release the locking mechanisms without excessive force.
Types of Tools for Removing a Pioneer Car Stereo
Several tools can be used to remove a Pioneer car stereo, each designed for different models and installation types.
Pioneer Release Keys
These U-shaped metal tools are designed specifically for Pioneer car stereos. They are inserted into slots on either side of the stereo and engage with the release mechanism. Pioneer release keys are usually the easiest and safest way to remove a Pioneer head unit.
DIN Tools
DIN tools are generic removal tools that work with a wide range of car stereo brands, including some Pioneer models. They function similarly to release keys, but their universal design might not be as precise as model-specific keys.
Trim Removal Tools
These plastic tools are designed to pry open dashboard panels without scratching or damaging the surrounding trim. They are often needed to access screws or release mechanisms hidden behind the dashboard fascia.
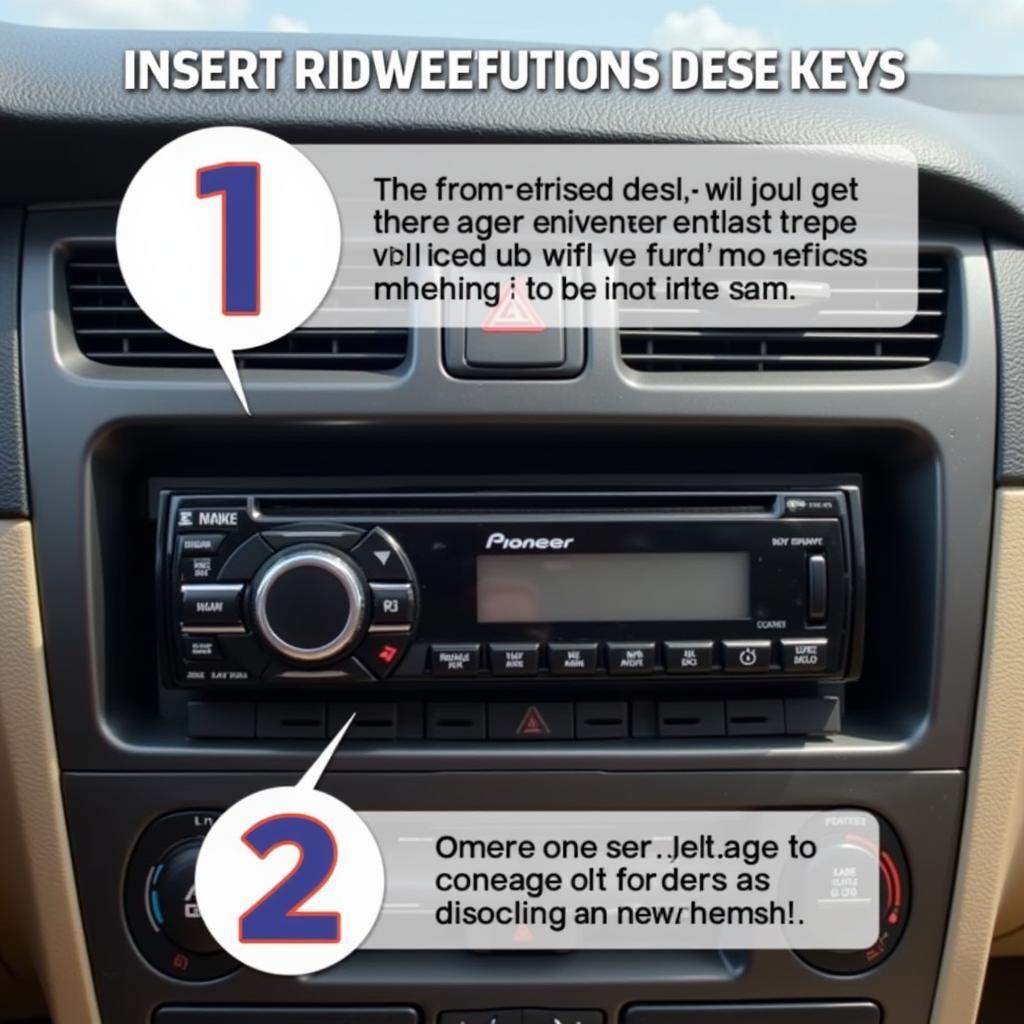
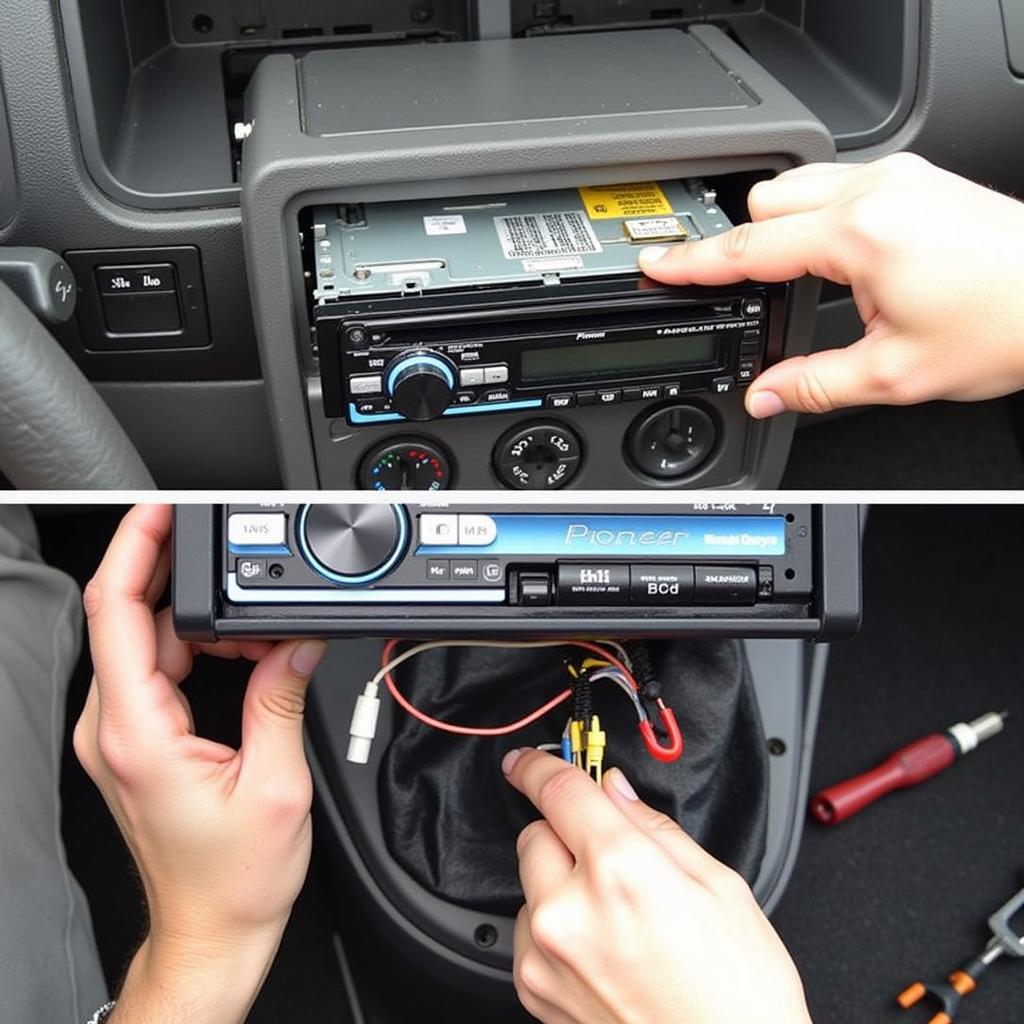
 Using Pioneer release keys to remove a car stereo
Step-by-Step Guide to Removing Your Pioneer Car Stereo
- Gather your tools: Identify the correct tool for removing pioneer car stereo based on your model. Have trim removal tools and a screwdriver handy if needed.
- Disconnect the battery: This crucial step prevents electrical shorts and potential damage to your car’s electrical system.
- Remove any trim panels: Use trim removal tools to carefully pry open any panels covering the stereo.
- Insert the release keys/DIN tools: Gently insert the tools into the designated slots until you hear a click.
- Pull the stereo out: Once the keys are engaged, pull the stereo towards you.
- Disconnect the wiring harness: Carefully disconnect the wiring harness and antenna cable from the back of the stereo.
Troubleshooting Common Pioneer Car Stereo Removal Problems
Sometimes, removing a Pioneer car stereo can be tricky. If you’re having trouble, here are some common issues and solutions:
- Keys won’t go in: Make sure you’re using the correct keys for your model. Check if there’s any debris obstructing the slots.
- Stereo won’t release: Try applying slightly more pressure to the keys. Ensure they’re fully inserted and engaged with the release mechanism.
- Trim panel is stuck: Use a different trim removal tool or try a different angle. Be careful not to apply too much force.
 Troubleshooting common issues when removing a Pioneer car stereo
Conclusion
Removing a Pioneer car stereo can be a straightforward process with the right tools and knowledge. By understanding your stereo model and using the correct tool for removing pioneer car stereo, you can avoid potential damage and ensure a smooth removal. Remember to always disconnect the battery before starting the removal process.
FAQ
- What are the most common tools for removing a Pioneer car stereo? Pioneer release keys, DIN tools, and trim removal tools are the most commonly used.
- Where can I find the model number of my Pioneer stereo? The model number is usually located on a sticker on the front of the unit, often hidden behind a removable panel.
- What should I do if I can’t remove the stereo with the release keys? Double-check that you are using the correct keys, and ensure they are fully inserted. If it still won’t release, consult a professional.
- Why is it important to disconnect the battery before removing the stereo? Disconnecting the battery prevents potential electrical shorts and damage to your car’s electrical system.
- Where can I buy Pioneer release keys? Pioneer release keys can be purchased online, at car audio stores, or sometimes even at general electronics retailers.
- Can I use any type of trim removal tool? While many trim removal tools will work, using a set designed for automotive interiors is recommended to minimize the risk of damage.
- What if I break a release key inside the stereo? If you break a key inside the stereo, it’s best to consult a professional for removal.
Need further assistance? Reach out to our 24/7 customer support team via WhatsApp: +1(641)206-8880, Email: [email protected] or visit us at 910 Cedar Lane, Chicago, IL 60605, USA. We are here to help!

Leave a Reply