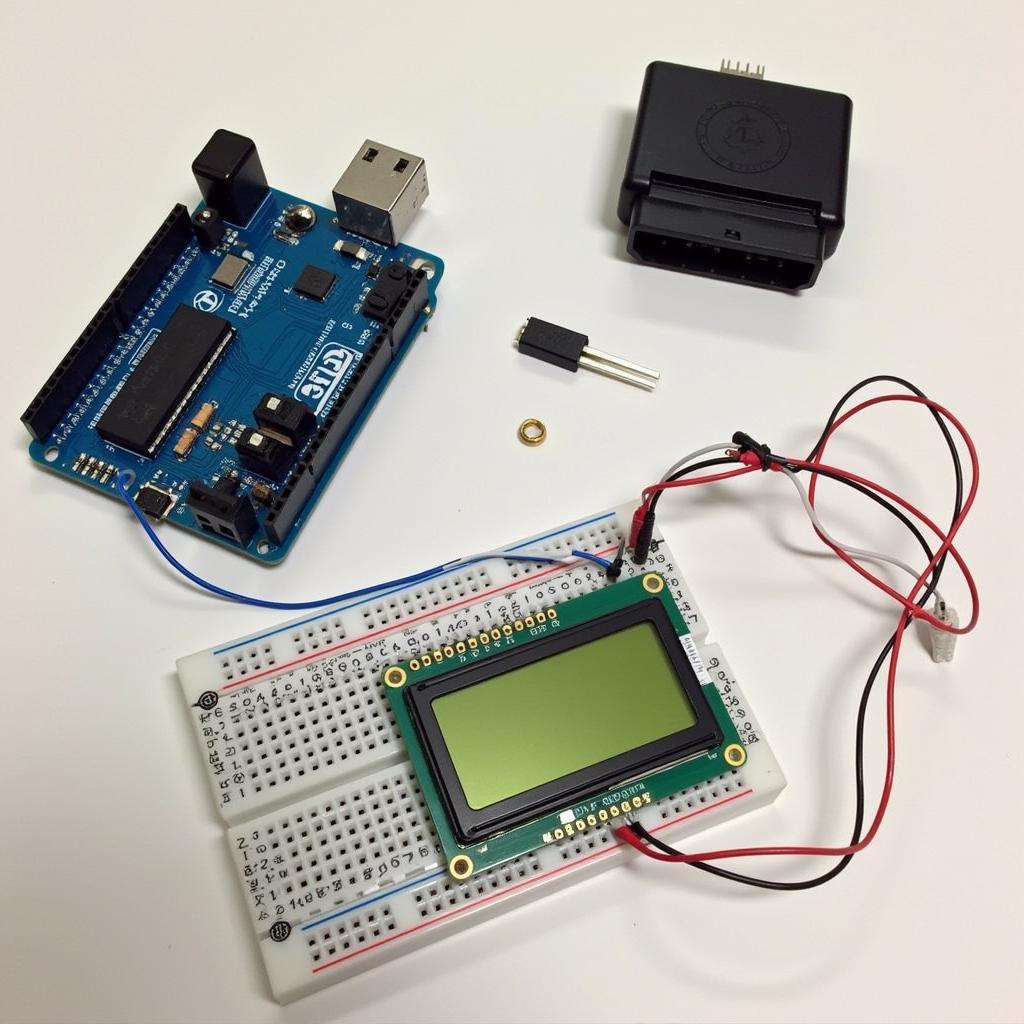
Creating your own car diagnostic tool can be a rewarding experience, especially for the technically inclined. While professional-grade tools offer comprehensive features, building a basic diagnostic tool can provide insight into your vehicle’s systems and potentially save you money on minor diagnostics. This article will explore how to make a car diagnostic tool, covering the basics from simple code readers to more advanced DIY projects.
Understanding your vehicle’s communication network is crucial for any diagnostic endeavor. Most modern cars use the OBD-II (On-Board Diagnostics, Second Generation) protocol, which provides a standardized interface for accessing diagnostic trouble codes (DTCs). These codes indicate potential issues within the vehicle’s various systems. A simple OBD-II reader can retrieve these codes, providing a starting point for troubleshooting. You can find information on car mechanical tools to help with this process.
Building a Simple OBD-II Code Reader
A basic OBD-II code reader can be constructed using a microcontroller, an OBD-II connector, and some basic electronic components. The microcontroller acts as the brain of the device, communicating with the vehicle’s OBD-II port and displaying the retrieved DTCs.
- Acquire necessary components: These include an Arduino or similar microcontroller, an OBD-II connector, a display (LCD or OLED), and connecting wires.
- Connect the hardware: Wire the OBD-II connector to the microcontroller according to the pinout diagram specific to your vehicle. Connect the display to the microcontroller as well.
- Program the microcontroller: Use a programming language like C++ to write code that reads data from the OBD-II port and displays it on the screen. There are many online resources and libraries available to help with this step.
- Test the device: Connect your DIY code reader to your vehicle’s OBD-II port and turn on the ignition. The device should display any stored DTCs.
While building a basic code reader can be relatively straightforward, developing more advanced tools requires a deeper understanding of automotive electronics and communication protocols.
Advanced DIY Diagnostic Tools
Developing more advanced tools involves more complex hardware and software. These tools could include features like live data streaming, sensor monitoring, and even actuator control.
Designing a Custom Diagnostic Interface
- Choose a powerful microcontroller: A more powerful microcontroller will be necessary to handle the increased data processing requirements.
- Interface with specific sensors: You can design your tool to interface with specific sensors, allowing you to monitor live data from various systems.
- Develop custom software: Writing custom software allows you to tailor the functionality of your diagnostic tool to your specific needs.
Be aware that working with vehicle electronics can be risky if not done properly. Always disconnect the battery before working on any electrical systems. Incorrectly connecting or modifying components can damage your vehicle’s electronics.
It is worth noting that for more complex diagnostics and repairs, professional-grade tools and expertise are essential. These tools offer a wider range of features and capabilities, along with access to detailed repair information. For those interested in exploring professional tools, check out the car radio removal tool kit.
Understanding Automotive Communication Protocols
Modern vehicles utilize various communication protocols, including CAN (Controller Area Network), LIN (Local Interconnect Network), and others. Understanding these protocols is crucial for developing advanced diagnostic tools. CAN bus, for instance, allows various modules within the vehicle to communicate with each other, sharing data and commands. This information can be tapped into for diagnostic purposes. You might be interested in the car loan calculator google tool for financial planning related to car ownership.
Why Not Just Buy a Professional Tool?
While creating a diagnostic tool is an educational and potentially cost-effective solution for simple tasks, professional tools offer a level of sophistication and comprehensiveness that’s hard to replicate. Features like bi-directional control, advanced coding capabilities, and access to extensive databases of repair information make them invaluable for serious automotive work. If you’re curious about what different symbols on your car’s dashboard mean, you might find what does the tool bar mean on a car helpful. Alternatively, check out our resource on the career tool kit skills for success carol carter for insights on professional development.
Conclusion
Building a car diagnostic tool can be a fascinating project, offering valuable insights into automotive technology. While simple code readers are achievable for DIY enthusiasts, developing more complex tools requires significant technical expertise. Remember, professional tools offer unmatched capabilities and are often necessary for complex diagnostics and repairs. Ultimately, the decision of whether to build or buy depends on your technical skills, resources, and diagnostic needs. How to make a car diagnostic tool effectively hinges on understanding the complexities of vehicle systems and respecting safety precautions.
FAQ
- Can I build a diagnostic tool for any car? Most modern cars use the OBD-II standard, making it possible to build a tool that works with a wide range of vehicles.
- What programming languages are used for car diagnostic tools? C++ is commonly used, but other languages like Python can also be utilized.
- Is it safe to build and use a DIY diagnostic tool? Yes, as long as proper safety precautions are followed, such as disconnecting the battery before working on electrical systems.
- What is the cost of building a basic OBD-II code reader? The cost can range from $20 to $50 depending on the components used.
- Can a DIY tool replace a professional diagnostic scanner? For basic diagnostics, a DIY tool can be helpful, but professional scanners offer far more features and capabilities.
- Where can I find resources for building a car diagnostic tool? Numerous online forums, tutorials, and open-source projects provide valuable information and guidance.
- What are the limitations of a DIY car diagnostic tool? DIY tools typically lack the advanced features and comprehensive databases of professional-grade scanners.
Need help with your car diagnostics? Contact us via WhatsApp: +1(641)206-8880, Email: [email protected] or visit us at 910 Cedar Lane, Chicago, IL 60605, USA. Our 24/7 customer service team is ready to assist you.


