A Tool Box Car Stereo installation can seem daunting, but with the right tools and guidance, it can be a smooth process. This guide will cover everything you need to know about the tools and techniques for a successful car stereo installation, from removing panels to connecting wires.
Choosing the right tools for your tool box car stereo installation is paramount. Having the correct tools can make the difference between a professional-looking installation and a botched job. Not only does a proper tool kit protect your car’s interior from scratches and damage, it also ensures the stereo is securely installed and functions correctly. You can explore options like a car dash tool kit to get started.
Essential Tools for Your Tool Box Car Stereo
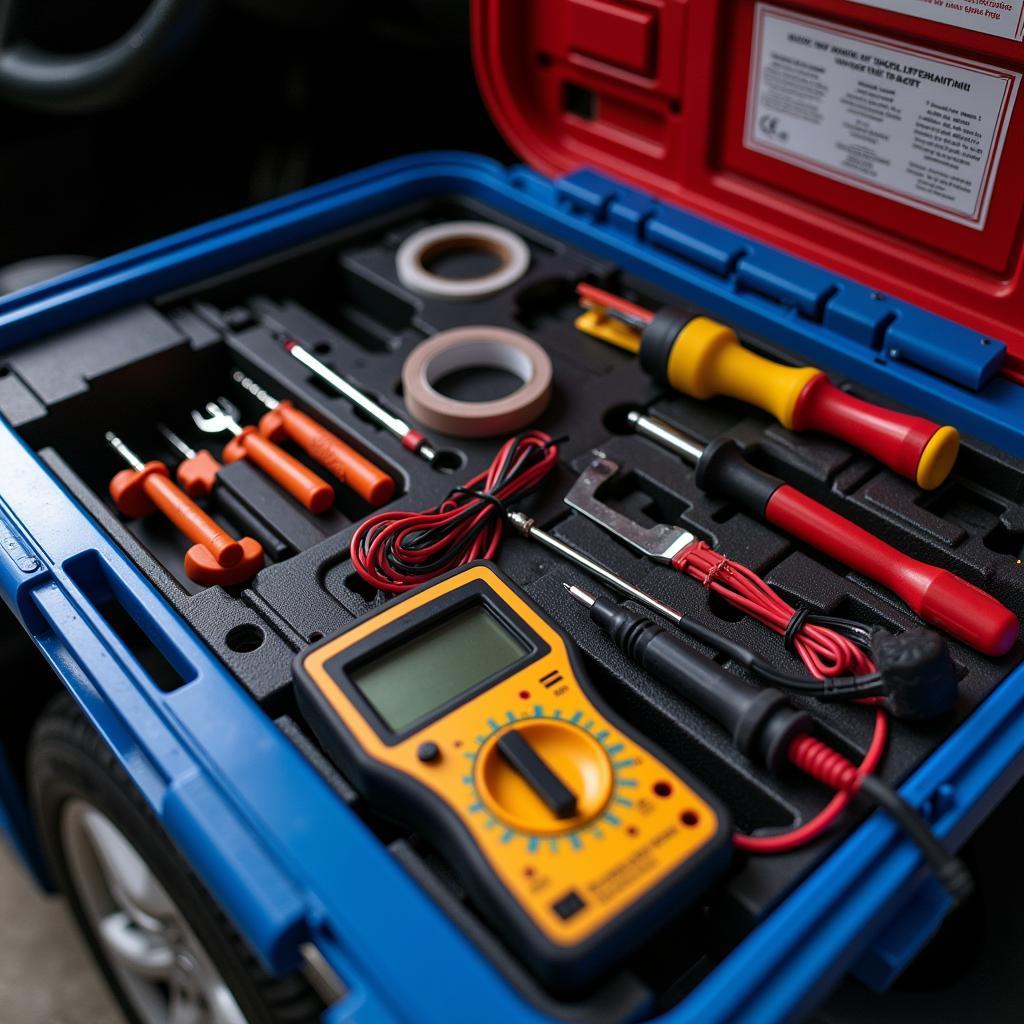
A well-stocked tool box for car stereo installation should include these essentials:
- Panel Removal Tools: These specialized tools, often including a plastic car pry tool, are designed to safely remove interior panels without causing damage. They come in various shapes and sizes to accommodate different clips and fasteners.
- Screwdrivers: A set of Phillips and flathead screwdrivers in various sizes is crucial for removing screws holding the stereo and other components in place.
- Wire Strippers/Crimpers: These are essential for preparing and connecting wires. A good set will allow you to strip insulation without damaging the wire and create secure crimped connections.
- Electrical Tape: Use high-quality electrical tape to insulate and protect wire connections. This prevents shorts and ensures a reliable electrical system.
- Multimeter: This tool helps you test circuits and ensure proper wiring. It’s invaluable for troubleshooting any electrical issues.
- Soldering Iron (Optional): While not strictly necessary, a soldering iron can create more permanent and reliable wire connections, especially in areas prone to vibration.
 Essential Tools for Car Stereo Installation
Understanding Your Car’s Wiring
Before starting your installation, understanding your car’s wiring is crucial. Refer to your car’s wiring diagram, which can often be found in the owner’s manual or online. This diagram will show you the location and function of each wire, ensuring you connect the stereo correctly. Miswiring can damage your stereo or even your car’s electrical system.
Identifying Power, Ground, and Speaker Wires
Correctly identifying the power, ground, and speaker wires is fundamental. The power wire supplies electricity to the stereo, the ground wire completes the circuit, and the speaker wires transmit the audio signal. Using a multimeter can help you confirm the identity of each wire.
What are the most common mistakes during car stereo installation? Neglecting to disconnect the car’s battery before starting work and misidentifying wires are common pitfalls.
“Always double-check your wiring before connecting the stereo,” advises veteran car audio technician, Michael Stevens. “A simple mistake can lead to costly repairs.”
Step-by-Step Installation Guide
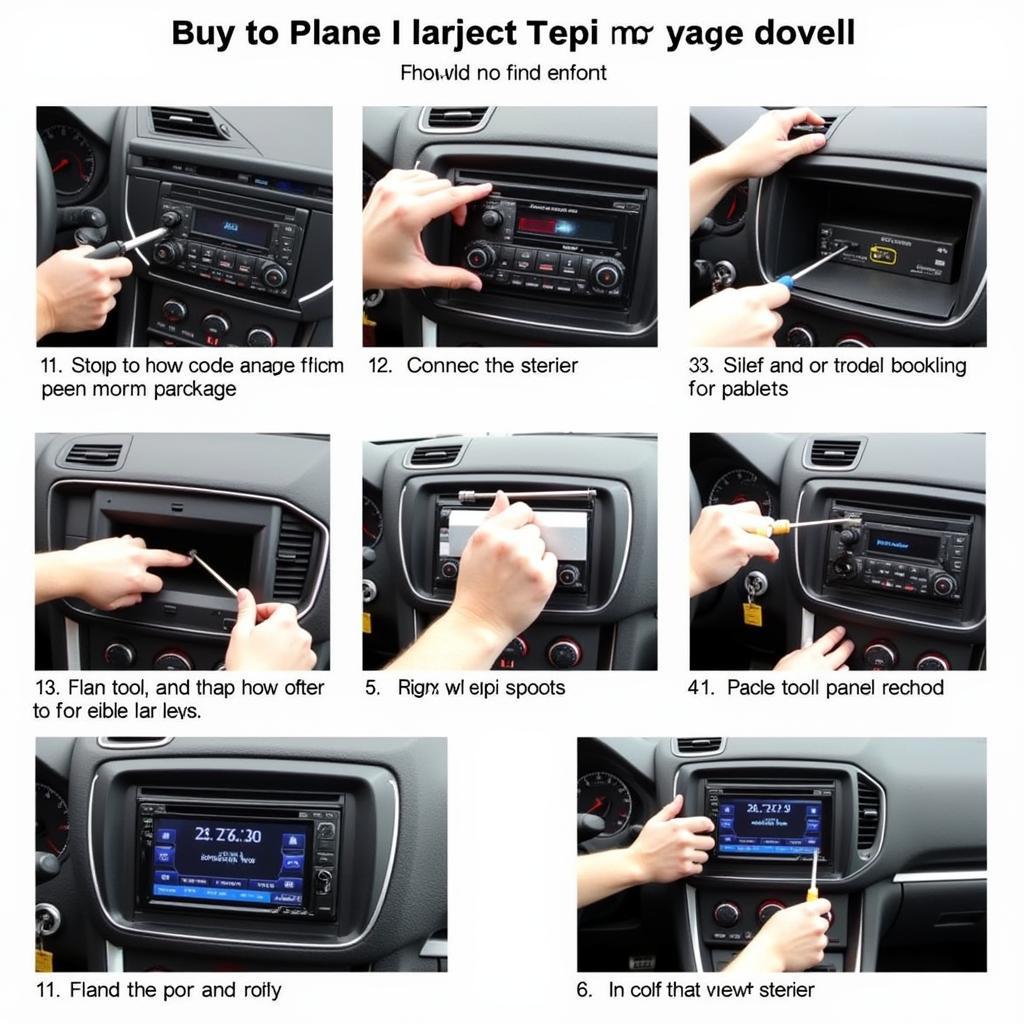
Follow these steps for a successful tool box car stereo installation:
- Disconnect the Battery: This is the first and most important step. Disconnecting the negative terminal prevents accidental shorts and protects you from electrical shock.
- Remove the Old Stereo: Using your panel removal tools, carefully pry off the trim panels surrounding the old stereo. Then, unscrew and remove the old stereo unit.
- Prepare the Wiring: Using wire strippers and crimpers or a soldering iron, prepare the wiring harness for the new stereo. Refer to the wiring diagram to ensure correct connections. A helpful resource you can check out is tools list for car kit.
- Connect the New Stereo: Carefully connect the wiring harness to the new stereo, ensuring each wire is securely attached.
- Test the Stereo: Before fully installing the new stereo, reconnect the car battery and test the stereo to ensure it powers on and functions correctly.
- Install the New Stereo: Once you’ve confirmed the stereo works, slide it into the dashboard and secure it with the screws.
- Reinstall the Trim Panels: Carefully snap the trim panels back into place, ensuring they fit snugly.
 Installing a New Car Stereo
Remember tools like a car push pin removal tool can be handy for specific components. Do you have all the tools for your car stereo? Check our comprehensive tools list for car kit.
Maintaining Your Car Stereo
Once installed, proper maintenance can extend the life of your car stereo. Avoid exposing the stereo to extreme temperatures and clean it regularly with a soft cloth. Also, be mindful of the volume levels to prevent speaker damage.
“Regularly checking your wiring connections can prevent future problems,” advises Elena Ramirez, an automotive electronics expert. “Loose connections can lead to intermittent sound or even complete failure.”
Conclusion
Installing a tool box car stereo can be a rewarding DIY project with the right preparation and tools. By following this guide and using the correct tools, you can achieve a professional-looking installation and enjoy high-quality sound in your car. Don’t forget to consult your car’s wiring diagram and take your time with each step. A well-stocked tool box car stereo installation kit is the key to success. Have you ever wondered do straight women have tool boxes in their car? It’s more common than you think!
FAQ
- What type of screwdrivers do I need for car stereo installation? Phillips and flathead screwdrivers in various sizes are essential.
- Why is it important to disconnect the car battery before starting the installation? It prevents accidental shorts and protects you from electrical shock.
- Where can I find my car’s wiring diagram? Your car’s owner’s manual or online resources are good places to look.
- What is a multimeter used for? A multimeter helps you test circuits and ensure proper wiring.
- How can I maintain my car stereo after installation? Avoid extreme temperatures, clean it regularly, and be mindful of volume levels.
For any assistance, feel free to contact us via WhatsApp: +1(641)206-8880, Email: [email protected] or visit our office at 910 Cedar Lane, Chicago, IL 60605, USA. Our customer support team is available 24/7.

Leave a Reply