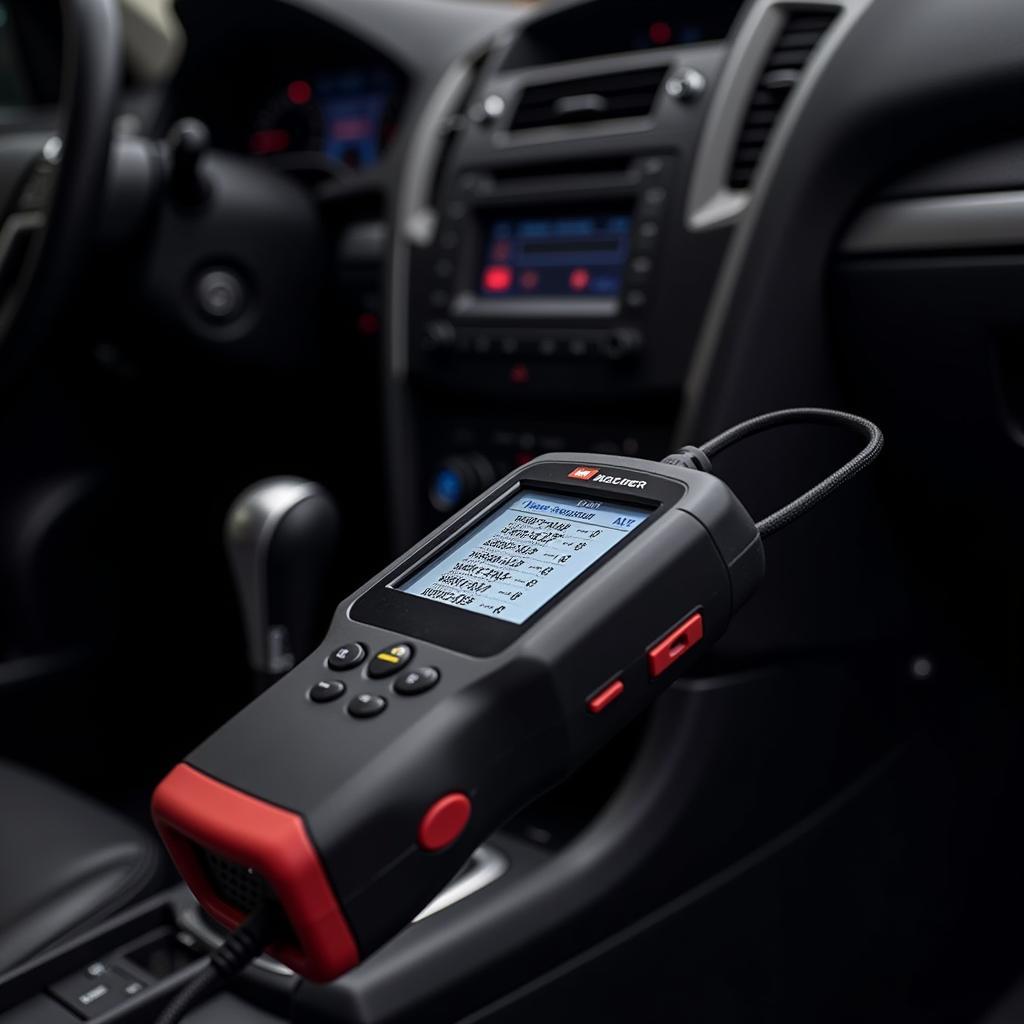
A car diagnostic scanner, once a tool exclusive to professional mechanics, is becoming increasingly common in the arsenal of car enthusiasts and everyday drivers. This handy device can unlock a treasure trove of information about your car’s health, helping you pinpoint issues and potentially save on expensive mechanic bills. But how do you use one effectively? This guide will walk you through the process, empowering you to decode your car’s language.
Understanding the Power of a Car Diagnostic Scanner
Before we dive into the “how-to,” let’s understand “why.” Modern cars are complex machines with intricate electronic systems. A car diagnostic scanner acts as your interpreter, translating the cryptic codes generated by your car’s onboard computer into understandable language. This information empowers you to:
- Identify the root cause of warning lights: That pesky “Check Engine” light doesn’t tell you much on its own. A diagnostic scanner reveals the specific Diagnostic Trouble Code (DTC) triggering the light, providing a starting point for your troubleshooting.
- Monitor real-time engine performance: From RPM and fuel system status to oxygen sensor readings and more, a scanner provides a live feed of data, helping you assess your car’s overall health and efficiency.
- Reset basic car functions: Whether it’s resetting the oil light after a change or recalibrating your electronic throttle body, a scanner simplifies tasks that would otherwise require a trip to the mechanic.
Choosing the Right Diagnostic Scanner
Not all car diagnostic scanners are created equal. Your needs will dictate the best type for you:
- Basic Code Readers: Ideal for casual users, these budget-friendly devices read and clear basic DTCs.
- OBD-II Scanners: Offering more advanced features, these scanners provide live data streams and access to manufacturer-specific codes.
- Professional-Grade Scanners: Packed with features, these are ideal for mechanics and experienced DIYers, offering bi-directional control, advanced programming capabilities, and comprehensive data analysis.
How to Use a Car Diagnostic Scanner: A Step-by-Step Guide
Now, let’s get down to the practical part. Here’s a generalized guide to using a car diagnostic scanner. Always refer to your scanner’s user manual for model-specific instructions:
- Locate Your Car’s OBD-II Port: This standardized port is typically found under the driver’s side dashboard, often near the steering column.
- Turn the Ignition On: Turn the key to the “on” position without starting the engine. This powers up the car’s computer and the OBD-II port.
- Connect the Scanner: Plug the scanner into the OBD-II port. The scanner should power on automatically.
- Navigate the Scanner’s Menu: Use the buttons on the scanner to navigate its menu. Common options include “Read Codes,” “Live Data,” and “System Tests.”
- Read Diagnostic Trouble Codes: Select “Read Codes” to retrieve the DTCs stored in your car’s computer. These codes are like clues pointing to potential issues.
- Interpret the Codes: Refer to a reliable online DTC database or your car’s service manual to understand the meaning of each code.
- Clear the Codes (Optional): After addressing the underlying issue, you can clear the DTCs using the scanner’s “Clear Codes” function.
- View Live Data: Select “Live Data” to monitor real-time engine parameters like engine speed, coolant temperature, and oxygen sensor readings. This helps you assess your car’s performance and identify potential problems.
- Disconnect the Scanner: Once you’ve finished using the scanner, turn off the ignition and unplug it from the OBD-II port.
Essential Tips for Effective Car Diagnostic Scanning
- Record Everything: Jot down the DTCs, their descriptions, and any live data readings that seem off. This information will be invaluable when researching solutions or consulting with a mechanic.
- Don’t Jump to Conclusions: A DTC is a starting point, not a definitive diagnosis. Research the code thoroughly, considering other symptoms your car might be exhibiting.
- Start Simple: Before suspecting complex issues, rule out basic possibilities. For instance, a loose gas cap can trigger an emissions-related DTC.
- Consult a Professional When Needed: While a car diagnostic scanner empowers you with information, some repairs require specialized knowledge and tools. Don’t hesitate to seek professional help when necessary.
Remember, understanding how to use a car diagnostic scanner puts you in the driver’s seat when it comes to your car’s health. It’s a valuable tool for proactive car maintenance, potentially saving you time, money, and unnecessary headaches down the road.

