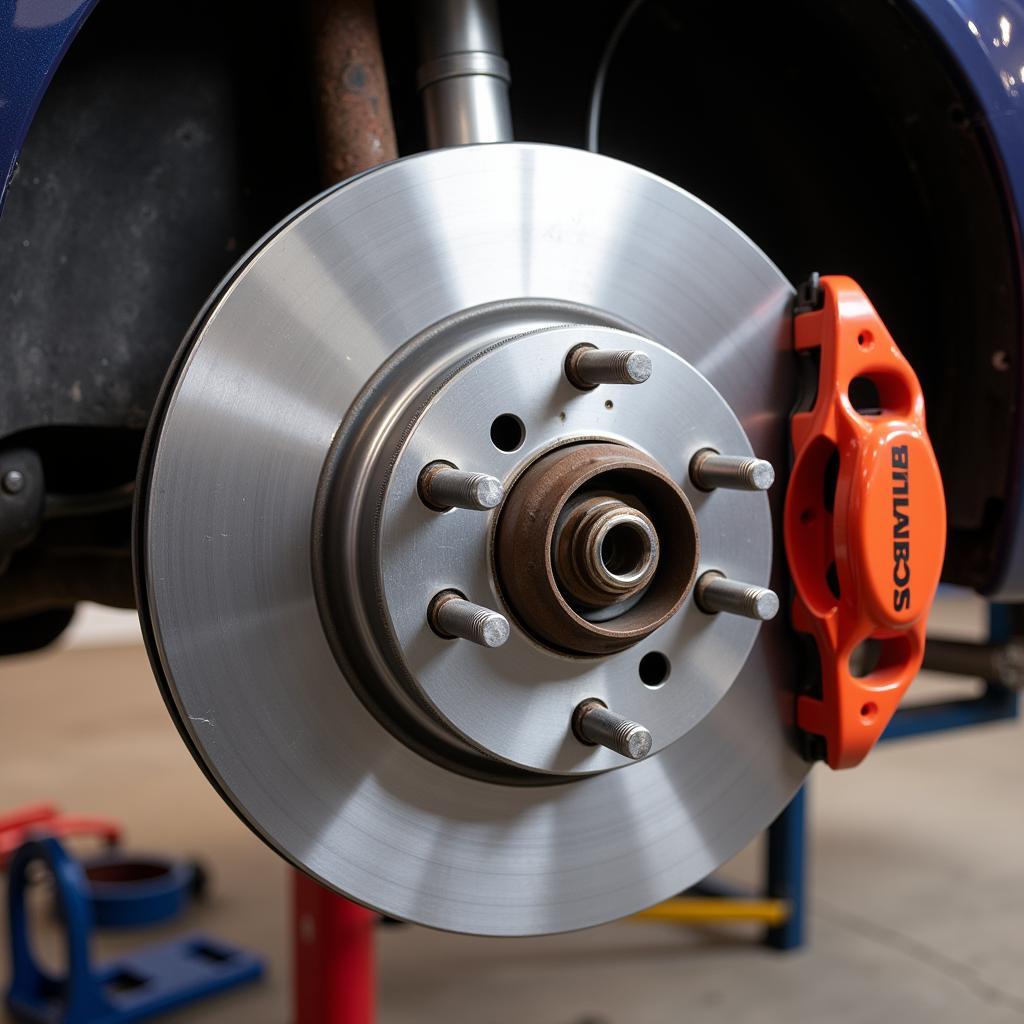
Replacing a worn-out hub assembly is a crucial car maintenance task. Knowing the Tools Needed To Install A Hub Assembly On A Car will save you time and frustration, whether you’re a seasoned DIYer or a beginner. This guide will walk you through the essential tools and provide valuable insights to ensure a smooth installation process.
A faulty hub assembly can lead to a variety of problems, including a wobbly wheel, unusual noises, and even vibration in the steering wheel. Addressing this issue promptly is essential for your safety and the longevity of your vehicle. By understanding the necessary tools and procedures, you can confidently tackle this repair and get back on the road.
Gathering Your Arsenal: Essential Tools for Hub Assembly Installation
Before you begin, it’s vital to assemble the right tools. Having the correct equipment will make the job significantly easier and prevent potential damage to your car. Here’s a breakdown of the tools needed to install a hub assembly on a car:
- Jack and Jack Stands: Safety first! These are indispensable for lifting and securing your vehicle.
- Lug Wrench: For removing the lug nuts that hold the wheel in place.
- Torque Wrench: This precision tool is crucial for tightening the axle nut to the manufacturer’s specified torque.
- Hammer: A trusty hammer can be helpful for persuading stubborn components.
- Penetrating Oil: This can loosen rusted or seized bolts and nuts.
- Axle Nut Socket: A specific socket designed to fit the axle nut is essential.
- Breaker Bar: Provides extra leverage for loosening tight bolts.
- Ball Joint Separator: This tool helps safely disconnect the ball joint from the knuckle.
- Gloves and Safety Glasses: Protect your hands and eyes from debris and potential hazards.
Step-by-Step Hub Assembly Installation Guide
Now that you have your tools assembled, let’s dive into the step-by-step process:
- Secure the Vehicle: Lift the car with the jack and securely place it on jack stands.
- Remove the Wheel: Use the lug wrench to remove the lug nuts and take off the wheel.
- Disconnect the Brake Caliper and Rotor: Carefully remove the brake caliper and rotor, following your vehicle’s specific instructions.
- Disconnect the ABS Sensor (if applicable): If your car has an ABS system, disconnect the sensor carefully.
- Remove the Axle Nut: Use the axle nut socket and breaker bar to remove the axle nut.
- Separate the Ball Joint and Tie Rod End: Utilize the ball joint separator to disconnect these components.
- Remove the Old Hub Assembly: Carefully remove the old hub assembly.
- Install the New Hub Assembly: Install the new hub assembly, ensuring it’s properly seated.
- Reconnect Everything: Reattach the components in reverse order, tightening bolts and nuts to the manufacturer’s specifications using the torque wrench.
 Installing the New Hub Assembly
Common Mistakes to Avoid
Even with the right tools, mistakes can happen. Here are some common pitfalls to avoid:
- Over-tightening or under-tightening bolts: This can lead to damage or premature wear. Always use a torque wrench and refer to your vehicle’s service manual for the correct torque specifications.
- Forgetting to reconnect the ABS sensor: This can trigger warning lights and affect your braking system.
- Not using penetrating oil on rusted bolts: This can make removal difficult and potentially damage the bolts.
“Always double-check your work,” advises John Smith, a seasoned automotive technician at Chicago Auto Experts. “Make sure all connections are secure and torqued to the correct specifications. This will prevent future problems and ensure a safe and reliable repair.”
Conclusion
Installing a hub assembly requires the right tools and careful execution. By following this guide and taking your time, you can successfully replace your worn-out hub assembly and ensure a smooth and safe driving experience. Remember to consult your vehicle’s service manual for specific instructions and torque specifications.
FAQs
- How do I know if my hub assembly needs replacement? Common signs include a humming or grinding noise, vibration in the steering wheel, and play in the wheel.
- Can I replace a hub assembly myself? Yes, with the right tools and knowledge, it’s a manageable DIY project.
- How long does it take to replace a hub assembly? It typically takes 1-2 hours per wheel.
- What happens if I don’t replace a bad hub assembly? Ignoring a bad hub assembly can lead to further damage and potential safety hazards.
- Where can I find the torque specifications for my car? Refer to your vehicle’s service manual.
- What is the average cost of a hub assembly replacement? The cost varies depending on the make and model of your car.
- What are the most common causes of hub assembly failure? Wear and tear, impacts from potholes, and improper installation are common causes.
Need help with your car diagnostic? Contact us via WhatsApp: +1(641)206-8880, Email: [email protected] or visit us at 910 Cedar Lane, Chicago, IL 60605, USA. We have a 24/7 customer support team ready to assist you.

Leave a Reply