Removing a car seat can seem daunting, but with the right tools to remove seat from car, the process becomes much simpler. Whether you’re replacing a worn-out seat, installing a new sound system, or deep cleaning your car’s interior, having the correct tools can save you time and prevent damage. This article will guide you through the essential tools and techniques for safe and efficient car seat removal.
Why You Might Need to Remove a Car Seat
Several situations call for car seat removal. Perhaps your seat is damaged and needs replacing. Maybe you’re upgrading to a sportier seat or want to thoroughly clean the area underneath. You might even be installing new audio equipment that requires access behind the seat. Whatever the reason, tools to remove car seat are crucial.
Common Reasons for Car Seat Removal:
- Damage or Wear: Over time, car seats can become worn, torn, or stained.
- Upgrades: Replacing seats with newer models with better features or comfort.
- Cleaning: Removing seats allows for thorough cleaning of the carpets and hard-to-reach areas.
- Audio Installation: Accessing wiring and mounting locations for speakers and amplifiers often requires seat removal.
- Repairs: Mechanical issues with the seat itself may necessitate removal.
 Car Seat Removal Tools
Essential Tools for Removing Car Seats
Before you begin, gather the necessary tools. Having everything on hand will streamline the process and prevent interruptions. The specific tools you need might vary slightly depending on your car’s make and model, but some essentials are universally applicable. what tools do i need to remove a car seat includes a comprehensive list.
Basic Tool Kit:
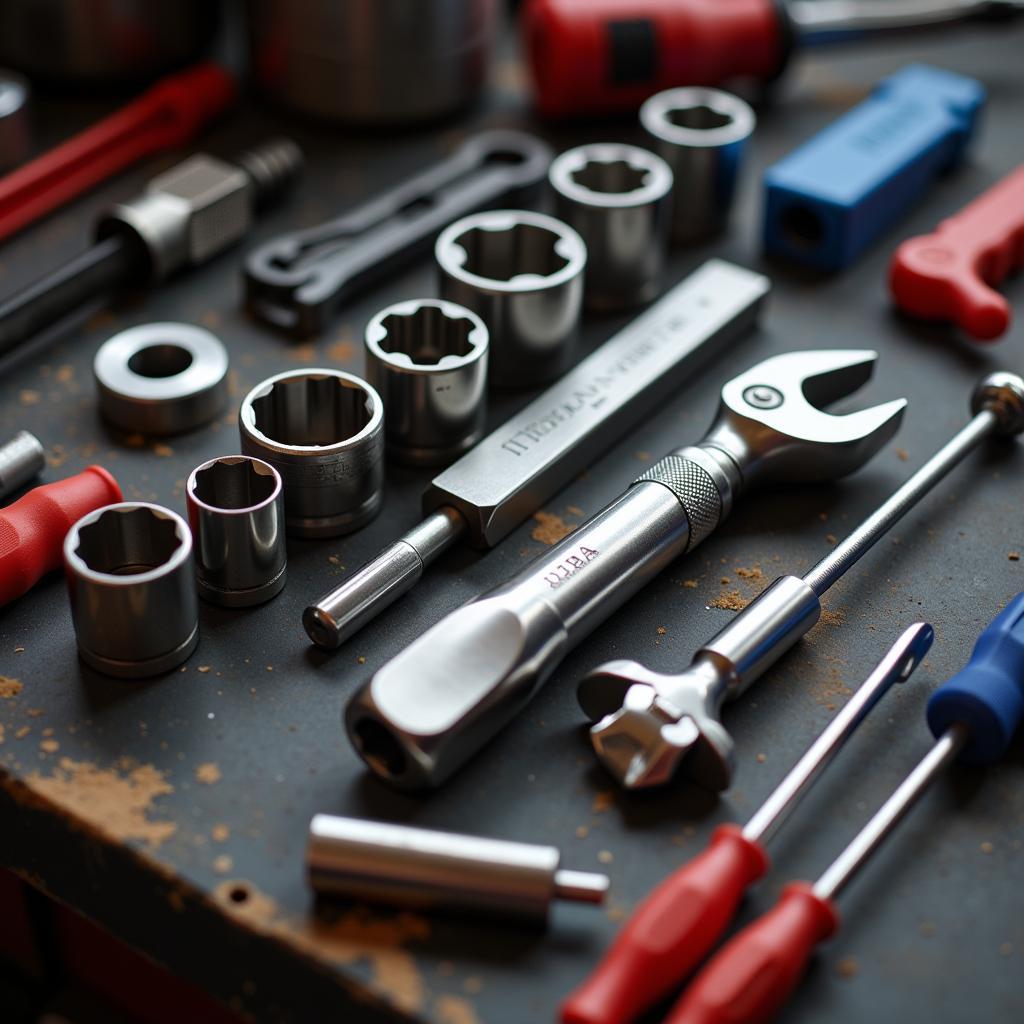
- Socket Set: A comprehensive socket set with various sizes is crucial for removing bolts securing the seat to the vehicle’s frame.
- Ratchets and Extensions: These provide the leverage and access needed to reach awkward bolts.
- Screwdrivers: Different types and sizes of screwdrivers, including Phillips and flathead, might be needed for various fasteners and trim pieces.
- Pry Tool: A prying tool for cars can be invaluable for gently releasing clips and trim pieces without causing damage. Use caution to avoid marring the interior surfaces.
- Torque Wrench: While not strictly essential, a torque wrench ensures bolts are tightened to the correct specifications during reinstallation, preventing damage and ensuring the seat is securely fastened.
 Removing Car Seat Bolts
Step-by-Step Guide to Removing a Car Seat
- Disconnect the Battery: This crucial safety step prevents accidental deployment of airbags while working near electrical components.
- Locate the Bolts: Identify the bolts securing the seat to the floor. Consult your vehicle’s service manual for precise locations.
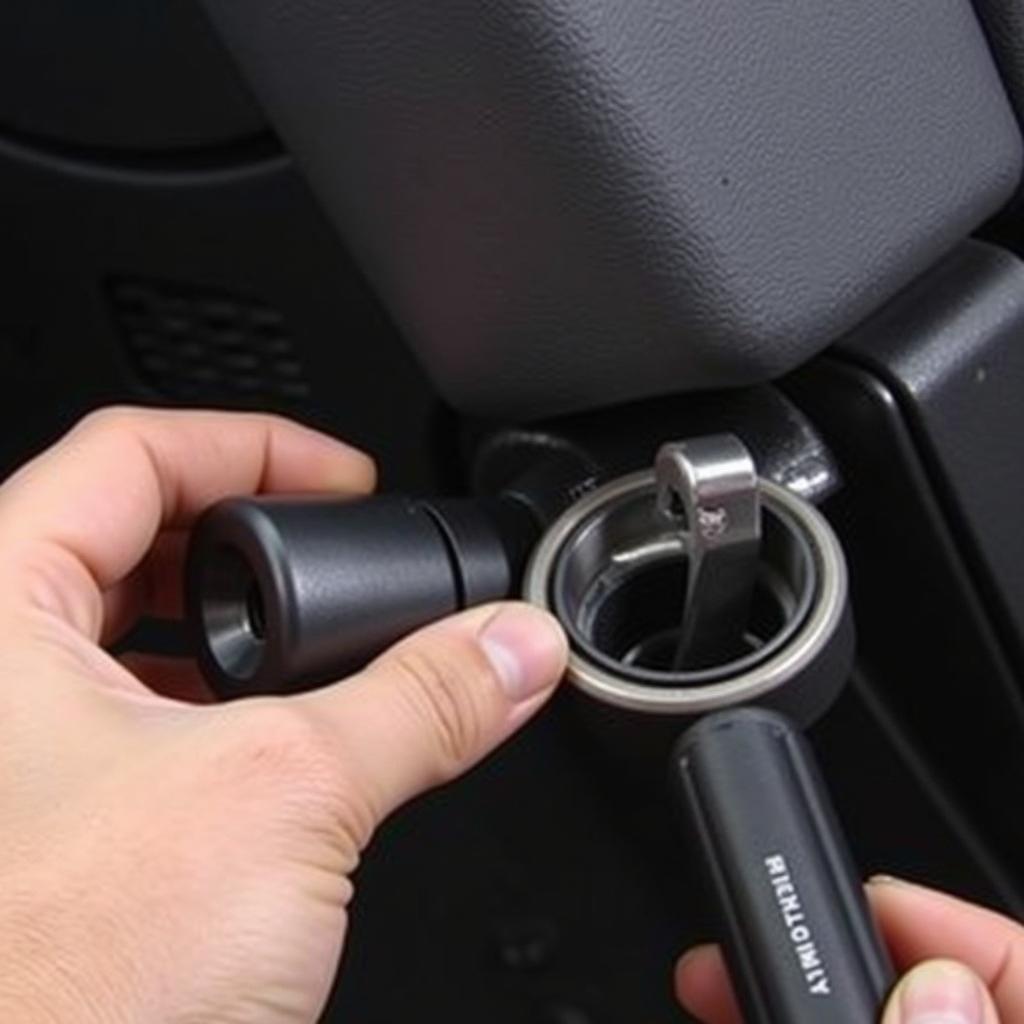
- Remove the Bolts: Using the appropriate socket and ratchet, carefully remove the bolts. Keep them organized in a container to avoid losing them.
- Detach Electrical Connectors: Most modern cars have electrical connections for seatbelt pretensioners, heated seats, and power adjustments. Carefully disconnect these connectors before removing the seat.
- Lift the Seat Out: Once all fasteners and connections are detached, carefully lift the seat out of the vehicle. Be mindful of any wiring or components underneath.
“Always disconnect the battery before working on any car’s electrical system,” advises Johnathan Davis, a senior automotive technician at Elite Auto Services. “This simple precaution can prevent serious injury or damage.”
Reinstalling Your Car Seat
Reinstalling the seat is essentially the reverse of the removal process. Follow these steps to ensure proper and safe installation:
- Position the Seat: Carefully place the seat back into the vehicle, aligning the mounting holes.
- Reconnect Electrical Connectors: Reconnect all electrical connectors, ensuring they are securely fastened.
- Install and Tighten Bolts: Install the bolts and tighten them using a torque wrench to the manufacturer’s specified torque.
- Reconnect the Battery: Reconnect the battery and test all seat functions to ensure proper operation.
“Using a torque wrench is essential for ensuring the seat is securely fastened without over-tightening the bolts,” explains Maria Rodriguez, lead mechanic at AutoTech Solutions. “Over-tightening can damage the seat frame or the vehicle’s floor.”
Conclusion
Removing a car seat with the right tools to remove seat from car is a manageable task that can be accomplished with the right tools and a bit of patience. Following the steps outlined in this guide and using the proper car body removal tools can make the process smooth and efficient, minimizing the risk of damage and ensuring a successful outcome. Remember, having the correct tools makes all the difference.
FAQ
- What tools do I need to remove a car seat? You’ll need a socket set, ratchets, screwdrivers, a pry tool, and possibly a torque wrench.
- Is it safe to remove a car seat myself? Yes, with the proper precautions, such as disconnecting the battery.
- Why would I need to remove a car seat? Common reasons include damage, upgrades, cleaning, audio installation, and repairs.
- How do I disconnect the electrical connectors? Gently pull on the connector itself, not the wires.
- How do I ensure the seat is reinstalled correctly? Use a torque wrench to tighten bolts to the manufacturer’s specifications.
For assistance, contact us via WhatsApp: +1(641)206-8880, Email: [email protected] or visit us at 910 Cedar Lane, Chicago, IL 60605, USA. We have a 24/7 customer support team. You might also find our article on the best car window breaking tool helpful.

Leave a Reply