Choosing the right car diagnostic tools can be overwhelming, especially with so many options available. More and more DIY mechanics and car enthusiasts are turning to building their own car diagnostic PCs for a customizable and powerful solution. This guide will walk you through everything you need to know to build your own car diagnostic PC, from choosing the right components to setting up the software.
Choosing the Right Hardware: Building a Solid Foundation
Just like a reliable car needs a powerful engine, your car diagnostic PC needs the right components to run smoothly. Here’s a breakdown of the essential hardware:
Processor (CPU): The Brain of Your Diagnostic Powerhouse
Opt for a modern processor like an Intel Core i5 or AMD Ryzen 5 for smooth performance.
Memory (RAM): For Multitasking and Speedy Diagnostics
8GB of RAM is a good starting point, but consider 16GB if you plan on running demanding diagnostic software or virtual machines.
Storage: Where Your Software and Data Reside
Choose a solid-state drive (SSD) with at least 256GB for fast boot times and quick access to your diagnostic programs.
Operating System: Windows is Your Reliable Co-Driver
Windows 10 or 11 are recommended for their compatibility with a wide range of diagnostic software.
Selecting the Right Software: Your Diagnostic Toolkit
The software is what transforms your PC into a powerful diagnostic tool. Here’s what to consider:
Operating System (OS): Windows Takes the Wheel
Windows 10 or 11 are recommended for their broad compatibility with various diagnostic software.
Diagnostic Software: Your Gateway to Vehicle Insights
Research and choose diagnostic software that supports the makes and models of vehicles you’ll be working on. Popular options include OBD Auto Doctor, TOAD, and DELPHI.
Drivers and Utilities: Ensuring Seamless Communication
Ensure you have the correct drivers for your diagnostic interface and any other peripherals you plan to use.
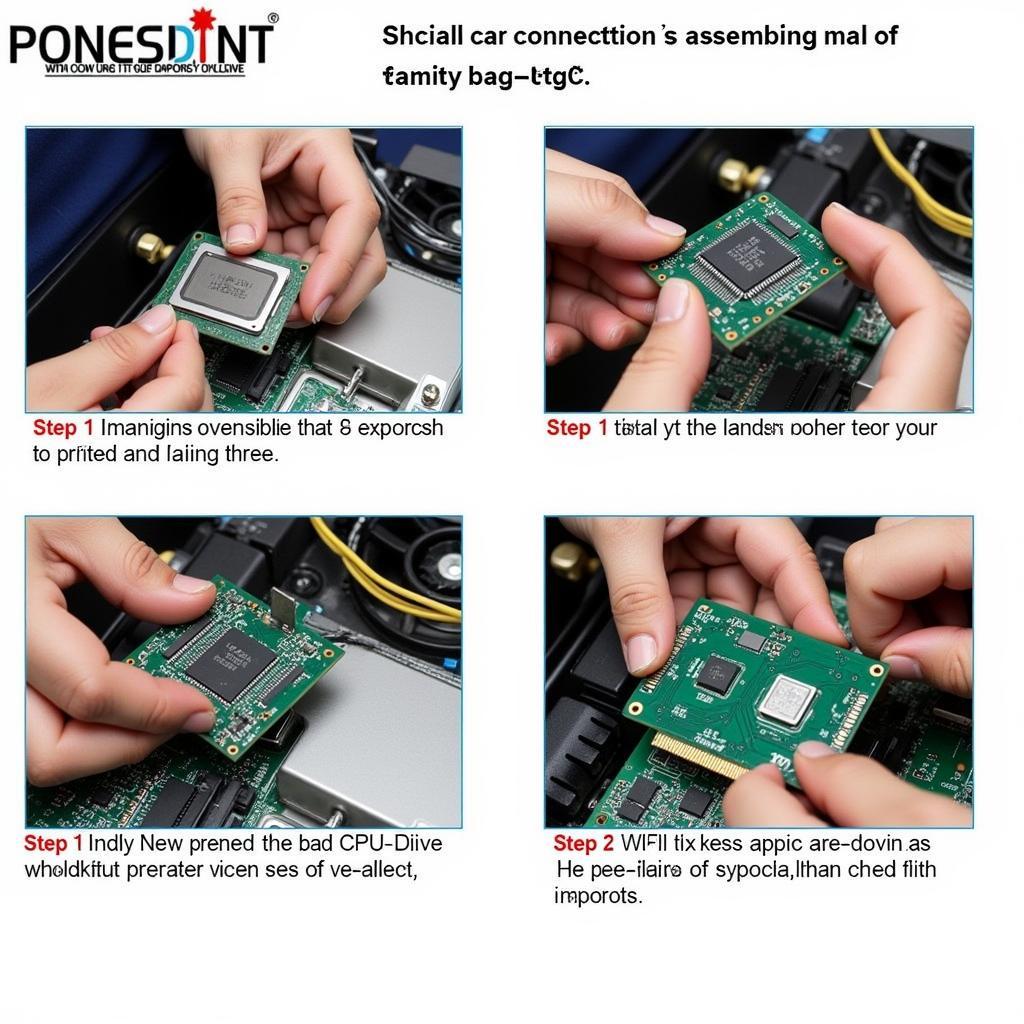
Assembling Your Car Diagnostic PC: Putting the Pieces Together
Building a PC might seem daunting, but it’s like assembling a complex LEGO set with rewarding results. Follow these general steps:
- Install CPU on Motherboard: Gently place the CPU into the socket on the motherboard.
- Install RAM: Insert the RAM sticks into the appropriate slots.
- Mount Motherboard in Case: Secure the motherboard inside the computer case.
- Install SSD: Connect the SSD to the designated slot.
- Install Power Supply: Connect the power supply to the motherboard and other components.
- Connect Peripherals: Connect your monitor, keyboard, mouse, and diagnostic interface.
- Install Operating System: Follow the on-screen prompts to install Windows.
- Install Drivers and Software: Install the necessary drivers and diagnostic software.
 Assembling a Car Diagnostic PC
Tips for Optimizing Your Car Diagnostic PC: Fine-Tuning for Peak Performance
- Regular Updates: Keep your operating system, drivers, and diagnostic software up to date for optimal performance and security.
- Antivirus Protection: Install a reputable antivirus program to protect your PC from malware that could compromise its functionality.
- Organize Files: Create dedicated folders for different car makes and models to keep your diagnostic data organized.
- Backups: Regularly back up your important diagnostic data to an external hard drive or cloud storage to prevent data loss.
“Building your own car diagnostic PC gives you the flexibility to choose the components and software that best fit your needs,” says Michael Stevenson, Senior Automotive Diagnostician at CarTech Solutions. “It’s a rewarding process that can save you money in the long run and provide a powerful tool for diagnosing and repairing vehicles.”
Conclusion: Empowering Your Inner Mechanic
Building a car diagnostic PC is an investment that can pay off significantly for DIY mechanics and car enthusiasts. By carefully selecting the right hardware and software and following the assembly steps, you can create a powerful tool to diagnose and troubleshoot car problems.
FAQs
What is the average cost of building a car diagnostic PC?
The cost can vary depending on the components and software you choose, but you can expect to spend around $500-$1000.
Do I need coding knowledge to use a car diagnostic PC?
Most car diagnostic software comes with user-friendly interfaces that do not require coding knowledge.
Can I use a laptop instead of a desktop PC?
Yes, a laptop with similar specifications can be used as a car diagnostic tool. However, a desktop PC might offer better performance for demanding tasks.
Need help with your car diagnostic setup? Contact our team of experts 24/7 via WhatsApp: +1(641)206-8880, Email: [email protected]. We’re here to help you get the most out of your car diagnostic journey.

Leave a Reply