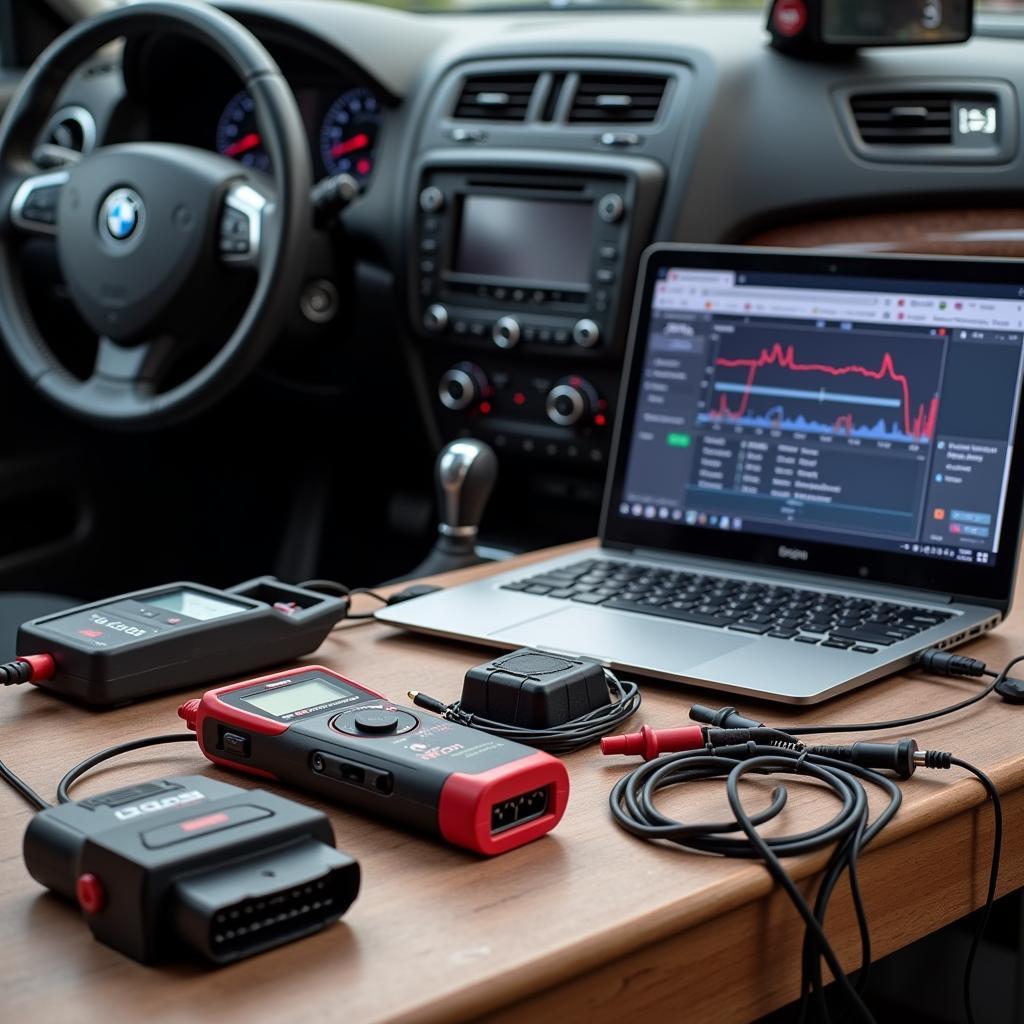
The world of car repair is rapidly evolving, with technology playing an increasingly crucial role. DIY car diagnostic equipment empowers car owners to understand and address vehicle issues without relying solely on expensive mechanics. This comprehensive guide explores everything you need to know about DIY car diagnostic equipment, empowering you to make informed decisions for your vehicle maintenance.
Understanding DIY Car Diagnostic Equipment
DIY car diagnostic equipment refers to a range of tools and software designed to interface with a vehicle’s onboard computer system. This system, often referred to as the Engine Control Unit (ECU), continuously monitors various sensors and components, recording data related to performance, emissions, and potential malfunctions. By accessing this data, DIY car diagnostic equipment allows you to:
- Retrieve and Interpret Diagnostic Trouble Codes (DTCs): These codes act as the vehicle’s way of communicating specific issues.
- Monitor Live Data Streams: Observe real-time information from various sensors, such as engine RPM, coolant temperature, and oxygen sensor readings.
- Perform Component Actuations: Activate specific components like fuel injectors or solenoids to pinpoint malfunctions.
Types of DIY Car Diagnostic Equipment
The market offers a wide array of DIY car diagnostic equipment, catering to varying needs and budgets. Some common types include:
1. Basic Code Readers: These affordable, entry-level devices primarily retrieve and display DTCs. They are ideal for identifying the cause of a “check engine” light.
2. Advanced Scan Tools: Offering more comprehensive functionality, these tools display live data, allow for some component actuations, and might include features like graphing data and providing code definitions.
3. Smartphone Diagnostic Tools: These tools connect to your smartphone via Bluetooth, using apps to provide a user-friendly interface for accessing and interpreting vehicle data.
4. Professional-Grade Diagnostic Software: Often used by mechanics and experienced DIYers, this software, installed on a laptop, provides in-depth diagnostic capabilities, advanced features, and manufacturer-specific data access.
Choosing the Right Equipment: Factors to Consider
Selecting the appropriate DIY car diagnostic equipment depends on your individual needs and the complexity of the tasks you intend to undertake. Consider the following:
- Vehicle Compatibility: Ensure the equipment is compatible with your vehicle’s make, model, and year. Pay attention to the OBD-II protocols supported.
- Functionality: Determine the features that are important to you, such as code reading, live data streaming, component actuation, and special functions.
- Ease of Use: Opt for user-friendly equipment with a clear interface, intuitive software, and readily available support resources.
- Budget: Set a realistic budget, recognizing that more advanced features typically come with a higher price tag.
- Future Needs: Anticipate your future diagnostic needs. Investing in slightly more advanced equipment might be worthwhile if you plan to tackle more complex repairs down the line.
Benefits of Using DIY Car Diagnostic Equipment
Embracing DIY car diagnostic equipment offers numerous advantages:
- Cost Savings: Identify and address minor issues before they escalate, potentially saving on costly mechanic visits.
- Empowerment and Knowledge: Gain a deeper understanding of your vehicle’s inner workings, fostering confidence in your ability to handle basic maintenance.
- Preventative Maintenance: Regularly monitor your vehicle’s health, enabling proactive maintenance and potentially extending the lifespan of your car.
- Convenience: Diagnose problems from the comfort of your own garage, avoiding the inconvenience of trips to the mechanic.
Getting Started with DIY Car Diagnostics
Embarking on your DIY car diagnostic journey is easier than you might think. Here’s a basic guide to get you started:
- Locate Your Vehicle’s OBD-II Port: This standardized port is usually located under the driver’s side dashboard.
- Connect Your Diagnostic Equipment: Plug the equipment into the OBD-II port.
- Turn On the Ignition: Turn the ignition to the “on” position but do not start the engine.
- Follow the Equipment’s Instructions: Each device has specific instructions for navigating menus, retrieving codes, and accessing data.
- Interpret the Results: Use the equipment’s display, app interface, or software to understand the retrieved codes, live data, or other information.
Common Uses of DIY Car Diagnostic Equipment
DIY car diagnostic equipment proves invaluable in various scenarios:
- Check Engine Light Diagnosis: Quickly identify the reason for a lit “check engine” light and determine the urgency of the issue.
- Sensor Monitoring: Observe the performance of critical sensors like oxygen sensors, MAF sensors, and coolant temperature sensors.
- Emissions Testing Preparation: Check your vehicle’s readiness for emissions testing and potentially identify issues beforehand.
- Battery and Charging System Analysis: Assess the health of your battery and charging system components.
- Resetting Maintenance Lights: After performing basic maintenance like an oil change, you can often use the equipment to reset service reminders.
DIY Car Diagnostic Equipment: Essential Tools for Informed Car Ownership
car diagnostic equipment south africa empowers car enthusiasts of all levels to take control of their vehicle maintenance. By understanding the types of equipment, their capabilities, and the benefits they offer, you can confidently address basic car issues, save on repair costs, and foster a deeper connection with your vehicle.
Remember: While DIY diagnostic equipment is a valuable tool, it’s essential to approach repairs within your skillset and consult a qualified mechanic for complex issues or if you’re unsure about any diagnosis or repair procedure.


