The clone stamp tool, a powerful feature in various image editing software, allows you to duplicate parts of an image. This guide will explain how to use the clone stamp tool effectively, covering everything from basic techniques to advanced applications. Whether you’re a beginner or a seasoned pro, you’ll find valuable insights to enhance your image editing skills.
Understanding the Clone Stamp Tool
The clone stamp tool essentially copies pixels from one area of an image and replicates them onto another. This makes it ideal for tasks like removing blemishes, repairing damaged photos, or even creating interesting artistic effects. Imagine it as a digital brush that paints with copied pixels instead of color.
Basic Operation: Cloning 101
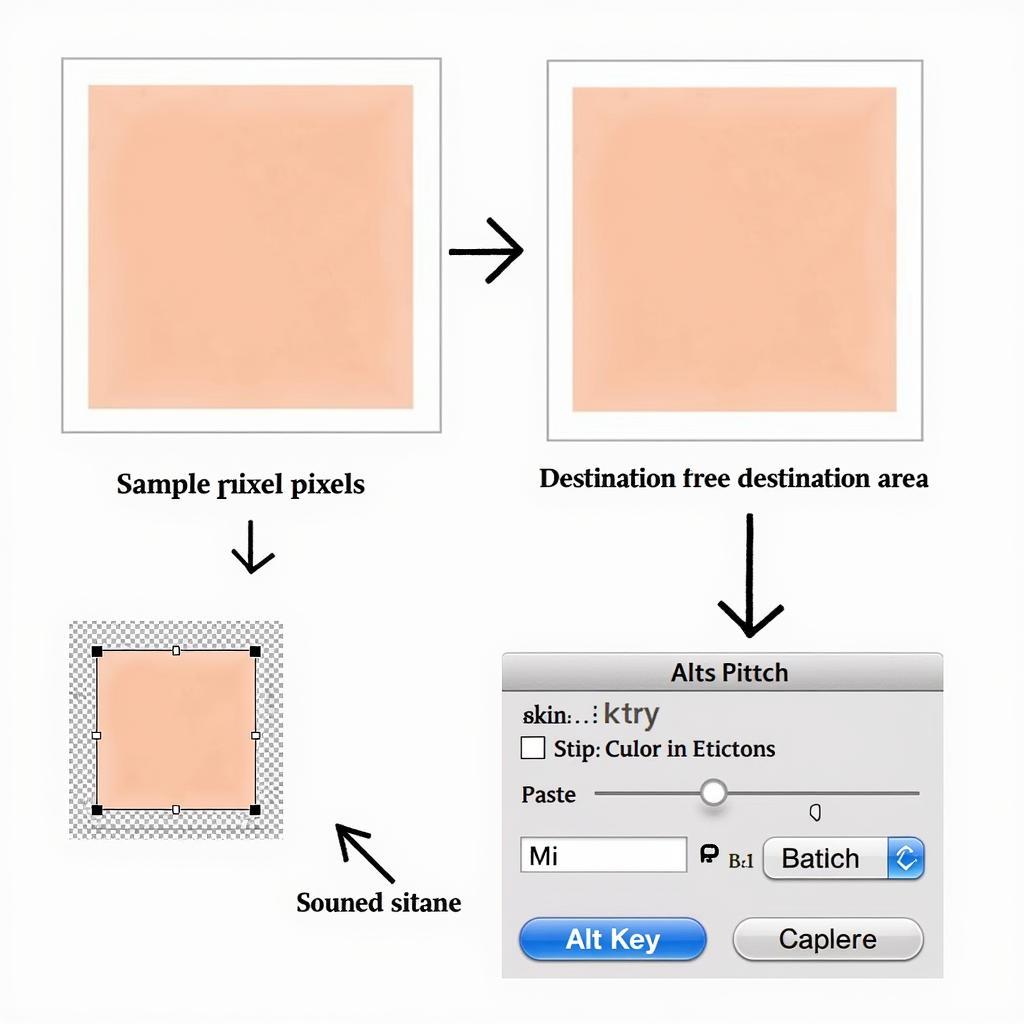
Using the clone stamp tool is relatively straightforward. First, select the tool from your software’s toolbar. Then, hold down the Alt key (Option key on Mac) and click on the source area you want to copy. This sets the sampling point. Release the Alt key and click or drag your mouse over the destination area where you want to apply the cloned pixels.
 Clone Stamp Basic Operation
Adjusting Brush Settings for Precision
The clone stamp tool offers various brush settings to control the cloning process. Adjusting the brush size, hardness, and opacity can significantly impact your results. A larger brush covers more area, while a harder brush creates sharp edges. Lower opacity blends the cloned pixels with the existing ones, creating a more natural effect.
Advanced Cloning Techniques
Beyond the basics, several techniques can elevate your clone stamp skills. These include using aligned sampling, adjusting the flow, and working with multiple layers.
Aligned vs. Non-Aligned Sampling
Aligned sampling maintains the relative position between the source and destination points, creating a continuous pattern when cloning across larger areas. Non-aligned sampling, on the other hand, samples from the same point regardless of where you move the cursor.
Controlling the Flow
The flow setting determines how quickly the cloned pixels are applied. A lower flow allows for gradual blending and more control, while a higher flow results in a quicker and more opaque application.
Utilizing Multiple Layers
Working with multiple layers provides flexibility and non-destructive editing. Clone onto a new layer to preserve the original image and experiment with different blending modes.
Practical Applications of the Clone Stamp Tool
The clone stamp tool is incredibly versatile. Here are some common use cases:
- Retouching Portraits: Remove blemishes, wrinkles, and other imperfections for flawless skin.
- Repairing Damaged Photos: Restore old or damaged photos by cloning undamaged areas over scratches and tears.
- Removing Unwanted Objects: Eliminate distracting elements from a scene, such as power lines or litter.
- Creating Artistic Effects: Duplicate objects or patterns to create surreal or abstract compositions.
Clone Stamp Tool Best Practices
- Choose your source point carefully: Select an area that closely matches the texture and color of the destination.
- Work with a smaller brush size: For precise cloning, use a smaller brush and build up the effect gradually.
- Vary your sampling point: Avoid repetitive patterns by periodically changing the sampling point.
- Practice and experiment: The best way to master the clone stamp tool is through practice and experimentation.
Quote from John Smith, Professional Photo Retoucher: “The clone stamp tool is an indispensable tool in my workflow. Its versatility allows me to achieve seamless retouching and create stunning visual effects.”
Quote from Jane Doe, Experienced Graphic Designer: “Mastering the clone stamp tool opens up a world of possibilities for image manipulation and creative expression.”
Conclusion
The clone stamp tool is a powerful and versatile tool for image editing. By understanding its functionalities and employing the techniques outlined in this guide, you can achieve remarkable results in your image editing projects, from simple retouching to complex manipulations. Practice regularly to refine your skills and unlock the full potential of this indispensable tool.
FAQs
- What software can I use the clone stamp tool in? (Adobe Photoshop, GIMP, etc.)
- How do I avoid noticeable repeating patterns when cloning? (Vary your sampling point.)
- Can I use the clone stamp tool with a tablet? (Yes.)
- What is the difference between the clone stamp tool and the healing brush tool? (The healing brush tool blends the cloned pixels more seamlessly.)
- How can I practice using the clone stamp tool? (Experiment with different images and settings.)
- What is the best brush size for clone stamping? (It depends on the specific task, but smaller brushes are generally better for precision.)
- Can I undo clone stamp actions? (Yes, using the undo function in your software.)
Need help with your car diagnostics? Contact us via WhatsApp: +1(641)206-8880, Email: [email protected] or visit us at 910 Cedar Lane, Chicago, IL 60605, USA. Our 24/7 customer support team is ready to assist you.
