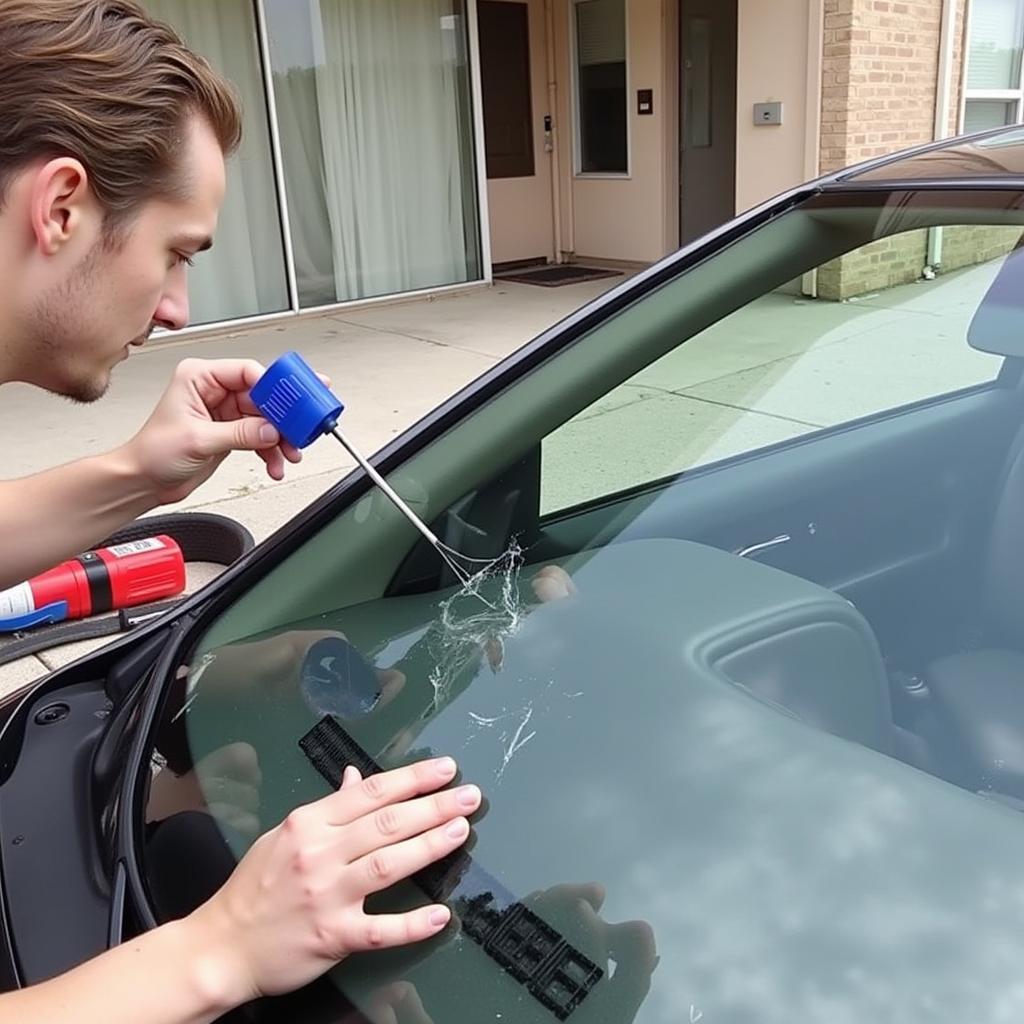
Windshield Repair Kits Diy Car Window Repair Tools offer a cost-effective solution for minor chips and cracks. This guide dives deep into the world of DIY windshield repair, covering everything from understanding the right tools to achieving professional-looking results. We’ll explore various kit options, techniques, and tips to help you confidently tackle those pesky windshield blemishes.
Understanding Windshield Repair Kits and Tools
DIY windshield repair kits typically include a resin, an applicator, a curing strip, and sometimes a suction cup tool. These car window repair tools are designed to fill in the damaged area, preventing further spreading and restoring clarity. Choosing the right kit and understanding the tools involved is crucial for a successful repair.
Choosing the Right Windshield Repair Kit for Your Needs
Not all windshield repair kits are created equal. Some are designed for bullseye chips, while others are better suited for star-shaped cracks. Consider the type and size of the damage when selecting your car window repair tools. car windshield repair diy tool kit offers a selection of quality kits for different damage types.
Essential Tools for DIY Windshield Repair
Beyond the kit itself, a few additional tools can enhance your repair process. A razor blade can help clean the damaged area, while a glass cleaner ensures a pristine surface for the resin. car windshield resin removal tools can be helpful for removing excess resin and achieving a smooth finish.
Step-by-Step Guide to DIY Windshield Repair
DIY windshield repair might seem daunting, but with the right approach, it’s surprisingly straightforward. Following a step-by-step process is essential for achieving optimal results.
- Clean the Damaged Area: Thoroughly clean the chip or crack with a glass cleaner and razor blade, removing any loose debris.
- Prepare the Resin: Follow the manufacturer’s instructions for preparing the resin. Some resins require mixing, while others are ready to use.
- Apply the Resin: Carefully inject the resin into the damaged area using the applicator. Ensure the resin fills the entire cavity.
- Apply the Curing Strip: Place the curing strip over the repaired area, smoothing out any air bubbles.
- Cure the Resin: Allow the resin to cure as per the manufacturer’s instructions. This usually involves exposure to sunlight or UV light.
- Remove Excess Resin: Once cured, carefully remove the curing strip and scrape away any excess resin with a razor blade.
Tips for a Professional-Looking Repair
Achieving a professional-looking repair requires attention to detail and a few helpful tips.
- Work in a Shaded Area: Avoid direct sunlight during the repair process, as this can cause the resin to cure too quickly.
- Avoid Applying Too Much Pressure: When applying the resin, avoid excessive pressure, which can cause the crack to spread.
- Practice Makes Perfect: Consider practicing on a spare piece of glass before attempting a repair on your windshield.
 Practicing Windshield Repair on Spare Glass
“A clean and properly prepared surface is the key to a successful windshield repair,” says John Miller, Automotive Glass Repair Specialist at AutoGlass Solutions. “Taking the time to clean the damaged area thoroughly can significantly improve the final result.”
Common Windshield Repair Mistakes to Avoid
Even with the best car window repair tools, mistakes can happen. Being aware of common pitfalls can help you avoid them.
- Using the Wrong Type of Resin: Different types of resin are designed for different types of damage. Using the wrong type can compromise the repair.
- Not Cleaning the Damaged Area Properly: Dirt and debris can interfere with the resin’s adhesion and compromise the repair’s integrity.
- Applying Too Much or Too Little Resin: Finding the right balance is crucial. Too much resin can create a messy finish, while too little can leave the crack vulnerable to further spreading.
When to Consider Professional Repair
While DIY windshield repair kits are effective for minor chips and cracks, some situations warrant professional intervention. “Large cracks, cracks near the edge of the windshield, and cracks that obstruct the driver’s view should be addressed by a professional,” advises Maria Sanchez, Certified Auto Glass Technician at GlassPro Inc. car windshield removal tool requires specialized equipment and expertise.
Conclusion
Windshield repair kits DIY car window repair tools empower car owners to address minor windshield damage quickly and cost-effectively. By following the proper techniques and avoiding common mistakes, you can achieve professional-looking results and prevent further damage. car window tool can also help maintain your car’s overall condition.
FAQ
- How long does a DIY windshield repair last? A properly executed DIY repair can last for several years.
- Can I repair a crack on the edge of the windshield? Cracks near the edge of the windshield are best handled by a professional.
- How much does a DIY windshield repair kit cost? Kits typically range in price from $10 to $30.
- What type of resin should I use for a bullseye chip? A resin specifically designed for bullseye chips is recommended.
- Can I drive my car immediately after the repair? Yes, you can typically drive your car immediately after the repair.
- How do I know if my windshield is repairable? Minor chips and cracks are generally repairable, while larger or more complex damage may require replacement.
- Where can I buy a windshield repair kit? Windshield repair kits are available at most auto parts stores and online.
Need Help? Contact us via WhatsApp: +1(641)206-8880, Email: [email protected] or visit us at 910 Cedar Lane, Chicago, IL 60605, USA. We offer 24/7 customer support.

Leave a Reply