Mastering the art of using car trim removal tools can save you time, money, and frustration on various DIY car projects. Whether you’re upgrading your car stereo, installing new speakers, or simply replacing a broken panel, knowing how to use these tools correctly is essential. This guide will provide you with a comprehensive understanding of How To Use Car Trim Removal Tools effectively and safely.
Understanding Car Trim Removal Tools
Car trim removal tools are specially designed to help you remove interior and exterior trim pieces without causing damage. These tools come in various shapes and sizes, each serving a specific purpose. Common types include:
- Panel poppers: These tools have a forked end, ideal for prying open panels held by clips.
- Plastic pry tools: These tools come in different shapes and sizes, designed to access tight spaces and gently lift trim pieces.
- Metal clip removers: Specifically designed for removing stubborn metal clips, these tools minimize the risk of damage.
- Upholstery tools: For removing upholstery fasteners and tacks without tearing the fabric.
Understanding the purpose of each tool is the first step to successful trim removal. Choosing the right tool for the job is crucial to prevent breaking clips or scratching your car’s finish. If you’re unsure which tool is best, refer to your car’s repair manual or consult a professional.
Preparing to Use Car Trim Removal Tools
Before you start, gather all the necessary tools and prepare your workspace. A clean, well-lit area is essential for seeing the clips and fasteners clearly. Having a few extra clips on hand is also a good idea, as they can sometimes break during removal. You’ll need:
- A set of how to use car trim removal tools
- A clean, soft cloth to protect the surrounding areas
- A small container to keep track of removed screws and clips
- Your car’s repair manual (optional)
Step-by-Step Guide on How to Use Car Trim Removal Tools
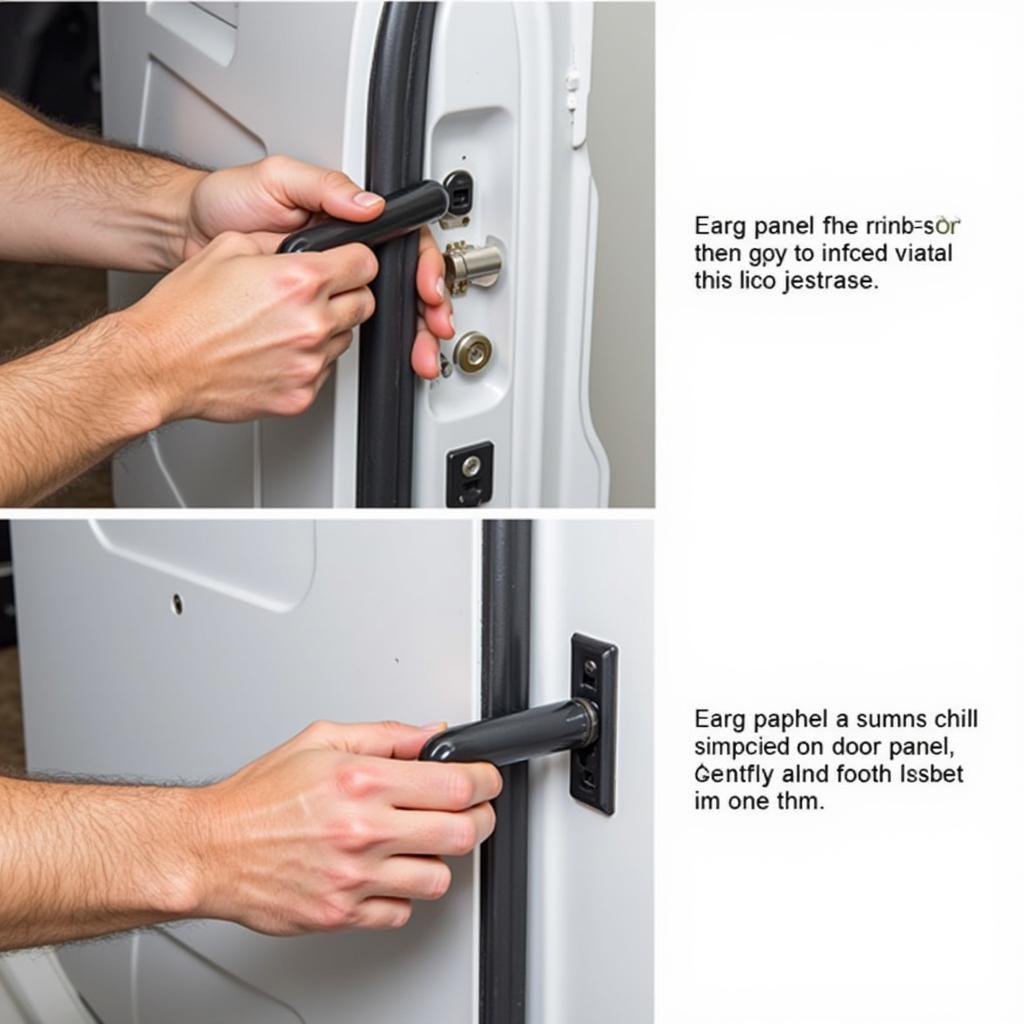
 Using a Panel Popper on a Car Door
- Locate the clips or fasteners: Carefully examine the trim piece you want to remove. Identify the location of all clips and fasteners. Your car’s repair manual can be helpful in this step.
- Choose the right tool: Select the appropriate car trim removal tool based on the type of fastener or clip. For plastic clips, a panel popper or plastic pry tool is usually sufficient.
- Insert the tool: Gently insert the tool between the trim piece and the panel. Avoid using excessive force, as this can damage the trim or the underlying panel.
- Apply gentle pressure: Slowly apply pressure to the tool to release the clip. You should hear a clicking sound as the clip releases.
- Repeat the process: Continue removing the clips one by one until the entire trim piece is loose.
- Remove any screws: If there are any screws holding the trim piece in place, remove them using the appropriate screwdriver.
Tips and Tricks for Effective Trim Removal
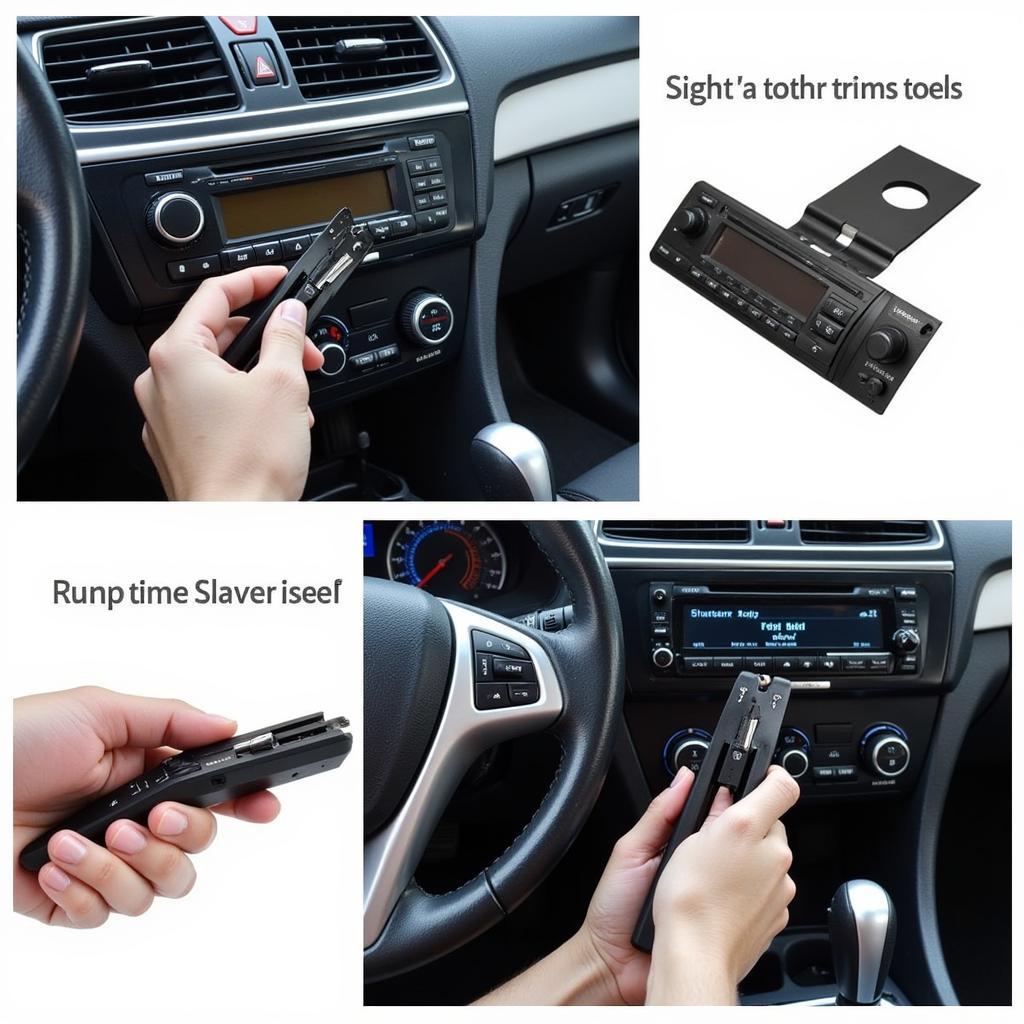
 Removing Car Stereo with Trim Tools
- Start with a less visible area: Practice on a less conspicuous area first to get a feel for how much pressure to apply.
- Use a soft cloth: Place a soft cloth between the tool and the car’s surface to protect the paint or trim from scratches.
- Work slowly and patiently: Avoid rushing the process. Patience is key to preventing damage.
- Warm up the plastic: On colder days, warming the plastic trim with a heat gun or hairdryer can make it more pliable and less likely to crack.
Common Mistakes to Avoid
- Using excessive force: This can easily break clips or damage the trim.
- Using the wrong tool: Choosing the incorrect tool can also lead to damage.
- Not identifying all the clips: Missing a clip can make it difficult to remove the trim piece and could potentially break it.
“Knowing the right tool and technique makes all the difference,” says John Peterson, an automotive repair specialist with over 20 years of experience. “Patience and a gentle touch are crucial for avoiding costly repairs.” Another expert, Sarah Mitchell, emphasizes the importance of preparation, “Having the right tools at hand and a clear understanding of the process can save you a lot of headaches down the road.”
Conclusion
Learning how to use car trim removal tools is a valuable skill for any car enthusiast. By following the steps outlined in this guide and practicing patience, you can successfully tackle a variety of DIY car projects without causing damage. With the right knowledge and plastic car panel removal tools, you can confidently take on those upgrades and repairs, saving both money and the hassle of a trip to the mechanic. Remember to select the appropriate tool for the job and always apply gentle pressure to avoid breaking clips or scratching your car’s finish.
FAQs
- What are the most common types of car trim removal tools?
- How do I know which tool to use for a specific clip or fastener?
- What should I do if I break a clip?
- Can I use metal tools on plastic trim?
- Are there any special precautions to take when removing trim in cold weather?
- Where can I find replacement clips for my car?
- How do I prevent scratching the paint or trim when using car trim removal tools?
For further assistance with your car audio needs, you can check out our articles on car stereo removal tools or even specific tools like the car radio removal tool sony or the popular car radio removal tool autozone.
Need help? Contact us via WhatsApp: +1(641)206-8880, Email: [email protected] or visit us at 910 Cedar Lane, Chicago, IL 60605, USA. Our customer service team is available 24/7.

Leave a Reply