Troubleshooting and repairing a car amplifier can be a daunting task, especially if you’re not familiar with the electronics involved. Knowing What Tools To Repair A Car Amplifier is the first step towards a successful fix. This article will guide you through the essential tools required, from basic multimeters to specialized diagnostic equipment, ensuring you’re well-equipped to tackle any amplifier issue.
Essential Tools for Car Amplifier Repair
A faulty car amplifier can significantly impact your in-car audio experience. Before you rush out and buy a new one, it’s worth trying to diagnose and repair the existing unit. Having the right tools is crucial for effective troubleshooting and repair.
Multimeter: Your First Line of Defense
A multimeter is the cornerstone of any electronics repair kit. It allows you to measure voltage, current, and resistance, enabling you to pinpoint faulty components within the amplifier circuitry. Whether you’re checking for a blown fuse, a short circuit, or a faulty transistor, a multimeter is indispensable. A digital multimeter is preferred for its accuracy and ease of use.
Soldering Iron and Desoldering Tools: For Component-Level Repairs
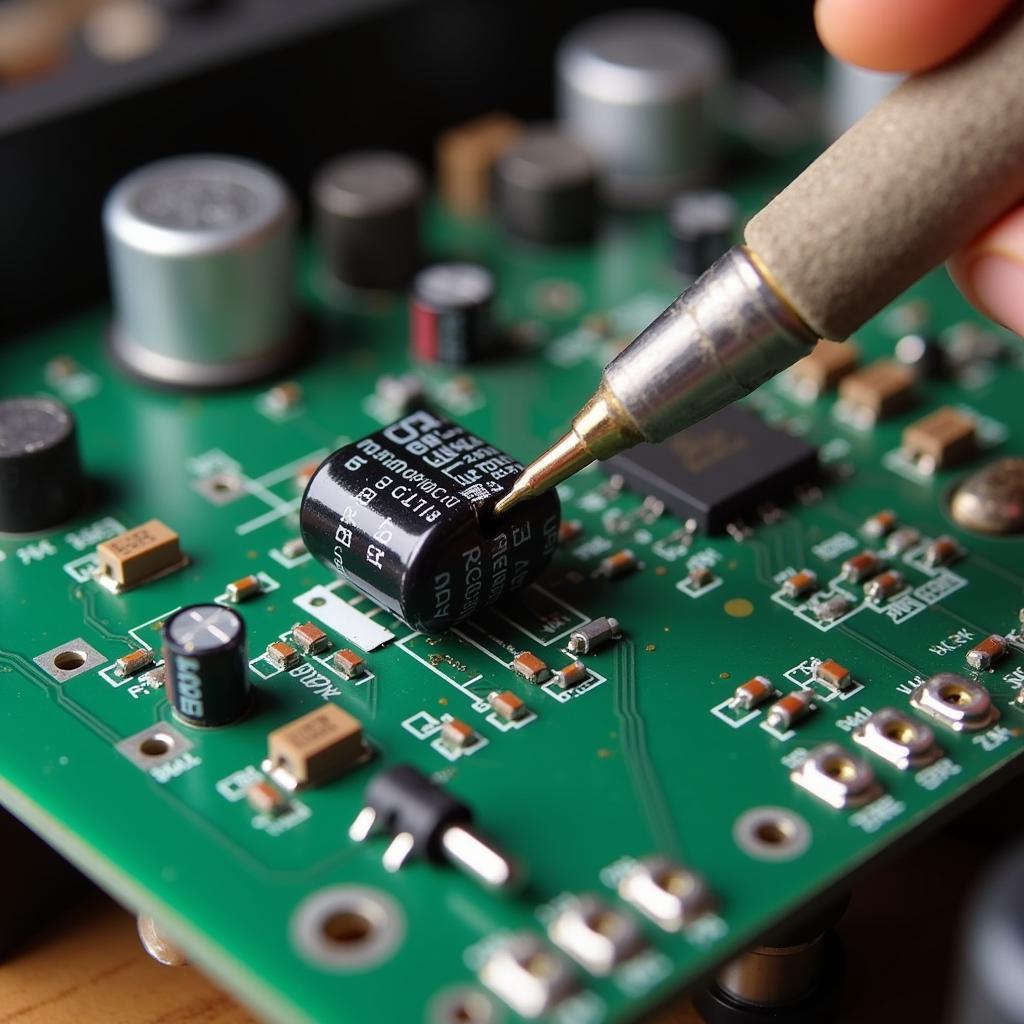
If you’re comfortable working with electronics at the component level, a soldering iron and desoldering tools are essential. These tools allow you to replace faulty capacitors, resistors, transistors, and other small components on the amplifier’s circuit board. A temperature-controlled soldering station is recommended for precise control and to avoid damaging sensitive components. Desoldering tools, like a solder sucker or desoldering braid, help remove unwanted solder cleanly.
 Soldering Iron and Desoldering Tools for Car Amplifier Repair
Oscilloscope: Visualizing the Signal Path
For more advanced diagnostics, an oscilloscope is a powerful tool. It allows you to visualize the audio signal as it passes through the amplifier circuit, helping identify distortions, clipping, and other signal-related problems that a multimeter might miss. While not essential for basic repairs, an oscilloscope is invaluable for diagnosing complex issues.
Test Speakers and Audio Source: Isolating the Problem
To effectively diagnose an amplifier problem, you’ll need a set of known good test speakers and an audio source. This allows you to isolate the issue to the amplifier itself and rule out problems with the speakers or head unit. Using pdr car repair tools kit hand tool set can be helpful in certain situations.
Specialized Tools: Addressing Specific Issues
Depending on the specific problem with the amplifier, you might need specialized tools, such as a DC power supply for bench testing, an audio signal generator for testing input sensitivity, or a car audio system analyzer for comprehensive diagnostics.
What other tools might I need?
While the above tools cover the majority of car amplifier repair scenarios, you might also find the following helpful:
- Wire strippers and crimpers: For working with wiring harnesses and connectors.
- Screwdrivers: Various sizes and types for disassembling the amplifier and accessing internal components.
- Heat gun: For shrinking heat shrink tubing and removing adhesive labels.
- Magnifying glass or microscope: For inspecting small components and solder joints. Using tool to take dents out of cars will not help with electronics repair.
Diagnosing Common Amplifier Problems
Knowing the common problems encountered with car amplifiers can help you focus your diagnostic efforts. These include:
- No Power: Check the amplifier’s fuse, power and ground connections, and remote turn-on wire.
- No Sound: Verify speaker connections, input signal, and amplifier settings.
- Distorted Sound: Look for clipped signals using an oscilloscope, check for speaker impedance mismatch, and inspect the amplifier’s internal components.
- Overheating: Check for proper ventilation, excessive current draw, and faulty components. You can also consider tools for car restoration tools australia. While not directly related to amplifier repair, it’s good to know about these resources.
- Protection Mode: Identify the cause of the amplifier entering protection mode, such as a short circuit, overheating, or speaker impedance mismatch. It is advised to use the best car frame repair tools for any frame damage.
Expert Insight: John Miller, a seasoned car audio technician with over 20 years of experience, emphasizes the importance of systematic troubleshooting: “Always start with the basics. Check power, ground, and speaker connections before diving into complex diagnostics. A simple blown fuse can often be the culprit.”
Conclusion
Repairing a car amplifier requires the right tools and knowledge. By understanding what tools to repair a car amplifier and following a systematic diagnostic approach, you can often fix the problem yourself and save the cost of a replacement. Remember to always prioritize safety and disconnect the amplifier’s power supply before working on it. Consider also car body repair tools uk.
Expert Insight: Sarah Johnson, an electronics engineer specializing in car audio systems, advises: “Investing in a good quality multimeter and soldering iron is essential for any DIY car audio enthusiast. These tools will pay for themselves over time.”
FAQ
-
What is the most important tool for car amplifier repair? A multimeter is arguably the most important tool.
-
Do I need an oscilloscope for basic amplifier repairs? No, an oscilloscope is primarily for advanced diagnostics.
Contact us via WhatsApp: +1(641)206-8880, Email: [email protected] or visit us at 910 Cedar Lane, Chicago, IL 60605, USA. Our customer support team is available 24/7.

Leave a Reply