Cutting out images in Photoshop can be a tricky business, especially if you’re working with complex shapes or backgrounds. The Magic Wand tool, however, can simplify this process significantly, making it a powerful tool for anyone from beginners to seasoned Photoshop pros. This guide will cover everything you need to know about using the Magic Wand tool to cut out images efficiently and accurately.
Mastering the Magic Wand Tool in Photoshop
The Magic Wand tool works by selecting pixels based on their color and tone. This means it’s incredibly effective for isolating areas of similar color, like a solid background or a distinct object. While it might not be suitable for every image, understanding its nuances can save you a ton of time and effort.
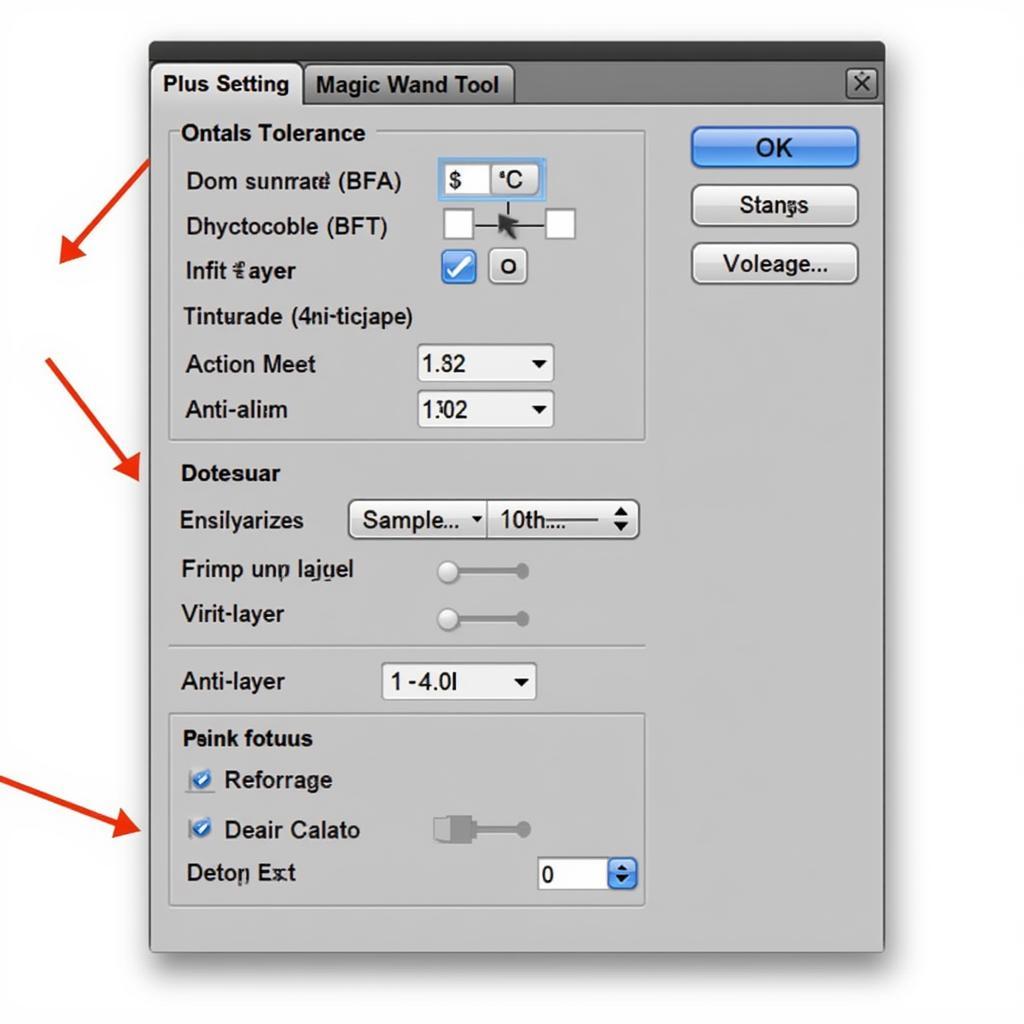
Understanding the Magic Wand Tool Settings
The Magic Wand tool’s power comes from its customizable settings. Let’s break down the key parameters:
- Tolerance: This controls the range of colors the tool selects. A lower tolerance selects a narrower range of colors, while a higher tolerance selects a wider range.
- Contiguous: This option determines whether the tool selects only adjacent pixels or similar pixels throughout the image. Unchecking this box is useful for selecting scattered elements of the same color.
- Anti-alias: This setting smooths the edges of your selection, reducing jagged lines. It’s generally recommended to keep this option checked.
- Sample All Layers: If you’re working with multiple layers, this option allows the Magic Wand to analyze all visible layers when making a selection.
 Magic Wand Tool Settings in Photoshop
Step-by-Step Guide: Cutting Out an Image with the Magic Wand Tool
Here’s how to cut out an image using the Magic Wand tool:
- Open your image in Photoshop.
- Select the Magic Wand tool from the toolbar.
- Adjust the Tolerance. Start with a lower value and gradually increase it if necessary.
- Click on the area you want to select.
- Refine your selection. If the selection isn’t perfect, you can add to it by holding Shift and clicking, or subtract from it by holding Alt/Option and clicking.
- Inverse the selection (Select > Inverse) to select the object you want to cut out.
- Copy and paste the selection onto a new layer or into a new document.
Tips and Tricks for Using the Magic Wand Tool Effectively
- Start with a simple background: The Magic Wand works best with images that have a clear distinction between the subject and the background.
- Experiment with Tolerance: Finding the right tolerance setting is key to a successful selection.
- Use the Refine Edge tool: For even more precise selections, use the Refine Edge tool to smooth and adjust the edges.
“The Magic Wand tool is a lifesaver for quick selections,” says renowned graphic designer, Amelia Hernandez. “But mastering the tolerance setting is the real key to unlocking its full potential.”
Troubleshooting Common Issues
- Unwanted areas are selected: Lower the Tolerance or check the Contiguous box.
- Not enough is selected: Increase the Tolerance or uncheck the Contiguous box.
- Jagged edges: Ensure Anti-alias is checked and consider using the Refine Edge tool.
“Remember, the Magic Wand isn’t a one-size-fits-all solution,” adds seasoned photo editor, David Lee. “Knowing when to combine it with other selection tools is crucial for professional results.”
Conclusion
The Magic Wand tool offers a quick and efficient way to cara memotong gambar di photoshop dengan magic wand tool. By understanding its settings and following these tips, you can achieve accurate and professional-looking cutouts.
FAQ
- What is the Magic Wand tool best used for?
- How do I adjust the tolerance of the Magic Wand tool?
- What does the Contiguous option do?
- How can I refine the edges of a selection made with the Magic Wand?
- What are some common issues when using the Magic Wand tool?
Need more assistance? Contact us via WhatsApp: +1(641)206-8880, Email: [email protected] or visit our office at 910 Cedar Lane, Chicago, IL 60605, USA. Our 24/7 customer support team is ready to help.
