A Windshield Windscreen Car Glass Scratch Repair Tool Kit can be a lifesaver. These kits provide a DIY solution for minor chips and scratches, saving you time and money compared to professional repairs or full windshield replacements. But choosing the right kit and using it effectively is crucial for optimal results.
Understanding Windshield Scratch Repair
Windshield scratches, whether from road debris, wiper blades, or vandalism, can compromise visibility and structural integrity. Repairing these blemishes promptly is essential for safety and aesthetics. A windshield windscreen car glass scratch repair tool kit offers a convenient and cost-effective solution for minor damage, but it’s important to understand its limitations. These kits are typically designed for small chips and cracks, not extensive damage requiring professional attention.
Choosing the Right Windshield Windscreen Car Glass Scratch Repair Tool Kit
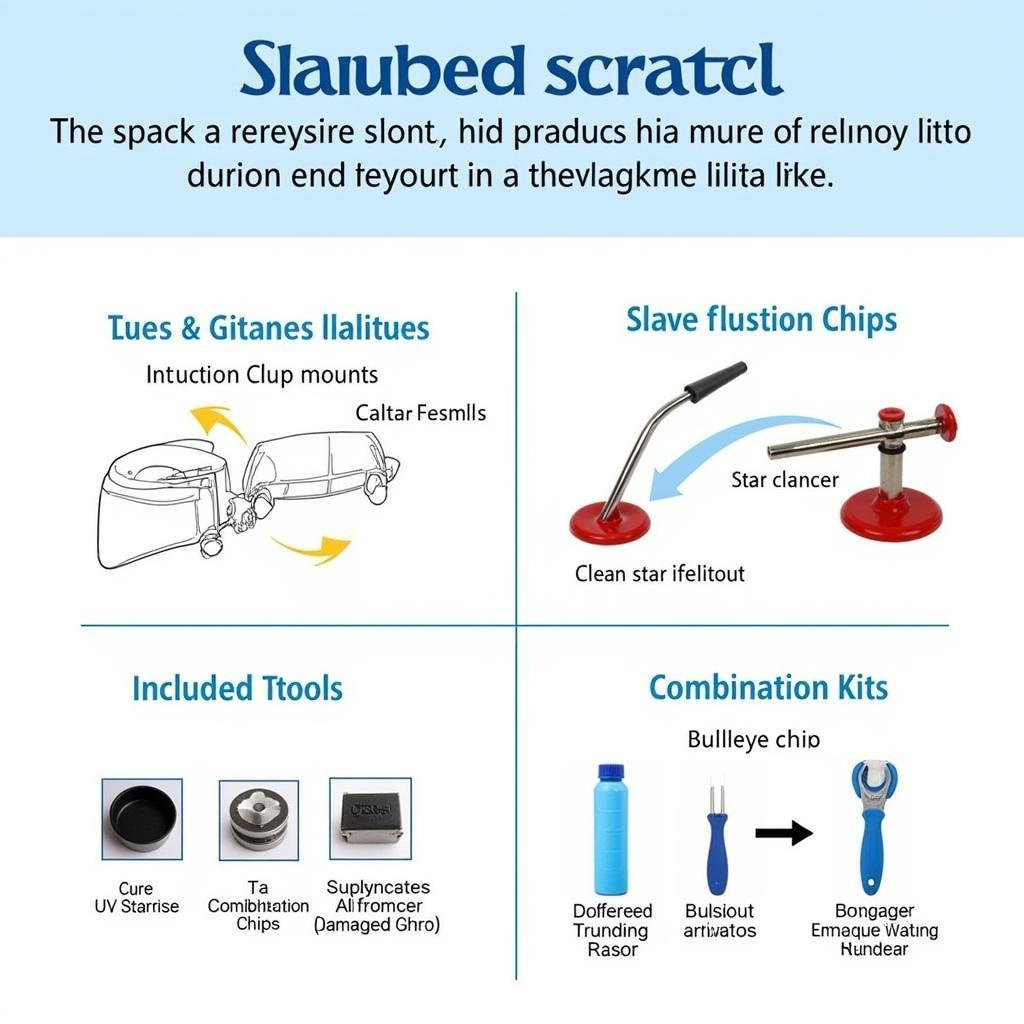
 Different Types of Windshield Scratch Repair Kits
Selecting the right kit is the first step towards a successful repair. Consider the following factors:
- Type of Damage: Identify the type of scratch or chip. Is it a bullseye, a star crack, or a combination? Different kits are designed for specific damage types.
- Resin Quality: The resin is the heart of the repair process. Look for high-quality resin that cures clear and strong. UV-curing resins are popular for their quick and effective curing process.
- Applicator Design: A well-designed applicator ensures precise resin application into the damaged area. Look for applicators that create a good seal and prevent air bubbles.
- Included Tools: A comprehensive kit should include everything you need for a successful repair, such as a suction cup mount, razor blade for cleaning the damaged area, and instructions.
Step-by-Step Guide to Using a Windshield Windscreen Car Glass Scratch Repair Tool Kit
 Step-by-Step Windshield Scratch Repair Process
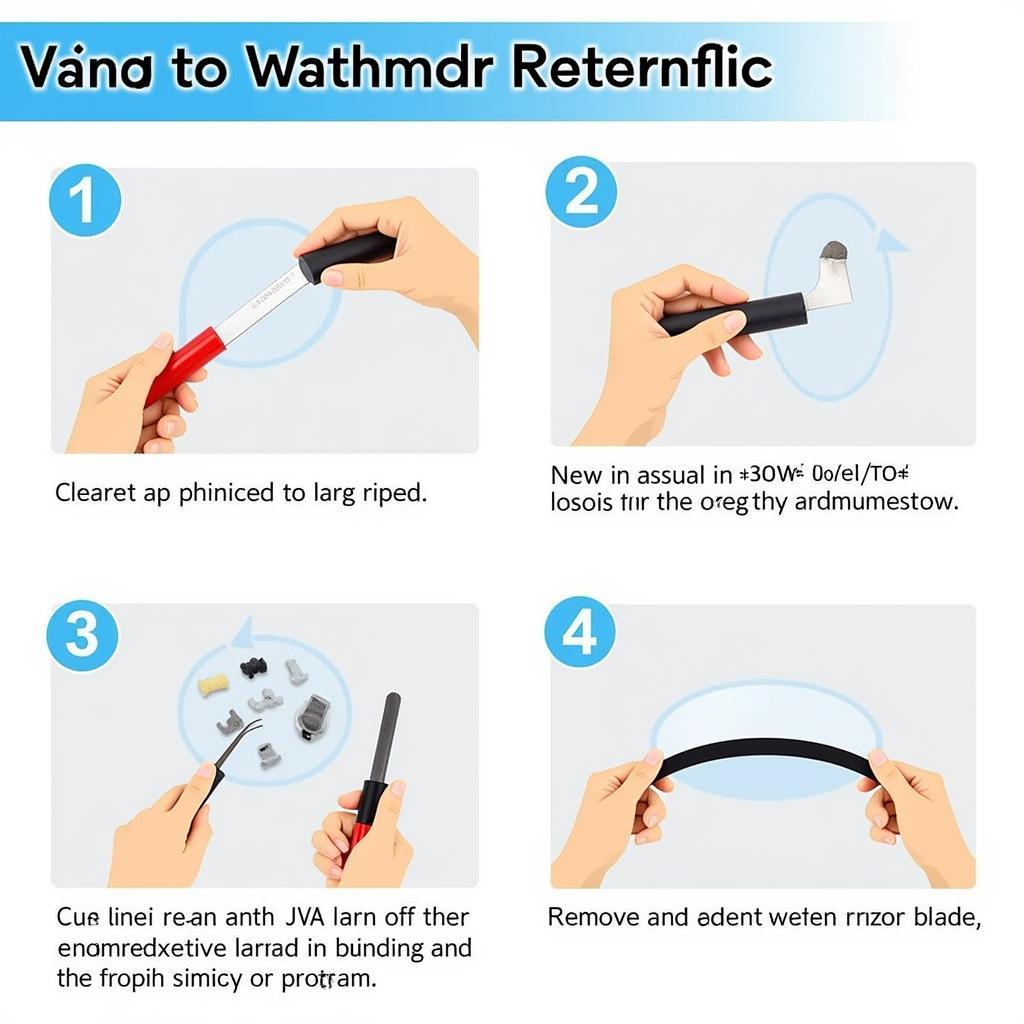
Follow these steps to achieve the best results:
- Clean the Area: Thoroughly clean the damaged area with the included razor blade or a clean cloth to remove any dirt, debris, or loose glass fragments.
- Prepare the Applicator: Attach the applicator to the windshield using the suction cup mount and ensure a tight seal around the damaged area.
- Apply the Resin: Carefully inject the resin into the damaged area, ensuring it fills the entire crack or chip.
- Cure the Resin: If using a UV-curing resin, expose the repaired area to direct sunlight or a UV lamp for the recommended time.
- Remove Excess Resin: Once the resin is cured, use a razor blade to carefully scrape away any excess resin, leaving a smooth and flush surface.
Beyond DIY: When to Seek Professional Help
While a windshield windscreen car glass scratch repair tool kit is effective for minor damage, some situations warrant professional intervention. Deep cracks, long cracks, or cracks that obstruct the driver’s view require professional repair or windshield replacement.
Maintaining Your Windshield After Repair
After repairing a scratch, proper maintenance can prolong the life of your windshield and prevent further damage. Avoid using harsh chemicals, replace worn wiper blades regularly, and park in shaded areas whenever possible.
“Regular maintenance is key to preserving the integrity of your windshield. Even after a successful repair, proper care will prevent future damage and extend its lifespan,” says John Davis, Automotive Glass Specialist at AutoGlass Experts.
Conclusion
A windshield windscreen car glass scratch repair tool kit can be an effective and affordable solution for minor windshield damage. By choosing the right kit, following the instructions carefully, and performing regular maintenance, you can keep your windshield in optimal condition and ensure clear visibility for safe driving. Remember to consult a professional for significant damage beyond the scope of a DIY repair kit.
“While DIY kits are a great option for small chips and cracks, don’t hesitate to consult a professional for more extensive damage. Safety should always be your top priority,” adds John Davis, Automotive Glass Specialist at AutoGlass Experts.
FAQ
-
How long does the repair process typically take?
The repair process usually takes about 30-45 minutes, including preparation, resin application, and curing time. -
Can I repair a crack on the edge of the windshield?
Cracks on the edge of the windshield are often more complex and may require professional repair. -
How long will the repair last?
With proper maintenance, a well-executed repair can last for several years. -
What if the resin doesn’t cure properly?
Ensure you are using the correct curing method (UV light or resin hardener) and allow sufficient curing time. -
Can I drive immediately after the repair?
Yes, you can typically drive immediately after the repair process is complete. -
What if the scratch is too deep for a DIY kit?
Consult a professional for deep scratches or cracks that penetrate multiple layers of the glass. -
Where can I purchase a high-quality windshield scratch repair kit?
High-quality kits can be purchased from reputable auto parts stores or online retailers.
For further information, you might want to explore these related articles on DiagFixPro:
- “Understanding Windshield Damage: Types, Causes, and Solutions”
- “Choosing the Right Wiper Blades for Optimal Windshield Care”
Need help? Contact us via WhatsApp: +1(641)206-8880, Email: [email protected] or visit us at 910 Cedar Lane, Chicago, IL 60605, USA. Our customer service team is available 24/7.

Leave a Reply