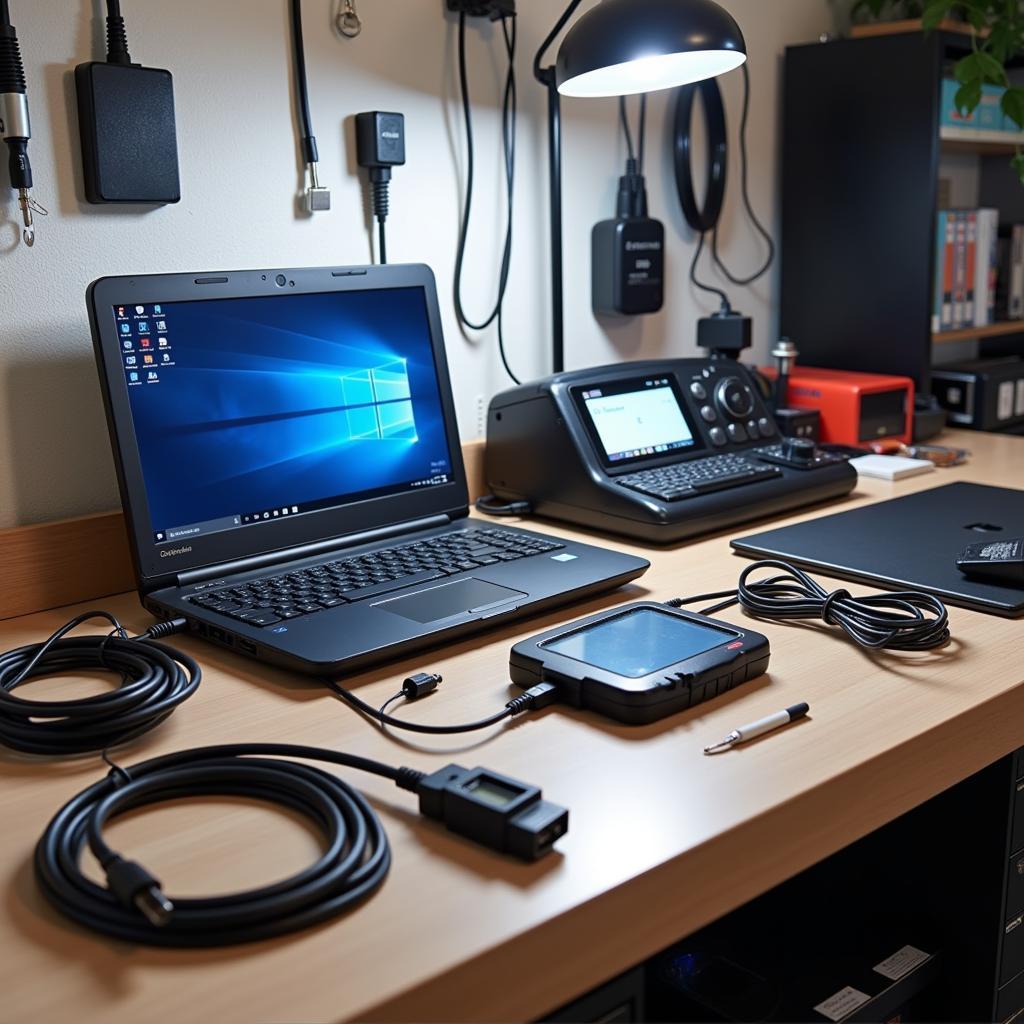
Choosing the right car diagnostic tools and installing them properly is crucial for any automotive enthusiast or professional in GA. Whether you’re a seasoned mechanic or a DIYer, having the right tools at your fingertips can save you time, money, and frustration. This comprehensive guide will walk you through everything you need to know about installing car diagnostic tools, empowering you to diagnose and troubleshoot vehicle issues with confidence.
 Car Diagnostic Tools Installation Guide
Understanding Car Diagnostic Tools and Their Importance
Before we dive into the installation process, let’s clarify what car diagnostic tools are and why they’re essential. In simple terms, these tools are electronic devices that communicate with your car’s computer system, also known as the Engine Control Unit (ECU). The ECU is responsible for monitoring and controlling various aspects of your vehicle’s performance, including engine operation, emissions, transmission, and more.
Car diagnostic tools allow you to tap into this wealth of information, providing valuable insights into your car’s health. They enable you to:
- Read and clear diagnostic trouble codes (DTCs): When something goes wrong with your car, the ECU generates DTCs that pinpoint the potential source of the problem.
- View live data streams: Observe real-time sensor readings, such as engine RPM, coolant temperature, oxygen sensor voltage, and more, to analyze engine performance and identify irregularities.
- Perform actuator tests: Activate various components, like fuel injectors or solenoids, to verify their functionality and diagnose issues.
- Access and modify vehicle configurations: For advanced users, some diagnostic tools allow you to adjust specific parameters within the ECU, enabling customization and optimization.
Types of Car Diagnostic Tools
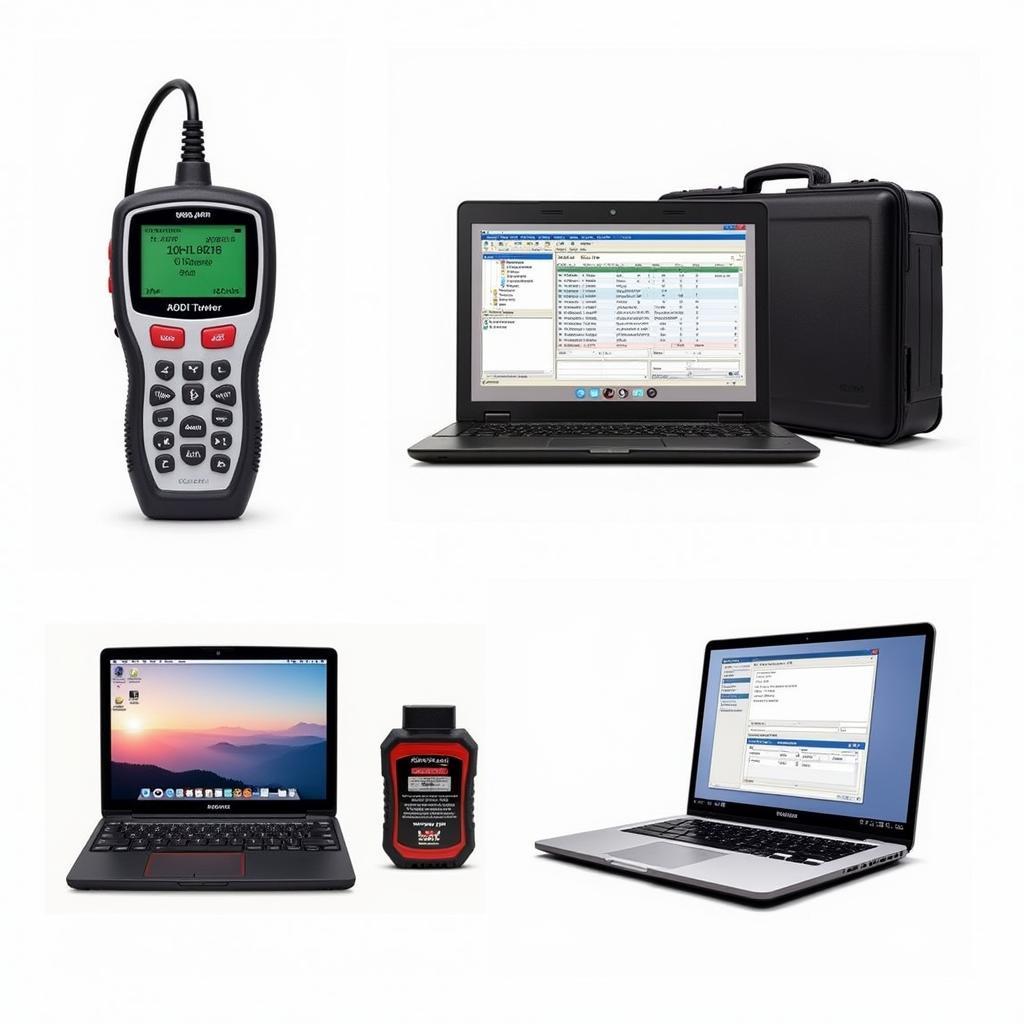
The market offers a wide range of car diagnostic tools, each catering to different needs and budgets. Some common types include:
- OBD-II Scanners: These handheld devices are the most basic and affordable option, primarily used to read and clear DTCs.
- Code Readers: Similar to OBD-II scanners, but often include additional features like code definitions and limited live data viewing.
- Professional-Grade Scan Tools: Comprehensive tools used by mechanics and technicians, offering advanced functionalities like bidirectional control, coding, programming, and more.
- PC-Based Diagnostic Software: These software programs connect to your computer via a cable or wireless adapter, providing a powerful and versatile diagnostic platform.
 Choosing the Right Car Diagnostic Tool
Factors to Consider When Choosing Car Diagnostic Tools
Selecting the right car diagnostic tools depends on your specific needs and level of expertise. Consider the following factors:
- Vehicle Compatibility: Ensure the tool supports your car’s make, model, and year. OBD-II compatibility is standard for most vehicles manufactured after 1996.
- Features and Functionality: Determine the essential features for your needs, such as code reading, live data viewing, bidirectional control, or specialized functions.
- User Interface and Ease of Use: Choose a tool with an intuitive interface and clear instructions, especially if you’re a beginner.
- Software Updates: Opt for tools that offer regular software updates to ensure compatibility with the latest vehicle models and technologies.
- Budget: Set a realistic budget and explore different options within your price range.
Step-by-Step Installation Guide
Once you’ve chosen the right car diagnostic tools, the installation process is typically straightforward. However, always refer to the manufacturer’s instructions for specific guidance. Here’s a general overview:
- Locate the OBD-II Port: The OBD-II port is usually located under the dashboard, on the driver’s side, beneath the steering wheel.
- Connect the Diagnostic Tool: Connect the tool to the OBD-II port using the provided cable or adapter.
- Turn on the Ignition: Turn the ignition to the “on” position but do not start the engine.
- Install Software (if applicable): If using PC-based software, install the necessary drivers and software on your computer.
- Establish Connection: Follow the on-screen prompts on the tool or software to establish communication with your vehicle’s ECU.
 Connecting Car Diagnostic Tool to OBD2 Port
Tips for Using Car Diagnostic Tools Effectively
- Read the Manual: Familiarize yourself with the tool’s features, functions, and safety precautions.
- Start with the Basics: Begin with basic functions like reading and clearing DTCs before exploring advanced features.
- Research Codes Thoroughly: Use reliable online resources or repair manuals to understand the meaning of DTCs and their potential causes.
- Consult a Professional: If you encounter complex issues or require assistance, don’t hesitate to consult a qualified mechanic.
Conclusion
Installing car diagnostic tools is an essential step towards taking control of your vehicle’s maintenance and repair. By understanding the different types of tools, choosing the right one for your needs, and following the installation steps, you can empower yourself to diagnose and address car problems effectively. Remember to use these tools responsibly and always prioritize safety.
For professional car diagnostic service, contact us via WhatsApp: +1(641)206-8880 or Email: [email protected]. Our 24/7 customer support team is always ready to assist you.

Leave a Reply