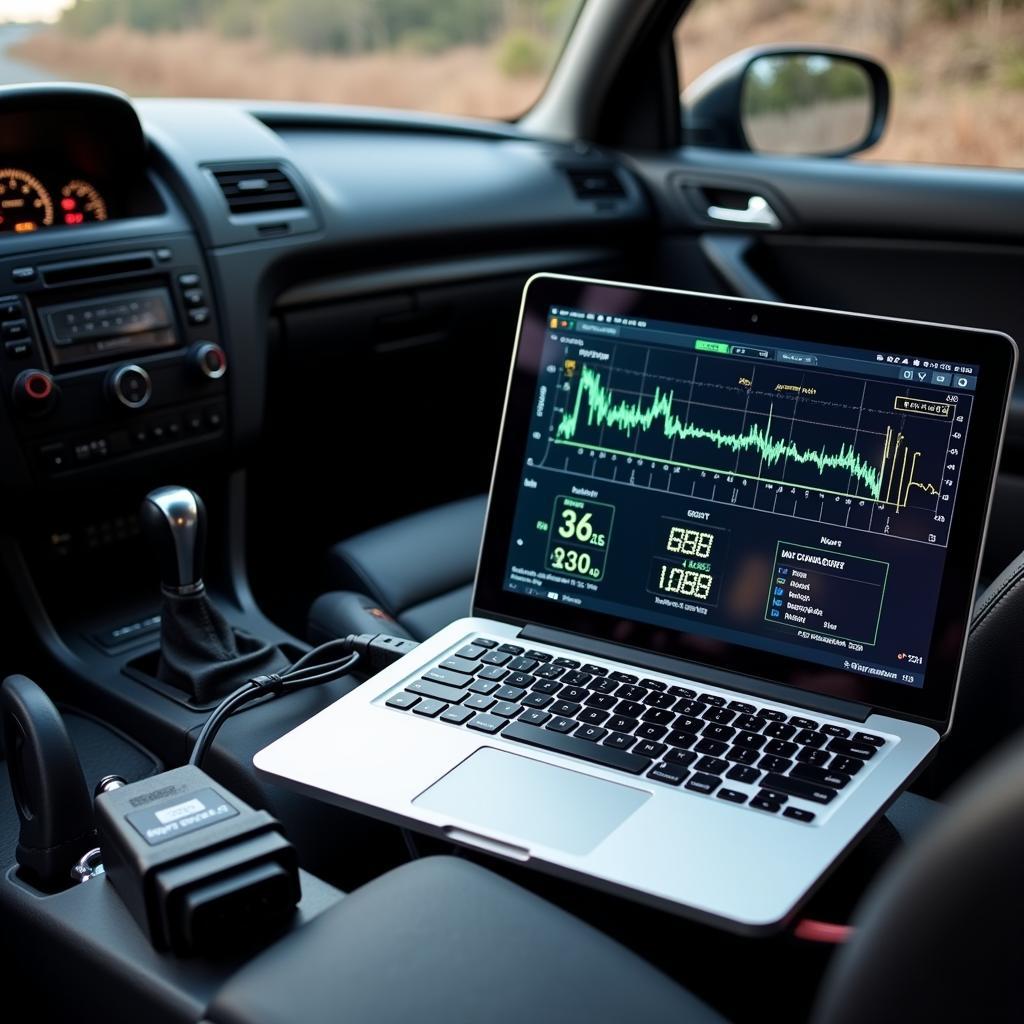
Turning your old netbook into a powerful car diagnostic tool is easier than you think. With the right software, cables, and a little know-how, you can transform that dusty machine into a professional-grade diagnostic system that rivals expensive standalone units. This guide will walk you through the process, empowering you to diagnose and troubleshoot car problems like a pro.
Why Use a Netbook for Car Diagnostics?
Netbooks offer several advantages over dedicated car diagnostic scanners, especially for the budget-conscious DIYer:
- Cost-effective: Netbooks, especially older models, can be found at a fraction of the cost of professional diagnostic tools.
- Versatility: Unlike single-purpose scanners, a netbook can be used for other tasks when not diagnosing your car.
- Powerful Software: Numerous software options are available, offering advanced features like live data streaming, fault code reading and clearing, and component activation.
- Large Display: Netbooks provide a bigger, clearer screen for viewing data compared to handheld scanners.
- User-Friendly Interface: Most diagnostic software boasts an intuitive interface, making it easy to navigate and understand the information displayed.
What You Need to Get Started
Before diving in, gather the following essentials:
- Netbook: Windows-based netbooks are generally preferred for compatibility with most diagnostic software.
- OBD-II Cable: This cable connects your netbook to your car’s OBD-II port, typically located under the dashboard on the driver’s side. Ensure you choose a cable compatible with your car’s make and model.
- Diagnostic Software: Numerous options are available, ranging from free open-source software to paid professional-grade applications. Research and choose one that meets your needs and budget.
Setting Up Your Netbook for Car Diagnostics
Follow these steps to transform your netbook:
- Install the Diagnostic Software: Download and install your chosen software onto your netbook.
- Connect the OBD-II Cable: Plug one end of the cable into your netbook’s USB port and the other end into your car’s OBD-II port.
- Turn on the Ignition: Turn the ignition to the “on” position without starting the engine. This powers up the OBD-II system.
- Launch the Software: Open the diagnostic software on your netbook. It may prompt you to select your car’s make and model.
- Establish Connection: The software should automatically attempt to connect to your car’s ECU (Engine Control Unit). Once connected, you’re ready to diagnose!
Diagnosing Your Car
With your netbook successfully set up, you can now:
- Read and Clear Fault Codes: Retrieve and interpret diagnostic trouble codes (DTCs) stored in your car’s ECU, providing insights into potential issues. Clear the codes after addressing the underlying problem.
- View Live Data: Monitor real-time sensor data, such as engine RPM, coolant temperature, and oxygen sensor readings, to diagnose problems and assess engine performance.
- Perform Component Activation: Test individual components, like actuators and solenoids, to pinpoint malfunctions.
Choosing the Right Diagnostic Software
Selecting the appropriate software is crucial. Consider factors such as:
- Vehicle Compatibility: Ensure the software supports your car’s make, model, and year.
- Features: Determine the features you need, such as live data, fault code reading and clearing, component activation, and advanced diagnostics.
- Ease of Use: Opt for software with an intuitive interface and clear instructions, especially if you’re new to car diagnostics.
- Cost: Software options range from free to hundreds of dollars. Weigh the features against your budget.
“Choosing the right software is paramount,” says automotive expert John Smith, “It’s the brain of your diagnostic setup. Opt for one that aligns with your skill level and diagnostic needs.”
Tips for Success
- Research your car: Familiarize yourself with your car’s specific diagnostic procedures and common fault codes.
- Start with the basics: Begin with simple tasks like reading and clearing fault codes before delving into advanced diagnostics.
- Update your software: Regularly check for software updates to ensure compatibility and access to the latest features.
- Consult online resources: Numerous forums and online communities dedicated to car diagnostics can offer valuable guidance and support.
Conclusion
Transforming your old netbook into a car diagnostic powerhouse is a cost-effective way to gain professional-level insights into your vehicle’s health. With the right tools and knowledge, you can diagnose and troubleshoot problems like a pro, saving time and money on expensive mechanic visits. Remember to choose compatible software and cables, research your car’s specific requirements, and start with the basics before diving into advanced diagnostics.
Need assistance with car diagnostics? Contact our team of experts 24/7 via WhatsApp: +1(641)206-8880, or Email: [email protected]. We’re here to help!

