A car diagnostic scanner is an essential tool for any car owner or mechanic. It can help you quickly identify problems with your car’s engine, transmission, brakes, and other systems. By understanding how to use a diagnostic scanner for cars, you can save time and money on repairs, and even improve your car’s performance.
Understanding Car Diagnostic Scanners
Before diving into the “how-to,” it’s crucial to understand what a car diagnostic scanner does. Essentially, it’s a device that communicates with your car’s computer system, the Engine Control Unit (ECU), to retrieve diagnostic trouble codes (DTCs). These codes are like your car’s way of telling you something is wrong.
There are different types of car diagnostic scanners, ranging from basic code readers to professional-grade scan tools:
- Code Readers: These are the most basic and affordable scanners. They can read and clear basic DTCs.
- OBD-II Scanners: These scanners are more advanced and can access more data from your car’s ECU. They can read and clear a wider range of DTCs, display live data stream from sensors, and perform some special functions.
- Professional-Grade Scan Tools: These scanners are the most expensive and feature-rich. They offer advanced functionalities such as bi-directional control (sending commands to the ECU), programming and coding, and access to manufacturer-specific data.
How to Use a Diagnostic Scanner on Your Car: A Step-by-Step Guide
Using a car diagnostic scanner might seem intimidating at first, but it’s quite straightforward. Here’s a general guide on how to use a diagnostic scanner for cars:
- Locate Your Car’s OBD-II Port: The OBD-II port is usually located under the dashboard on the driver’s side.
- Turn the Ignition On: Turn the ignition key to the “on” position but don’t start the engine. This powers up the ECU and the scanner.
- Connect the Scanner: Plug the diagnostic scanner into the OBD-II port.
- Turn the Scanner On: Switch on the scanner and wait for it to establish a connection with your car’s ECU.
- Read the Codes: Select the “Read Codes” option on the scanner. This will display any stored DTCs.
- Interpret the Codes: Look up the meaning of the codes using the scanner’s built-in library or an online resource. What is a diagnostic test car?
- Clear the Codes: After addressing the underlying issue, you can clear the codes using the scanner.
Pro Tip: Always research the DTC thoroughly before attempting any repairs.
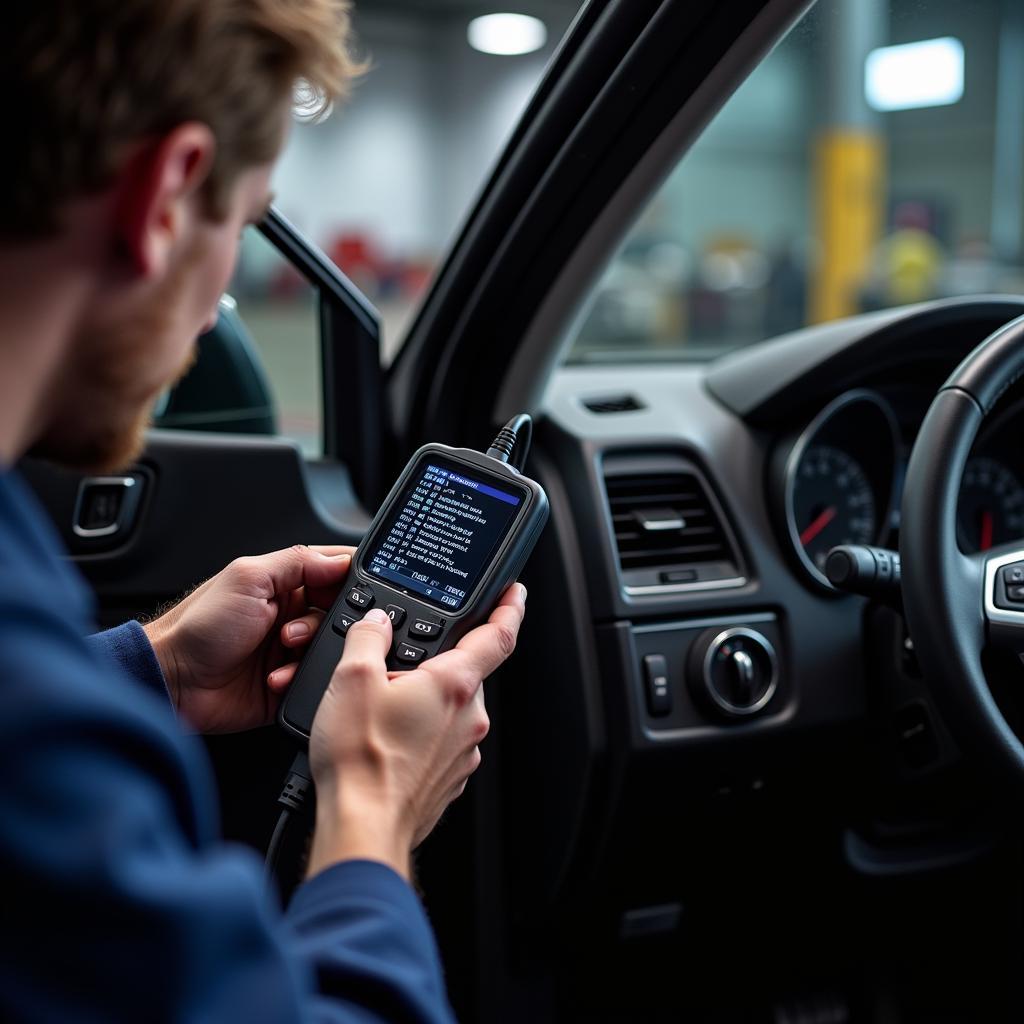
 Reading Car Diagnostic Codes using an OBD-II Scanner
Beyond Basic Code Reading: Advanced Scanner Features
While reading and clearing codes are the primary functions, many scanners offer advanced features:
- Live Data Stream: View real-time data from various sensors, such as engine RPM, coolant temperature, and oxygen sensor readings. This data can help pinpoint the root cause of a problem.
- Freeze Frame Data: This feature captures a snapshot of the engine’s operating conditions at the time a fault code was stored. This data can provide valuable clues for diagnosing intermittent problems.
- Component Activation: Some scanners allow you to activate certain components, like turning on the fuel pump or cycling the EVAP system, to test their operation.
- ECU Programming and Coding: Professional-grade scanners can be used for advanced tasks like reprogramming the ECU with updated software or coding new components.
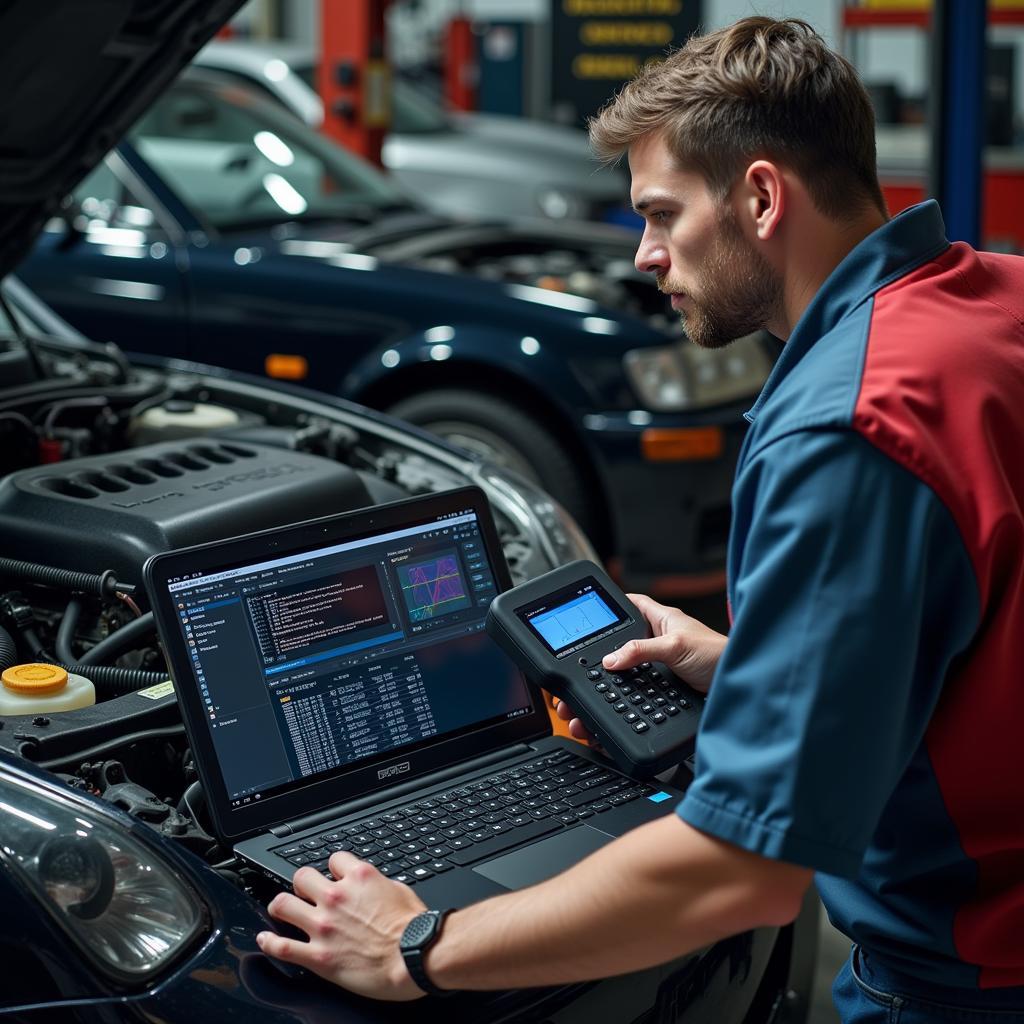
 Mechanic using a professional-grade diagnostic scanner
Choosing the Right Car Diagnostic Scanner
With so many car diagnostic scanners available, choosing the right one can seem overwhelming. Here are some factors to consider:
- Your Budget: Diagnostic scanners range in price from affordable code readers to expensive professional-grade tools. Determine your budget and choose a scanner that fits your needs and price range.
- Your Skill Level: If you’re a DIYer, a basic code reader or an OBD-II scanner with basic functions might be sufficient. However, professional mechanics require more advanced scanners.
- Vehicle Compatibility: Ensure that the scanner you choose is compatible with the make, model, and year of your car. Most scanners support a wide range of vehicles, but it’s always best to double-check.
Expert Insight: “Investing in a quality diagnostic scanner is crucial for any car owner serious about DIY repairs. It empowers you to understand your vehicle better and can potentially save you significant money in the long run.” – John Miller, Senior Automotive Technician
Conclusion
Knowing how to use a diagnostic scanner for cars is an invaluable skill for any car owner or mechanic. It allows you to take control of your car’s maintenance, diagnose problems accurately, and potentially save on costly repairs. Whether you’re a DIY enthusiast or a seasoned mechanic, having the right diagnostic scanner can make all the difference in keeping your vehicle running smoothly.
FAQs
Can I use any diagnostic scanner on my car?
Not all scanners are universally compatible. Ensure the scanner supports your car’s make, model, and year.
Will using a diagnostic scanner void my car’s warranty?
No, using a scanner to read and clear codes will not void your warranty. However, attempting repairs beyond your skill level might.
Can a diagnostic scanner fix my car’s problems?
No, a scanner only diagnoses problems. It doesn’t fix them. Repairs need to be addressed separately.
Where can I get a car diagnostic test done?
You can get a diagnostic test done at most auto repair shops, dealerships, or even some auto parts stores. Who does car diagnostics?
How often should I use a car diagnostic scanner?
It’s a good practice to scan your car for codes periodically, especially if you notice any unusual performance issues.
Need help choosing the right car diagnostic scanner or want to learn more about car diagnostics? Contact us via WhatsApp: +1(641)206-8880 or Email: [email protected]. We’re available 24/7 to assist you.

Leave a Reply