Arduino car diagnostic tools are becoming increasingly popular amongst car enthusiasts and hobbyists. This surge in popularity comes from the flexibility and affordability that Arduino offers, allowing users to delve into their vehicles’ inner workings without breaking the bank. But what exactly is Arduino car diagnostic, and how can it benefit you?
Demystifying Arduino Car Diagnostic
In essence, Arduino car diagnostic refers to using the open-source Arduino platform to read and interpret data from a vehicle’s onboard computer. This data, often accessed through the OBD-II port (On-Board Diagnostics), provides valuable insights into your vehicle’s health, performance, and potential issues.
Think of it like this: your car is constantly monitoring itself, collecting data on everything from engine speed to fuel efficiency. Arduino, with the right code and connections, acts as a translator, allowing you to understand this data and use it to your advantage.
Why Choose Arduino for Car Diagnostics?
Several factors contribute to Arduino’s growing popularity in the car diagnostic realm:
- Cost-Effectiveness: Compared to professional-grade diagnostic tools, Arduino boards and components are significantly more affordable, making it an attractive option for hobbyists and DIY enthusiasts.
- Flexibility and Customization: Arduino’s open-source nature grants you the freedom to tailor your diagnostic tools to your specific needs and interests. You can choose the sensors, displays, and features that matter most to you.
- Learning Opportunity: Working with Arduino for car diagnostics is a fantastic way to delve into the world of automotive electronics and programming. The hands-on experience provides valuable knowledge and skills.
What You Need to Get Started
Embarking on your Arduino car diagnostic journey requires a few essential components:
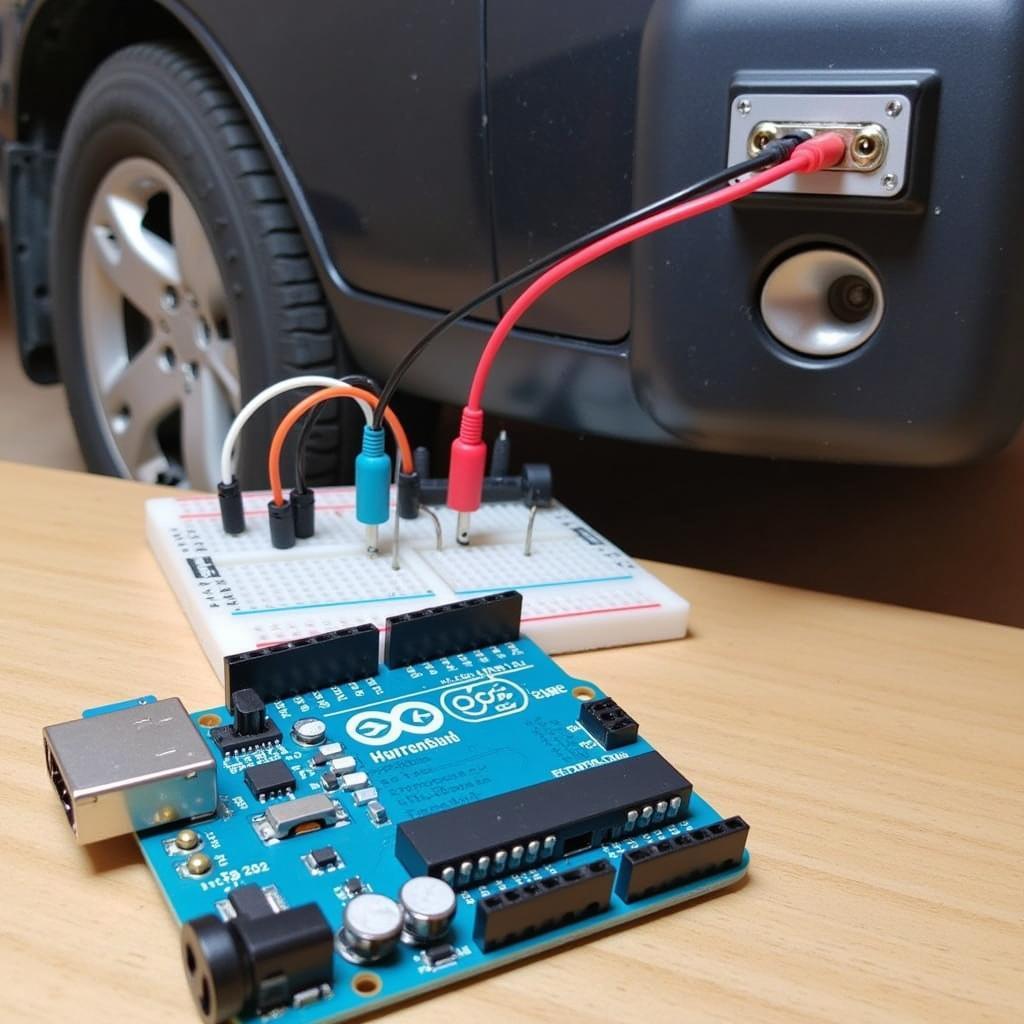
- Arduino Board: The heart of your setup, responsible for processing data and controlling components. Popular choices include the Arduino Uno, Nano, and Mega.
- OBD-II Connector: This connector acts as the bridge between your Arduino and your vehicle’s OBD-II port, enabling data retrieval.
- Sensors (Optional): Depending on your desired depth of diagnostics, you might need additional sensors to measure parameters like temperature, pressure, or oxygen levels.
- Display (Optional): A display unit, such as an LCD screen, allows you to visualize the data collected by your Arduino setup.
- Jumper Wires and Breadboard: These components facilitate connections between the Arduino board, OBD-II connector, sensors, and display.
From Code to Clarity: Using Your Arduino Diagnostic Tool
Once you have your hardware assembled, the next step involves programming your Arduino board to communicate with your vehicle and interpret the data received.
Fortunately, the Arduino community offers a wealth of pre-written code and libraries specifically designed for car diagnostics. These resources simplify the process, allowing you to focus on customizing the setup to your liking.
With your Arduino programmed and connected, you can start monitoring various aspects of your vehicle’s performance in real-time, including:
- Engine RPM: Track your engine’s revolutions per minute to monitor performance and diagnose potential issues.
- Coolant Temperature: Keep an eye on your engine’s temperature to prevent overheating.
- Vehicle Speed: Verify your vehicle’s actual speed against the speedometer reading.
- Fuel Efficiency: Monitor your fuel consumption and identify areas for improvement.
- Error Codes: Retrieve and decipher diagnostic trouble codes (DTCs) to pinpoint potential malfunctions.
Limitations and Considerations
While Arduino car diagnostics offer a cost-effective and educational approach to understanding your vehicle, it’s essential to acknowledge some limitations:
- Complexity: Arduino projects can become quite complex, especially for beginners. Familiarity with basic electronics and programming is beneficial.
- Limited Functionality: While Arduino can access a wide range of vehicle data, it might not offer the same depth and advanced features as professional-grade diagnostic tools.
- Potential Risks: Incorrect wiring or faulty code can potentially damage your vehicle’s electronics. Always double-check your connections and proceed with caution.
Conclusion
Arduino car diagnostic presents an exciting avenue for car enthusiasts and DIYers to gain a deeper understanding of their vehicles. While not a replacement for professional-grade tools, Arduino offers a cost-effective, flexible, and educational approach to car diagnostics.
Remember to start with simple projects and gradually increase the complexity as you gain experience. With patience and persistence, Arduino can empower you to diagnose and address minor car issues, potentially saving you time and money in the long run.
FAQs
Can I use Arduino to clear check engine lights?
Yes, with the correct code and setup, Arduino can be used to read and clear diagnostic trouble codes (DTCs), which often trigger the check engine light. However, it’s crucial to address the underlying issue that caused the DTC in the first place.
Is Arduino car diagnostic safe for my vehicle?
As long as you follow proper wiring guidelines and use reliable code, Arduino car diagnostic is generally safe. However, always double-check your connections and proceed with caution, as incorrect wiring can potentially damage your vehicle’s electronics.
What are some advanced Arduino car diagnostic projects?
Once you’re comfortable with the basics, you can explore projects like building a custom dashboard, integrating GPS tracking, or implementing real-time data logging and analysis.
Need further assistance with car diagnostics or seeking expert advice? Reach out to us via WhatsApp: +1(641)206-8880 or Email: [email protected]. Our dedicated team is available 24/7 to assist you.

