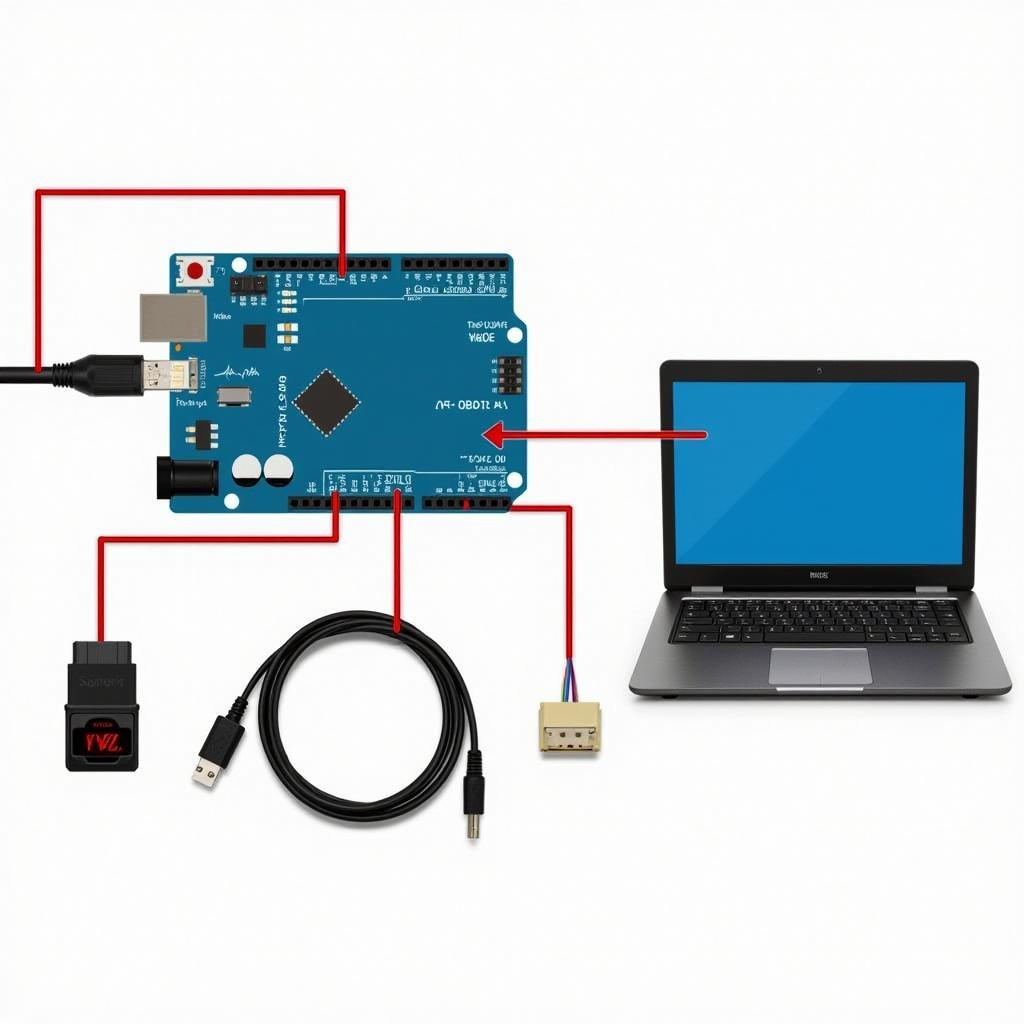
An Arduino Car Diagnostic Interface offers a cost-effective way to tap into your vehicle’s onboard diagnostics system (OBD-II). This guide explores the world of Arduino for car diagnostics, empowering you to understand and potentially fix minor car issues without breaking the bank.
For the uninitiated, the OBD-II system is your car’s internal communication network. It provides valuable data about engine performance, emissions, and other crucial components. While professional-grade diagnostic tools can be expensive, an Arduino board, coupled with the right components and knowledge, can be a game-changer for the DIY enthusiast.
Why Choose Arduino for Car Diagnostics?
Arduino’s strength lies in its versatility and affordability. This open-source platform allows you to create customized diagnostic solutions tailored to your specific needs. With some basic electronics knowledge and a passion for tinkering, you can build a capable diagnostic interface for a fraction of the cost of commercial options.
 Arduino OBD-II Setup
Building Your Own Arduino Car Diagnostic Interface
Let’s break down the process of building your own Arduino car diagnostic interface:
1. Gather the Components:
- Arduino Board: The brain of the operation. An Arduino Uno is a great starting point.
- OBD-II Connector: The interface to your car’s diagnostic port.
- CAN Bus Shield: Enables communication between the Arduino and your car’s OBD-II system.
- Jumper Wires: For establishing connections between components.
- Other Optional Components: Depending on your project’s complexity, you might need resistors, LEDs, an LCD display, etc.
2. Connect the Hardware:
- Attach the CAN Bus Shield to your Arduino board.
- Wire the OBD-II connector to the CAN Bus Shield. Refer to your shield’s documentation for the correct pin configuration.
3. Upload the Code:
- Download and install the Arduino IDE on your computer.
- Find a suitable OBD-II library compatible with your CAN Bus Shield.
- Write or find an Arduino sketch (code) that reads and displays the desired data from your car’s ECU.
- Upload the code to your Arduino board.
4. Start Diagnosing:
- Connect your assembled interface to your car’s OBD-II port (usually located under the dashboard on the driver’s side).
- Open the Serial Monitor in the Arduino IDE to view the data stream.
- Interpret the data: You can find the meaning of different OBD-II codes online or using a dedicated app.
Going Beyond Basics: Expanding Your Diagnostic Tool
Once you’ve mastered the basics, the possibilities are endless:
- Data Logging: Store diagnostic data over time to identify intermittent issues or track vehicle performance.
- Custom Dashboards: Create a personalized display using an LCD screen or connect to a smartphone app for a visually appealing interface.
- Advanced Diagnostics: Explore specific protocols and commands to access more detailed information about your car’s systems.
“For beginners, starting with a simple project like reading and displaying engine RPM or coolant temperature can be a great confidence booster,” says automotive electronics expert Dr. James Lee. “As you gain experience, you can gradually delve into more complex diagnostic tasks.”
Challenges and Considerations
While incredibly rewarding, building a DIY car diagnostic tool comes with its challenges:
- Technical Knowledge: A basic understanding of electronics and programming is beneficial.
- Vehicle Compatibility: Not all cars fully support all OBD-II commands. Some manufacturers may use proprietary protocols.
- Potential Risks: Improperly handling car electronics can potentially damage your vehicle’s systems. Proceed with caution and research thoroughly.
free car diagnostic program download
Conclusion: Empowering the DIY Mechanic
An Arduino car diagnostic interface is a powerful tool for any car enthusiast looking to delve into the world of vehicle diagnostics. While it might not replace a professional-grade scan tool entirely, it offers an affordable entry point for understanding your car better, potentially saving you time and money on minor repairs. With careful research, patience, and a thirst for knowledge, you can unlock the hidden world of your car’s internal workings using the power of Arduino.
Frequently Asked Questions (FAQs)
-
Can I use any Arduino board for this project? While an Arduino Uno is a good starting point, you can choose a board based on your project’s complexity. Boards with more memory and processing power might be necessary for advanced applications.
-
Is it safe to connect an Arduino to my car’s OBD-II port? With proper wiring and precautions, it’s generally safe. However, always double-check connections and use a current-limiting resistor if necessary.
-
Where can I find reliable OBD-II libraries and code examples? Numerous online resources, forums, and GitHub repositories offer OBD-II libraries and example code for Arduino.
-
Can I use this setup to clear error codes from my car’s ECU? Yes, with the correct commands, you can potentially clear error codes. However, it’s essential to understand the underlying issue before clearing any codes.
-
What are some alternative options if I don’t want to build my own interface? Several affordable OBD-II Bluetooth adapters allow you to connect your smartphone or laptop to your car’s diagnostic port.
Remember, while an Arduino car diagnostic interface empowers you with valuable information, always consult a qualified mechanic for complex issues or before attempting any major repairs.

Leave a Reply