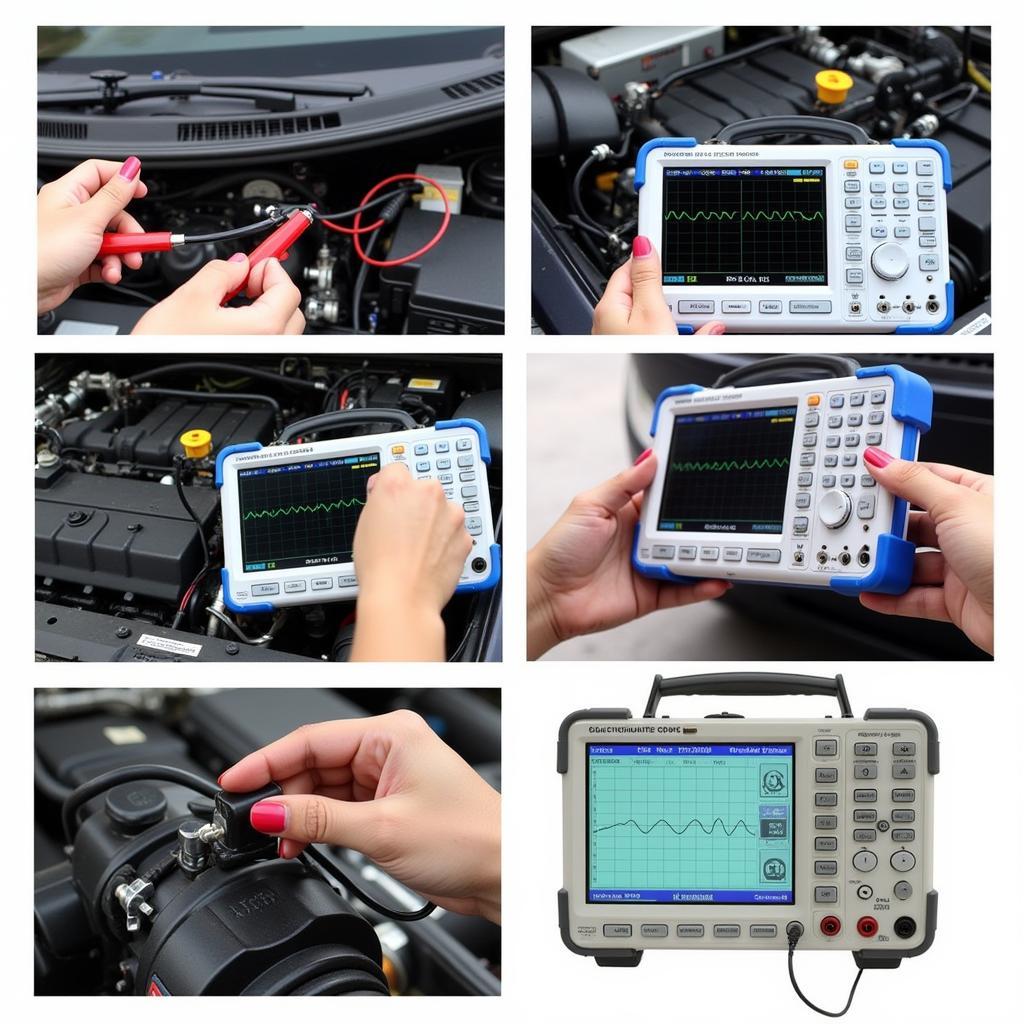
The Car Diagnostic Oscilloscope, a powerful tool for experienced mechanics and DIY enthusiasts, helps visualize electrical signals within a vehicle’s systems. Unlike code readers that provide a snapshot of error codes, an oscilloscope delves deeper, revealing the dynamic behavior of sensors, actuators, and electronic control units (ECUs). This article explores the intricate workings of the car diagnostic oscilloscope and how it empowers you to troubleshoot complex automotive issues.
Decoding the Car Diagnostic Oscilloscope
Imagine a heart rate monitor, but instead of tracking heartbeats, it captures the electrical pulses coursing through your car’s nervous system. That’s essentially what a car diagnostic oscilloscope does. It displays these signals as waveforms, offering valuable insights into the health and performance of various components.
A typical waveform consists of peaks, valleys, and slopes, each representing voltage changes over time. By analyzing these patterns, you can identify irregularities, pinpoint faulty sensors, and diagnose communication errors between different modules.
Why Use a Car Diagnostic Oscilloscope?
 Common Applications of a Car Diagnostic Oscilloscope
A car diagnostic oscilloscope proves invaluable in situations where traditional code readers fall short. Here are some key scenarios where an oscilloscope becomes indispensable:
- Diagnosing Intermittent Issues: For problems that occur sporadically, a code reader might not capture the error code. An oscilloscope, however, can record live data over an extended period, increasing the chances of identifying the root cause.
- Troubleshooting Sensor Problems: While a code reader can indicate a faulty sensor, an oscilloscope can determine if the sensor is sending inaccurate signals or if there’s a wiring issue affecting signal transmission.
- Analyzing Communication Networks: Modern vehicles heavily rely on communication networks like CAN (Controller Area Network) and LIN (Local Interconnect Network). An oscilloscope allows you to monitor these networks for data corruption or signal interference.
- Verifying Component Performance: You can use an oscilloscope to test the functionality of actuators like fuel injectors, ignition coils, and solenoids by analyzing their activation and response times.
Choosing the Right Car Diagnostic Oscilloscope
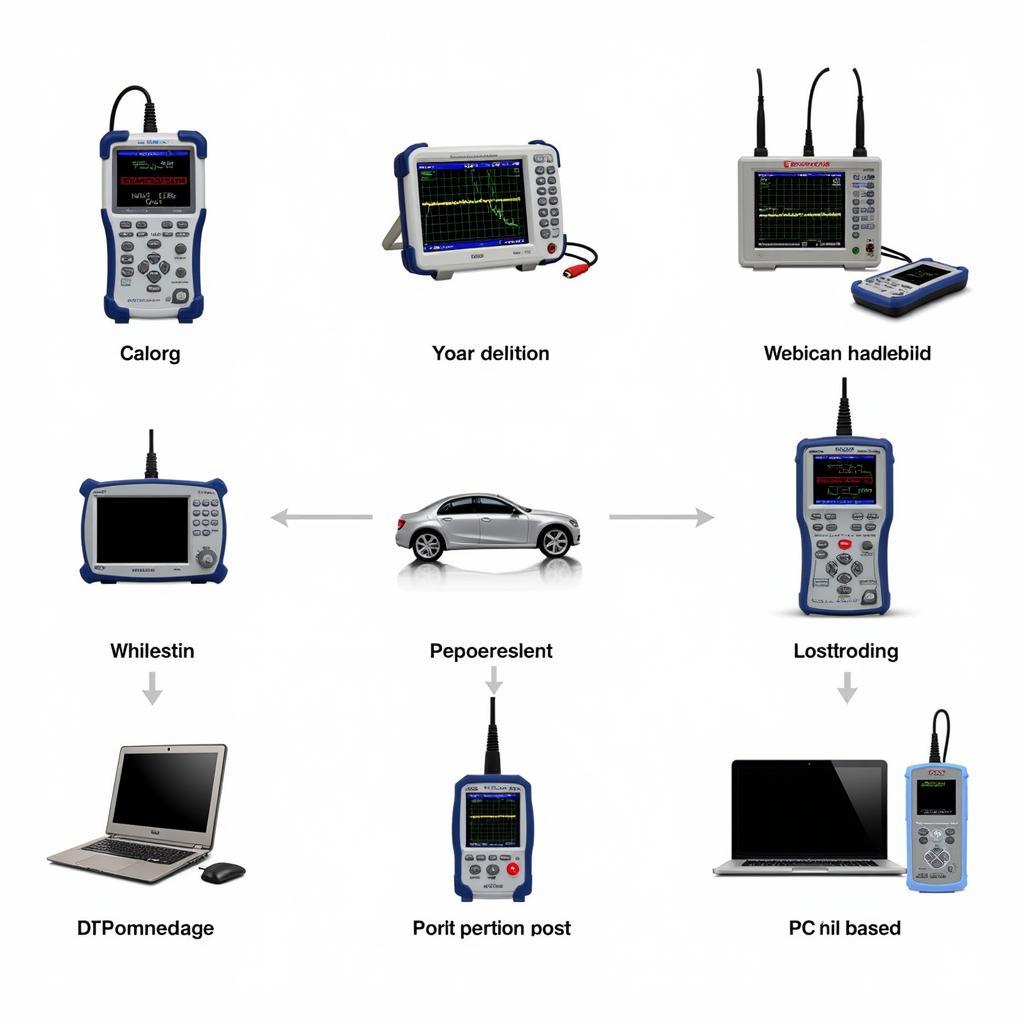
 Types of Car Diagnostic Oscilloscopes
The market offers a range of car diagnostic oscilloscopes, from entry-level handheld devices to sophisticated PC-based systems. The ideal choice depends on your budget, technical expertise, and specific diagnostic needs. Consider these factors:
- Bandwidth: Measured in megahertz (MHz), bandwidth determines the range of frequencies the oscilloscope can accurately measure. A higher bandwidth is crucial for analyzing fast-changing signals in modern vehicles.
- Sampling Rate: This parameter indicates how many samples the oscilloscope takes per second. A higher sampling rate provides a more detailed representation of the waveform, essential for capturing transient events.
- Channel Count: Oscilloscopes come with varying numbers of channels, allowing you to monitor multiple signals simultaneously. For instance, a two-channel oscilloscope lets you compare the input and output signals of a sensor.
- Features and User Interface: Some oscilloscopes offer advanced features like automated measurements, waveform storage, and PC connectivity. Choose a model with an intuitive user interface that suits your skill level.
Mastering the Fundamentals: Using a Car Diagnostic Oscilloscope
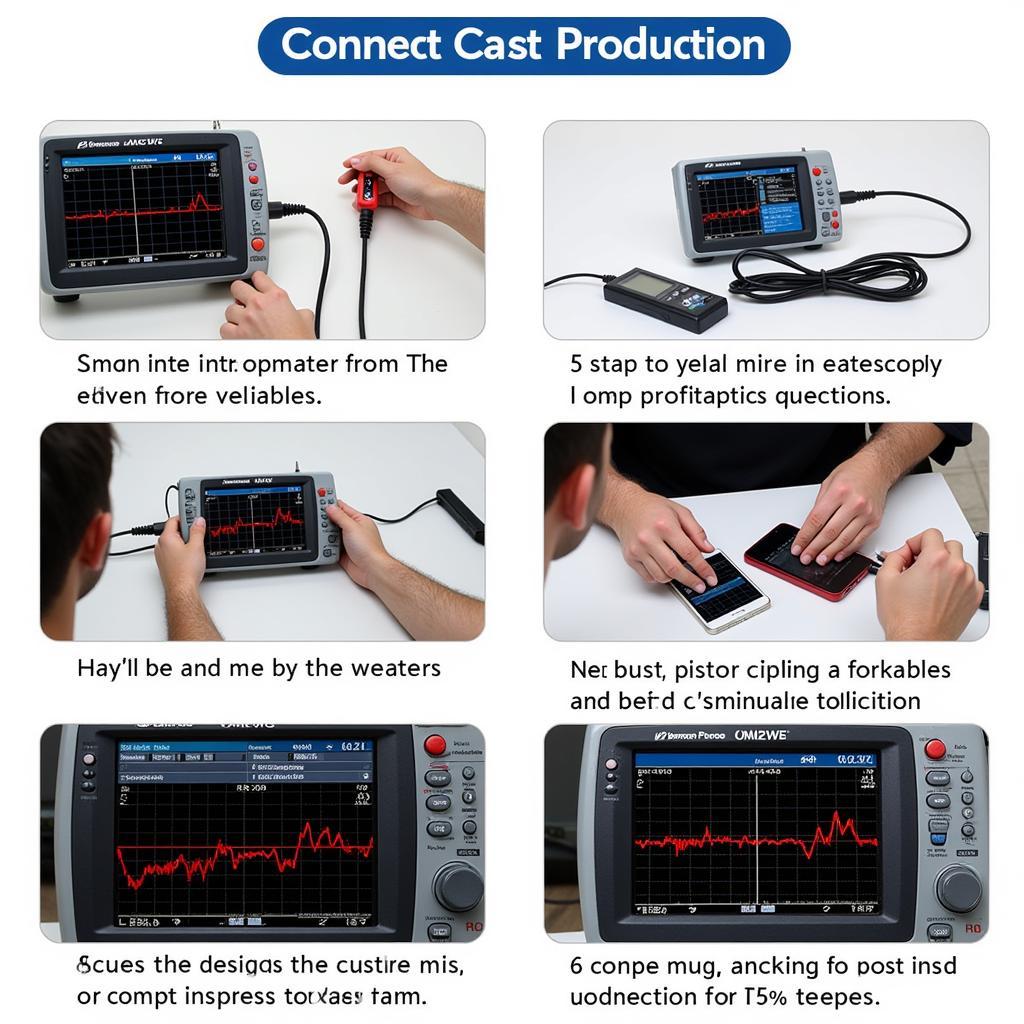
 Using a Car Diagnostic Oscilloscope: A Step-by-Step Guide
While the thought of using an oscilloscope might seem daunting at first, grasping the basics is easier than you might think. Here’s a simplified approach:
- Connect the Oscilloscope: Identify the specific component or circuit you want to test. Connect the oscilloscope’s probes to the appropriate test points, ensuring proper grounding.
- Set the Timebase: The timebase controls the horizontal scale of the waveform, determining the time period displayed. Adjust the timebase to capture the entire signal you want to analyze.
- Adjust the Voltage Scale: This setting controls the vertical scale of the waveform, representing voltage levels. Adjust the voltage scale to ensure the waveform fits comfortably within the display grid.
- Triggering: Triggering ensures the oscilloscope captures a stable and repeatable waveform. Set the trigger mode to capture the specific event or signal you’re interested in analyzing.
- Analyze the Waveform: Once you have a stable waveform, carefully observe its shape, amplitude, frequency, and any deviations from expected patterns. Compare your findings with known good waveforms or manufacturer specifications to pinpoint anomalies.
Conclusion
The car diagnostic oscilloscope is a powerful ally for anyone serious about car diagnostics and repair. It empowers you to delve deeper into a vehicle’s electronic systems, unravel complex issues, and diagnose problems that often elude traditional diagnostic methods.
While mastering the full potential of an oscilloscope takes time and practice, understanding the fundamentals and selecting the right tool for your needs can significantly enhance your diagnostic capabilities. Ready to dive deeper into the world of car diagnostic tools? Explore our comprehensive guides on oscilloscope car diagnostics, oscilloscope for car diagnostics, and car diagnostic repair tools to expand your knowledge and take your diagnostic skills to the next level.

Leave a Reply