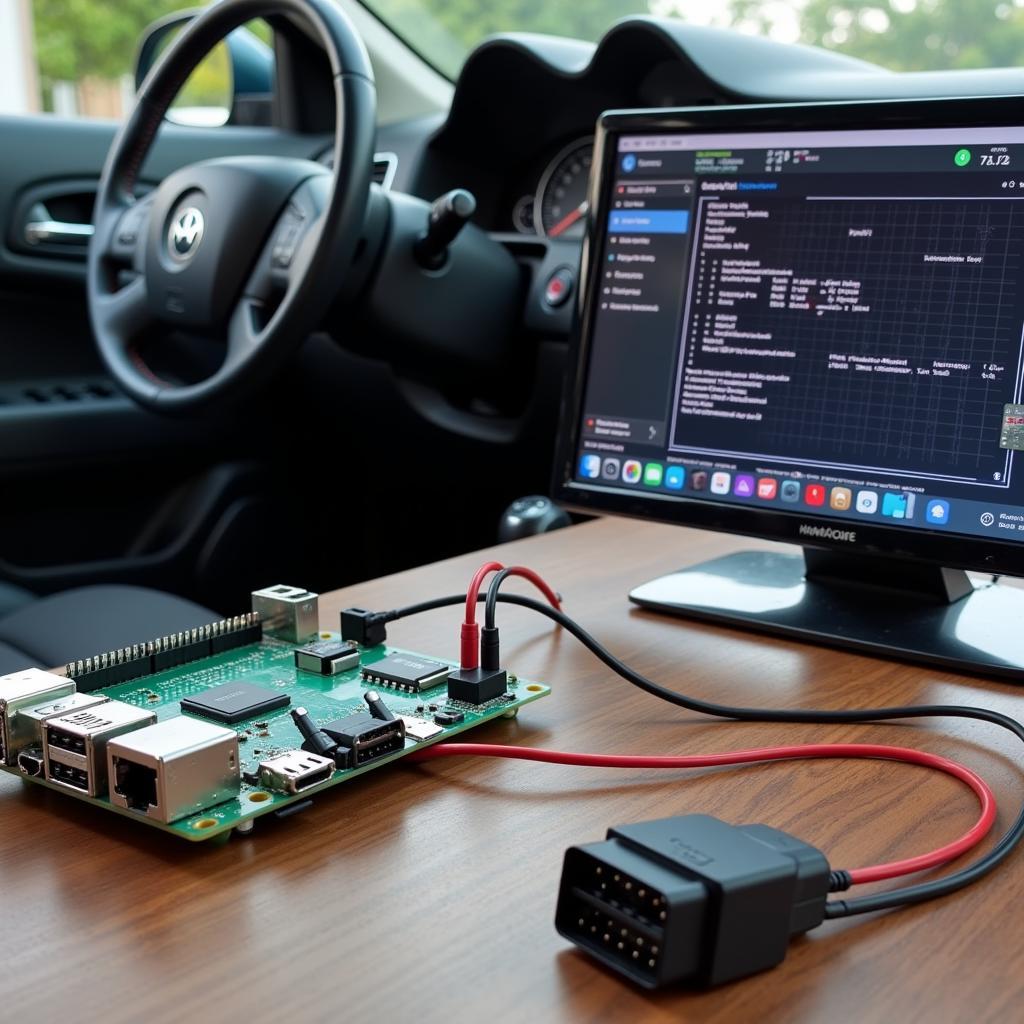
The world of car diagnostics has evolved significantly, and with it, the tools available to enthusiasts and professionals. Gone are the days of relying solely on expensive, specialized equipment. Enter the Raspberry Pi – a credit card-sized computer that’s revolutionizing how we diagnose and troubleshoot car issues. This guide delves deep into the world of car diagnostics using a Raspberry Pi, exploring its capabilities, benefits, and how you can leverage this affordable technology for powerful DIY car maintenance.
 Raspberry Pi OBD-II Setup
Why Use a Raspberry Pi for Car Diagnostics?
The beauty of using a Raspberry Pi for car diagnostics lies in its affordability, versatility, and accessibility. Here’s why it’s becoming the go-to solution for many:
- Cost-Effective: Compared to high-end diagnostic scanners, a Raspberry Pi setup offers a significantly more affordable solution, often at a fraction of the cost.
- Open-Source Power: The Raspberry Pi thrives on open-source software, giving you access to a wealth of free diagnostic tools and applications.
- Customization & Control: Unlike off-the-shelf scanners with limited functionality, the Raspberry Pi allows for customization. You can tailor the software and hardware to your specific needs.
- DIY Diagnostics: Empower yourself to understand your car’s health without relying on mechanics for every hiccup.
Getting Started: Essential Components
Building your own car diagnostic tool around the Raspberry Pi is easier than you might think. Here’s what you’ll need:
- Raspberry Pi: The Raspberry Pi 3 Model B+ or newer versions are recommended for their processing power and connectivity.
- MicroSD Card: A high-speed microSD card (at least 8GB) will serve as the storage for your operating system and diagnostic software.
- Power Supply: A reliable 5V micro-USB power supply is essential to keep your Raspberry Pi running smoothly.
- OBD-II Adapter: An OBD-II to USB or Bluetooth adapter acts as the bridge between your Raspberry Pi and your car’s OBD-II port.
- Peripherals: A monitor, keyboard, and mouse are needed for the initial setup and configuration of your Raspberry Pi.
Choosing the Right Software
The software you choose will define the capabilities of your Raspberry Pi-based diagnostic tool. Several options are available, each with its own strengths:
- OBD-Pi: A lightweight and user-friendly Python library ideal for beginners. It allows you to read and clear diagnostic trouble codes (DTCs), monitor engine parameters, and log data in real-time.
- Torque Pro: A popular Android app that, when paired with a Bluetooth OBD-II adapter and your Raspberry Pi, provides a comprehensive suite of diagnostic features, including customizable dashboards, performance tracking, and advanced sensor data visualization.
- FreeSSM: A powerful open-source option specifically designed for Subaru vehicles. FreeSSM allows for in-depth diagnostics, module programming, and even actuator tests.
Setting Up Your Raspberry Pi Diagnostic Tool
Once you have your hardware and software ready, it’s time to assemble your diagnostic powerhouse. Here’s a simplified breakdown of the process:
- Install an Operating System: Download and install a Raspberry Pi-compatible operating system, such as Raspberry Pi OS (formerly Raspbian), onto your microSD card using a computer.
- Connect Your Hardware: Connect your Raspberry Pi to your monitor, keyboard, mouse, and power supply. Insert the microSD card.
- Connect to the Internet: Set up Wi-Fi or Ethernet connectivity to download necessary software and updates.
- Install Diagnostic Software: Choose your preferred diagnostic software and follow the installation instructions specific to your chosen program.
- Connect to Your Car: Connect your OBD-II adapter to both your Raspberry Pi and your car’s OBD-II port (usually located under the dashboard).
- Start Diagnosing: Launch your chosen diagnostic software and begin exploring the wealth of information available from your car’s onboard computer.
Diagnosing Common Car Problems
With your Raspberry Pi diagnostic setup ready, you can now troubleshoot a wide array of car issues:
- Check Engine Light: Identify the source of the dreaded “check engine” light by reading and interpreting diagnostic trouble codes (DTCs) stored in your car’s ECU (Engine Control Unit).
- Sensor Readings: Monitor real-time data from various sensors, including oxygen sensors, MAF (Mass Air Flow) sensors, and coolant temperature sensors, to pinpoint potential problems.
- Performance Monitoring: Track vital performance indicators like RPM (revolutions per minute), speed, throttle position, and fuel consumption to assess your car’s overall health and efficiency.
- Emission Readiness: Verify if your car’s emission control systems are functioning correctly before an emissions test.
Tips for Effective Diagnostics
- Research DTCs: When you encounter a DTC, take the time to research its meaning and common causes. Online forums and resources can be invaluable for this.
- Log Data: Regularly log sensor data during different driving conditions to establish a baseline for your car’s normal operating parameters.
- Update Software: Keep your diagnostic software up to date to benefit from the latest features, bug fixes, and vehicle compatibility.
- Consult Professionals When Needed: While a Raspberry Pi can empower you with valuable diagnostic capabilities, complex issues are best handled by qualified mechanics.
Conclusion
Car diagnostics using a Raspberry Pi offers an accessible and affordable way to delve into the inner workings of your vehicle. With a bit of time and effort, you can transform a small, affordable computer into a powerful diagnostic tool that provides valuable insights into your car’s health, helping you save money on repairs and make informed maintenance decisions.

