Car wrapping has become increasingly popular as a way to transform a vehicle’s appearance, offering a versatile alternative to traditional paint jobs. Whether you’re a seasoned professional or a DIY enthusiast, understanding the right Car Wrap Tools And Techniques is crucial for achieving a flawless finish. This guide delves into the essential tools and methods needed for successful car wrapping.
Choosing the correct tools can significantly impact the final outcome of your car wrapping project. From prepping the surface to laying down the vinyl and finishing touches, each step requires specific tools to ensure a professional-looking result. Let’s explore the essential car wrap tools and techniques.
Essential Car Wrap Tools
Having the right tools at your disposal is the first step towards a successful car wrap. These tools are designed to aid in various stages of the process, from surface preparation to the final touches.
- Squeegees: Various types of squeegees exist, each serving a specific purpose. Hard squeegees are ideal for flat surfaces, while softer ones conform better to curves. Felt-edged squeegees are perfect for applying vinyl without scratching it.
- Knives and Blades: A sharp, high-quality knife is essential for precise cutting and trimming. Invest in a good-quality blade and replace it frequently to ensure clean cuts.
- Heat Gun: A heat gun helps conform the vinyl to complex curves and edges, ensuring a seamless fit. Controlled heat application is key to avoid damaging the vinyl or the vehicle’s paint.
- Measuring Tools: Accurate measurements are critical for cutting the vinyl to the correct size and shape. A tape measure, ruler, and contour gauge are essential for this purpose.
- Cleaning Supplies: A clean surface is paramount for proper adhesion. Use a dedicated car wash soap, isopropyl alcohol, and microfiber cloths to ensure the surface is free from dirt, grease, and wax.
- Application Fluids: These solutions help lubricate the vinyl during application, allowing for repositioning and adjustments.
tool to clean between car seat and console While not directly used in wrapping, having a tool to clean tight spaces in your car can be handy for overall detailing before starting the wrap process.
Car Wrapping Techniques: Step-by-Step Guide
Understanding the proper techniques is just as important as having the right tools. Here’s a step-by-step guide to help you through the process:
Surface Preparation
- Thoroughly wash and dry the vehicle’s surface. This removes any dirt, grease, or contaminants that could interfere with adhesion.
- Use isopropyl alcohol to further clean the surface and remove any remaining wax or residue.
- Inspect the surface for any imperfections, such as scratches or dents. Address these before applying the vinyl.
best car audio install tools Before you begin wrapping your car, you might also consider upgrading your car audio system. Check out our guide on the best car audio install tools to make the process easier.
Vinyl Application
- Measure and cut the vinyl to the appropriate size, leaving extra material for wrapping around edges.
- Peel back a portion of the vinyl liner and position it on the vehicle’s surface.
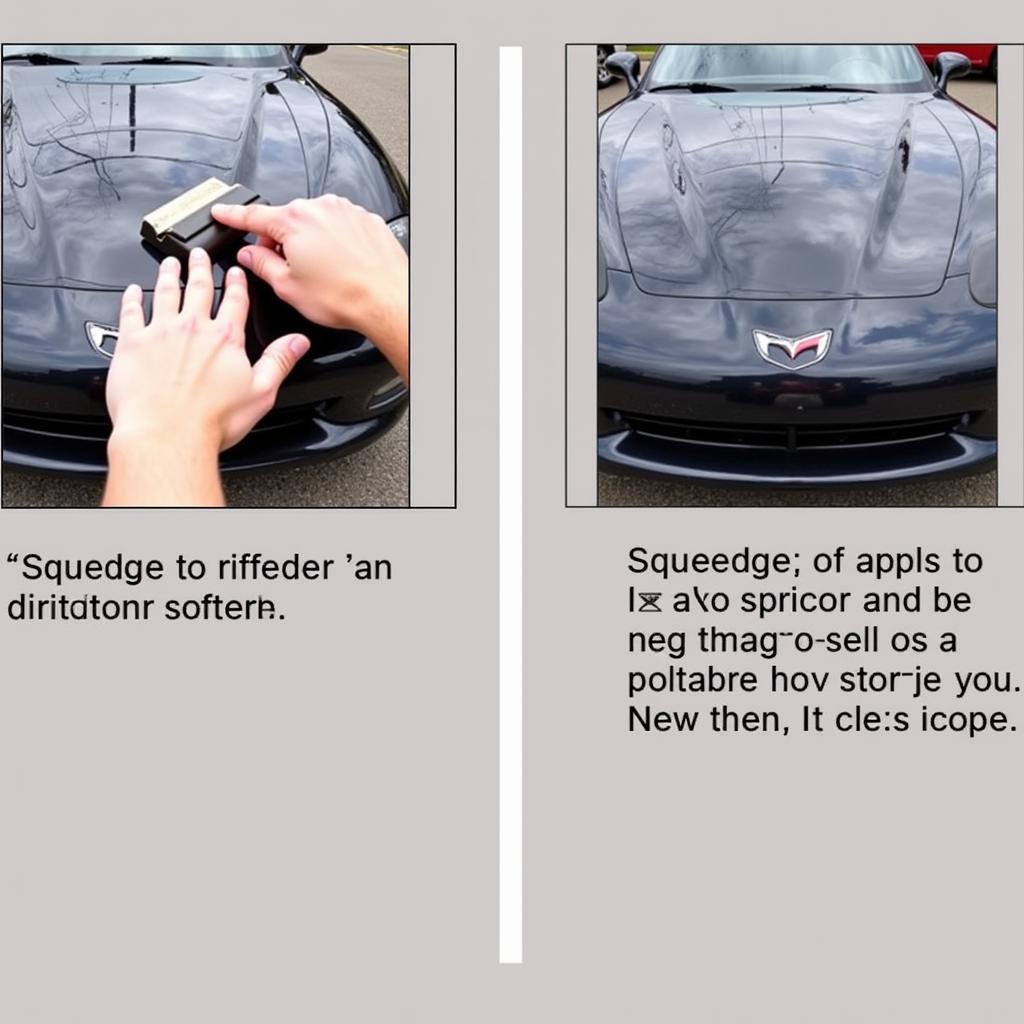
- Using a squeegee, gradually apply the vinyl, working from the center outwards. Use overlapping strokes to avoid air bubbles and wrinkles.
- Apply heat to the vinyl as needed to conform it to curves and edges.
- Trim any excess vinyl with a sharp knife.
 Applying Car Wrap Vinyl with a Squeegee
Post-Installation
- Inspect the wrapped surface for any imperfections.
- Apply heat to any areas that require further conforming.
- Allow the vinyl to cure for the recommended time before washing the vehicle.
car vinyl removal tool If you ever need to remove the vinyl, knowing about the right car vinyl removal tools can make the process less daunting.
Expert Insights on Car Wrapping
Johnathan “Jonny Wraps” Peterson, a renowned car wrapping expert with over 20 years of experience, emphasizes the importance of patience and precision: “Car wrapping isn’t a race. Take your time, focus on the details, and don’t be afraid to reposition the vinyl if necessary. Precision is key to achieving a professional-looking finish.”
model car tool set Practicing on a smaller scale can be beneficial. A model car tool set can help you familiarize yourself with some of the techniques before working on a real vehicle.
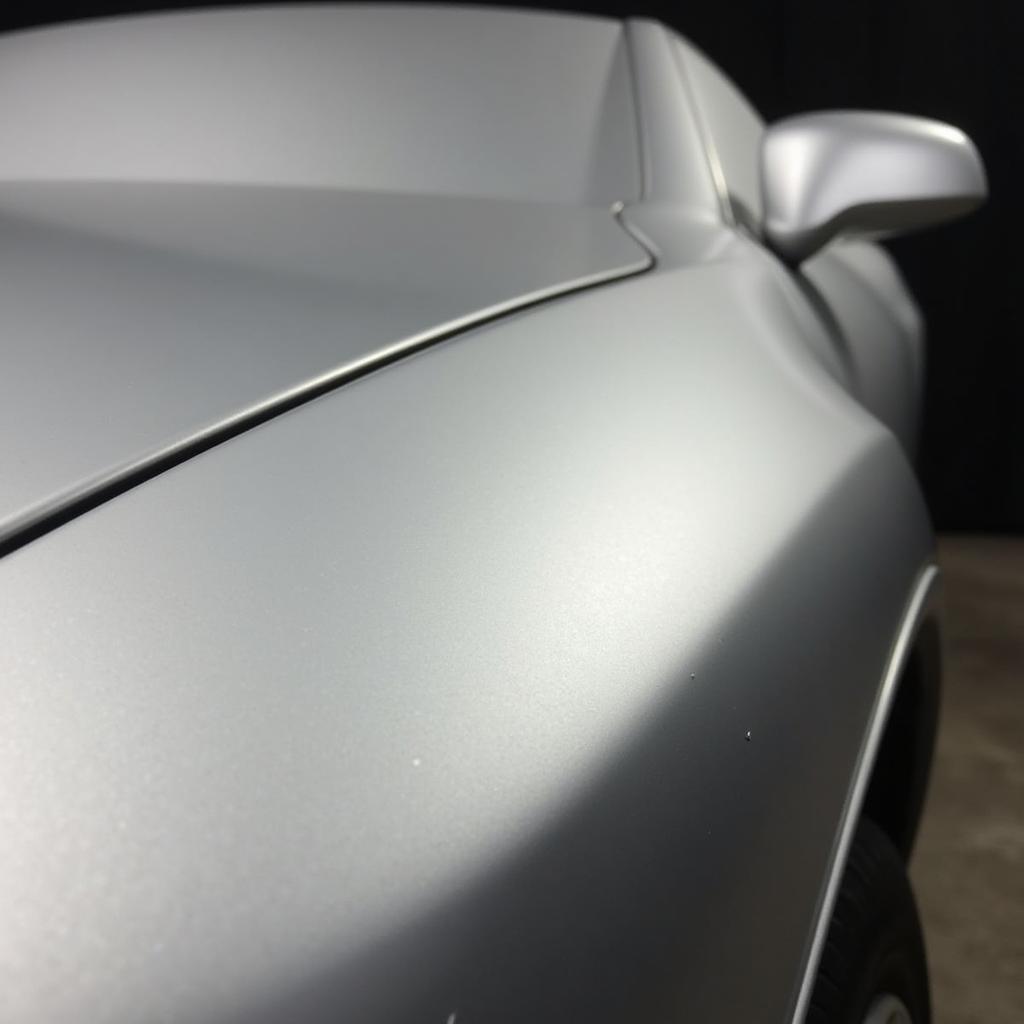
 Professional Car Wrap Finish
Conclusion
Mastering car wrap tools and techniques takes practice and patience, but the results are well worth the effort. By understanding the essential tools and following the proper techniques, you can achieve a professional-looking wrap that transforms your vehicle’s appearance. Remember to choose high-quality materials and invest in the right tools for a seamless and long-lasting finish. Car wrapping offers a fantastic way to personalize and protect your vehicle, whether you’re aiming for a bold color change, a subtle matte finish, or a unique custom design.
FAQs
- What is the best type of vinyl for car wrapping?
- How long does a car wrap typically last?
- Can I wrap my car myself, or should I hire a professional?
- What are the common mistakes to avoid when wrapping a car?
- How do I maintain a car wrap?
- How much does it cost to wrap a car?
- What are the different types of car wrap finishes available?
You can also find information on best tool to break car window on our website, although not directly related to car wrapping.
Need further assistance? Contact us via WhatsApp: +1(641)206-8880, Email: [email protected] or visit us at 910 Cedar Lane, Chicago, IL 60605, USA. Our customer service team is available 24/7.

Leave a Reply