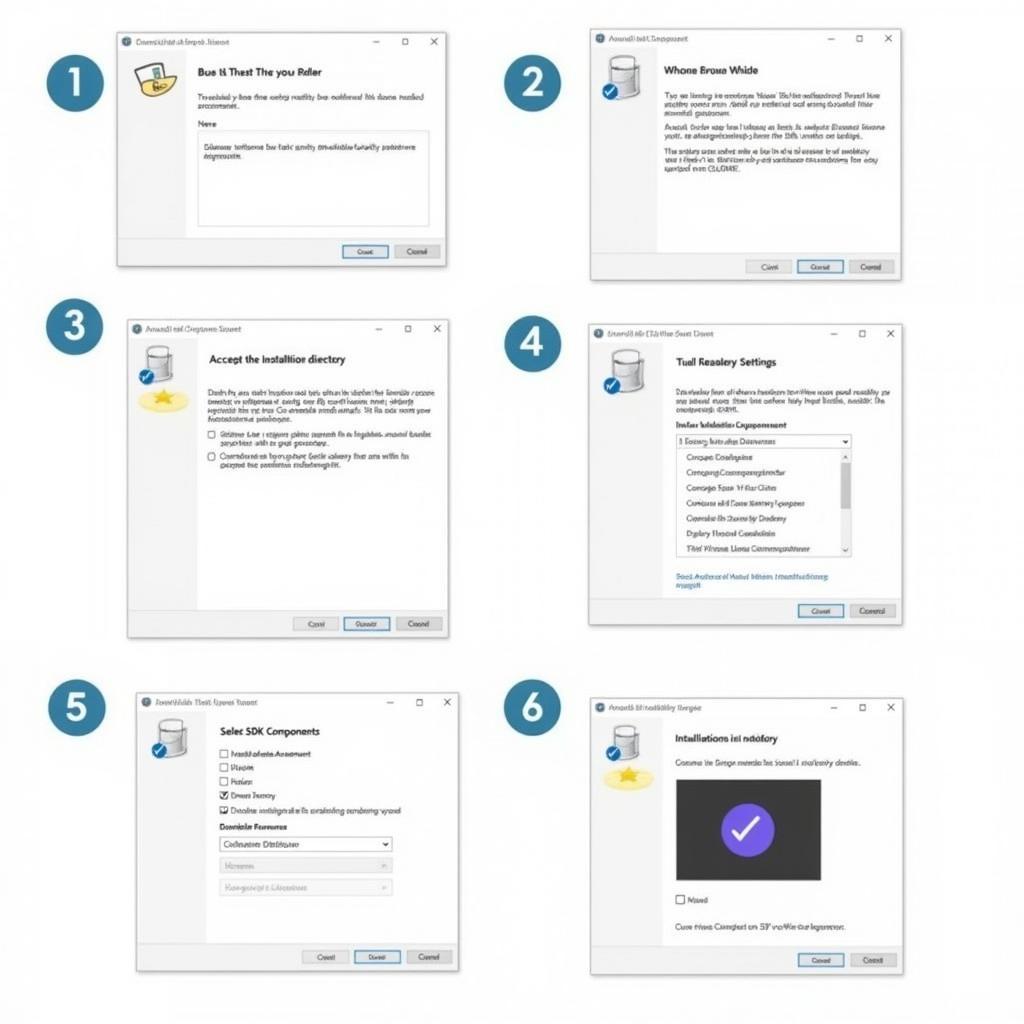
Setting up Android Developer Tools (ADT) can seem daunting, but with the right guidance, it’s a straightforward process. This guide provides a detailed walkthrough on how to install Android Developer Tools, covering everything from system requirements to troubleshooting common issues. Whether you’re a seasoned developer or just starting out, this resource will equip you with the knowledge you need to begin your Android development journey.
Understanding the Android Developer Tools
Before diving into the installation, let’s understand what Android Developer Tools encompasses. Essentially, ADT refers to the software suite needed to develop Android applications. While Android Studio has become the preferred Integrated Development Environment (IDE), understanding the components within ADT remains crucial for effective development. These tools provide the foundation for creating, testing, and debugging your Android apps.
System Requirements for Android Developer Tools
Ensuring your system meets the necessary requirements is the first step. This involves checking your operating system compatibility (Windows, macOS, or Linux), available disk space, and RAM. Meeting these prerequisites will prevent potential issues during and after installation. For example, insufficient RAM can significantly impact the performance of Android Studio and the Android emulator.
Step-by-Step Installation Guide for Android Studio
Android Studio is the official IDE for Android development and includes all the necessary ADT components. Here’s a step-by-step guide to install it:
- Download: Visit the official Android Developers website and download the latest version of Android Studio for your operating system.
- Run the Installer: Locate the downloaded file and run the installer. Follow the on-screen instructions, choosing the desired installation location and components.
- SDK Components Setup: During the installation, you’ll be prompted to select the necessary SDK components. Choose the packages relevant to the Android versions you plan to target.
- Emulator Setup: Android Studio also allows you to set up a virtual device (emulator) for testing your applications on different devices and Android versions. Configure the emulator based on your development needs.
- Verification: Once the installation completes, launch Android Studio and create a new project to verify everything is working correctly.
Configuring the Android SDK
The Android SDK (Software Development Kit) provides the tools and libraries needed to build Android apps. Within Android Studio, you can manage the SDK components, downloading additional packages and updating existing ones. This ensures you have the latest tools and APIs for developing cutting-edge Android applications.
Setting Up the Android Emulator
Testing your app on various devices is crucial for ensuring compatibility. The Android emulator allows you to simulate different Android devices on your computer. Within Android Studio’s AVD Manager (Android Virtual Device Manager), you can create and customize virtual devices with specific screen sizes, resolutions, and Android versions. This is essential for testing your app’s responsiveness and functionality across a range of devices.
Troubleshooting Common Installation Issues
Encountering issues during installation is not uncommon. Here are some common problems and their solutions:
- JDK Not Found: Ensure you have a compatible Java Development Kit (JDK) installed on your system.
- SDK Path Issues: Verify the SDK path is correctly configured within Android Studio.
- Emulator Errors: Check for sufficient RAM and available disk space. Try restarting your computer after installation.
Advanced Configurations and Customization
Once you’ve successfully installed ADT, you can further customize your development environment. This includes configuring code editors, keyboard shortcuts, and installing plugins to enhance productivity.
Conclusion: Your Android Development Journey Begins
Installing Android Developer Tools is the first step toward building incredible Android applications. By following this comprehensive guide, you’ve equipped yourself with the necessary tools and knowledge to begin your Android development journey. Now, it’s time to unleash your creativity and start building! Remember, continuous learning is key in the ever-evolving world of Android development.
FAQ
- What is the difference between Android Studio and Android SDK?
- Do I need to install Java separately for Android development?
- How can I update my Android SDK to the latest version?
- What are the minimum system requirements for running Android Studio smoothly?
- How do I create a new Android project in Android Studio?
- Where can I find more resources for learning Android development?
- How do I troubleshoot common emulator issues?
Common Scenarios and Questions:
-
Scenario: Unable to launch the emulator.
-
Question: What are the common causes for emulator launch failures, and how can I fix them?
-
Scenario: Gradle sync failed.
-
Question: How do I resolve Gradle sync issues in Android Studio?
-
Scenario: App crashes on launch.
-
Question: What are the debugging steps to identify and fix app crashes?
Explore More:
- Check out our article on “Mastering Android Studio for Beginners.”
- Learn more about “Android App Development Best Practices.”
Need assistance? Contact us via WhatsApp: +1(641)206-8880, Email: [email protected] or visit us at 910 Cedar Lane, Chicago, IL 60605, USA. Our 24/7 customer support team is ready to help.

