The Clone Stamp Tool in Photoshop CS3 is a powerful tool for image editing, allowing you to duplicate areas of an image. Whether you’re retouching photos, removing unwanted objects, or creating seamless textures, understanding how to use the clone stamp tool in Photoshop CS3 effectively can significantly enhance your image manipulation skills. This guide will provide a comprehensive walkthrough of the tool’s functionalities and practical applications.
Understanding the Basics of the Clone Stamp Tool
The Clone Stamp Tool essentially copies pixels from one area of an image and replicates them onto another. Think of it like a digital stamp that you can load with a source and then imprint onto your target area. This allows for seamless blending and correction of imperfections. The source area is defined by holding down the Alt key (Windows) or Option key (Mac) and clicking on the desired area. Then, simply paint over the target area to apply the cloned pixels.
Refining Your Cloning Technique: Brush Settings and Options
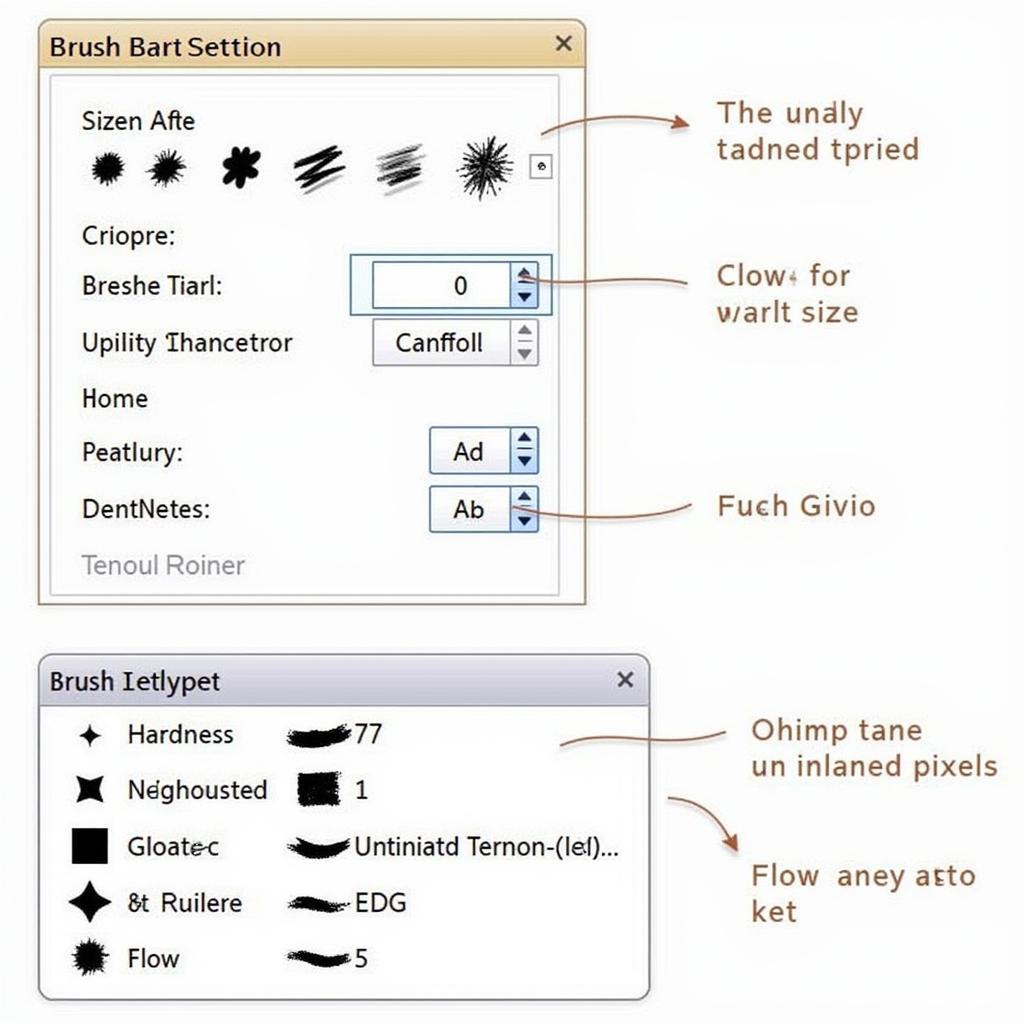
The Clone Stamp Tool offers a variety of brush settings that allow you to control the cloning process precisely. Experimenting with different brush sizes, hardness, and opacity is crucial for achieving realistic results. A softer brush, for example, creates a smoother blend, while a harder brush provides more defined edges. The opacity setting controls the transparency of the cloned pixels, allowing you to build up the effect gradually.
Advanced Cloning Techniques: Aligned and Non-Aligned Cloning
The Clone Stamp Tool offers two primary cloning modes: aligned and non-aligned. Aligned cloning maintains the relative position between the source and target areas. This means that as you move your cursor, the source area moves accordingly, allowing you to clone patterns and textures seamlessly. Non-aligned cloning, on the other hand, samples from the initial source point regardless of cursor movement. This is useful for duplicating specific objects or elements.
Practical Applications: Retouching, Removing Objects, and Creating Textures
The Clone Stamp Tool has a wide range of applications in image editing. It can be used to retouch blemishes and imperfections in portraits, remove unwanted objects from landscapes, or even create seamless textures for web design and graphic art. Understanding the nuances of the tool allows you to tackle various editing challenges with precision and finesse.
Common Questions about the Clone Stamp Tool
What is the difference between the Clone Stamp Tool and the Healing Brush Tool? The Clone Stamp Tool directly copies pixels, while the Healing Brush Tool blends the cloned pixels with the surrounding area for a more seamless integration.
How do I avoid noticeable patterns when cloning? Varying your source points and using a soft brush can help prevent noticeable patterns. Also, consider using the Pattern Stamp Tool for repeating textures.
Can I use the Clone Stamp Tool with other layers? Yes, you can clone from one layer to another by selecting the “Sample” option in the options bar and choosing “Current & Below” or “All Layers.”
Tips and Tricks for Mastering the Clone Stamp Tool
- Practice Makes Perfect: Experiment with different settings and scenarios to develop your skills.
- Zoom In: Working at a higher zoom level allows for more precise cloning.
- Use Multiple Source Points: Avoid repetitive patterns by sampling from different source areas.
- Consider Lighting and Shadows: Pay attention to the light and shadow in the image to achieve realistic results.
Conclusion: Unlocking the Power of the Clone Stamp Tool in Photoshop CS3
Mastering the Clone Stamp Tool in Photoshop CS3 opens up a world of possibilities for image editing. By understanding its functionalities, exploring its various settings, and practicing different techniques, you can transform your images with precision and creativity. From retouching portraits to removing unwanted objects and creating stunning textures, the Clone Stamp Tool is an invaluable asset for any Photoshop user.
FAQ
-
How do I select the source point for cloning?
Hold down the Alt key (Windows) or Option key (Mac) and click on the desired area. -
What is aligned cloning?
Aligned cloning maintains the relative position between the source and target areas. -
What is non-aligned cloning?
Non-aligned cloning samples from the initial source point regardless of cursor movement. -
How do I change the brush size and hardness?
Use the brush settings panel in the options bar. -
How do I adjust the opacity of the cloned pixels?
Adjust the opacity slider in the options bar. -
How do I clone from one layer to another?
Select “Sample: Current & Below” or “All Layers” in the options bar. -
How can I avoid noticeable patterns when cloning?
Vary source points and use a soft brush.
For further assistance, don’t hesitate to reach out. Contact us via WhatsApp: +1(641)206-8880, Email: [email protected], or visit our office at 910 Cedar Lane, Chicago, IL 60605, USA. We have a 24/7 customer support team ready to help.

