Using a crimping tool correctly is crucial for creating secure and reliable wire connections in automotive applications. Whether you’re a seasoned mechanic or a DIY enthusiast, understanding the proper techniques for using this essential tool will help you avoid common pitfalls and ensure your electrical systems function flawlessly. This guide will provide you with a comprehensive understanding of how to use a crimping tool effectively.
Understanding Crimping Tools and Their Applications
Crimping tools are designed to deform a metal connector, permanently securing it to a wire. This creates a gas-tight connection that resists corrosion and ensures optimal electrical conductivity. There are different types of crimping tools, each designed for specific connectors and wire gauges. Understanding these differences is the first step to achieving perfect crimps every time.
Types of Crimping Tools
- Ratcheting Crimpers: These tools feature a ratcheting mechanism that ensures a complete crimp cycle before releasing. This prevents under-crimping and provides consistent results.
- Non-Ratcheting Crimpers: These are simpler tools without the ratcheting feature. They require more skill and precision to use effectively.
- Specialized Crimpers: These are designed for specific connector types, such as coaxial connectors or insulated terminals.
Choosing the Right Crimper for the Job
Selecting the correct crimper is paramount for achieving a secure connection. Using the wrong tool can damage the connector or wire, resulting in a weak connection prone to failure. Consult the connector manufacturer’s specifications to determine the appropriate crimping tool and die set for your application.
How to Use a Crimping Tool: A Step-by-Step Guide
Using a crimping tool may seem straightforward, but proper technique is essential for creating a reliable connection. Follow these steps to ensure a perfect crimp every time:
- Strip the Wire: Using a wire stripper, remove the appropriate amount of insulation from the wire end, ensuring no damage to the wire strands.
- Select the Correct Connector: Choose the appropriate connector for your application and wire gauge.
- Insert the Wire into the Connector: Carefully insert the stripped wire into the connector, ensuring it’s fully seated.
- Position the Connector and Wire in the Crimper: Place the connector and wire into the correct crimping die of the tool.
- Crimp the Connector: Squeeze the handles of the crimper firmly until the ratcheting mechanism releases (if applicable) or a complete crimp is achieved.
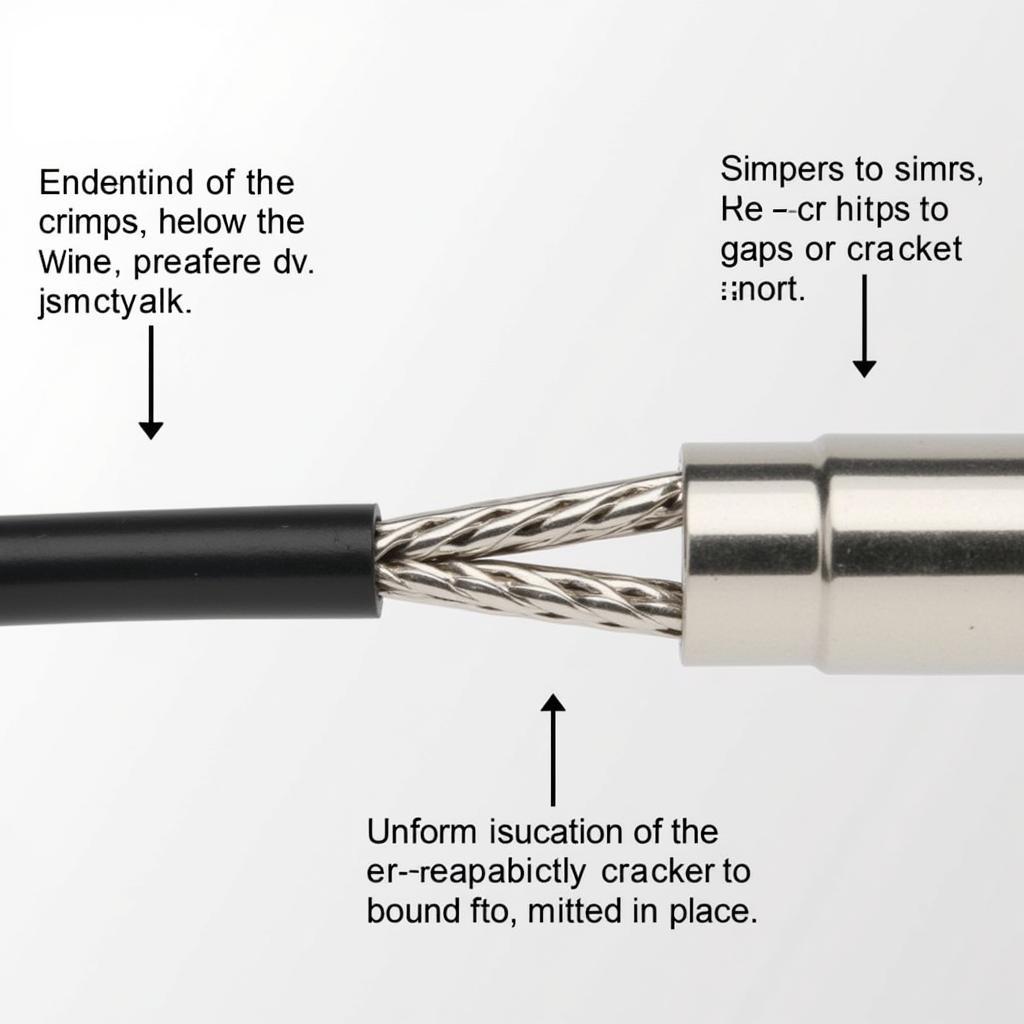
- Inspect the Crimp: Visually inspect the crimp to ensure it’s properly formed and the wire is securely held in place.
Common Crimping Mistakes and How to Avoid Them
- Under-Crimping: This results in a loose connection that can easily pull apart. Ensure a full crimp cycle is completed.
- Over-Crimping: This can damage the connector and wire, making the connection brittle. Use the correct crimping die and avoid excessive force.
- Incorrect Die Selection: Using the wrong die can lead to improper crimping. Consult the manufacturer’s specifications.
“A well-executed crimp is the foundation of a reliable electrical connection,” says John Smith, Lead Automotive Electrician at DiagFixPro. “Taking the time to learn proper crimping techniques will save you headaches down the road.”
Advanced Crimping Techniques and Considerations
For more complex applications, consider these advanced techniques:
- Double Crimping: This technique involves crimping the connector in two locations for added security.
- Soldering Crimped Connections: While not always necessary, soldering can further enhance the connection’s strength and conductivity.
 Inspecting a Crimped Connection
“Investing in a quality crimping tool and taking the time to practice proper techniques is crucial for anyone working with automotive wiring,” adds Jane Doe, Senior Automotive Technician at DiagFixPro.
Conclusion
Mastering the art of using a crimping tool is essential for ensuring secure and reliable electrical connections in your automotive projects. By following the steps outlined in this guide and avoiding common mistakes, you can achieve professional-grade crimps every time, keeping your electrical systems functioning optimally. Remember, using a crimping tool correctly is a skill that takes practice, but the rewards are well worth the effort.
FAQ
- What are the different types of crimping tools?
- How do I choose the right crimping tool for my needs?
- What are the steps involved in using a crimping tool?
- What are some common crimping mistakes?
- How can I tell if a crimp is good?
- What is double crimping?
- Should I solder crimped connections?
Need help with your car diagnostic? Contact us via WhatsApp: +1(641)206-8880, Email: [email protected] or visit us at 910 Cedar Lane, Chicago, IL 60605, USA. We have a 24/7 customer support team.
