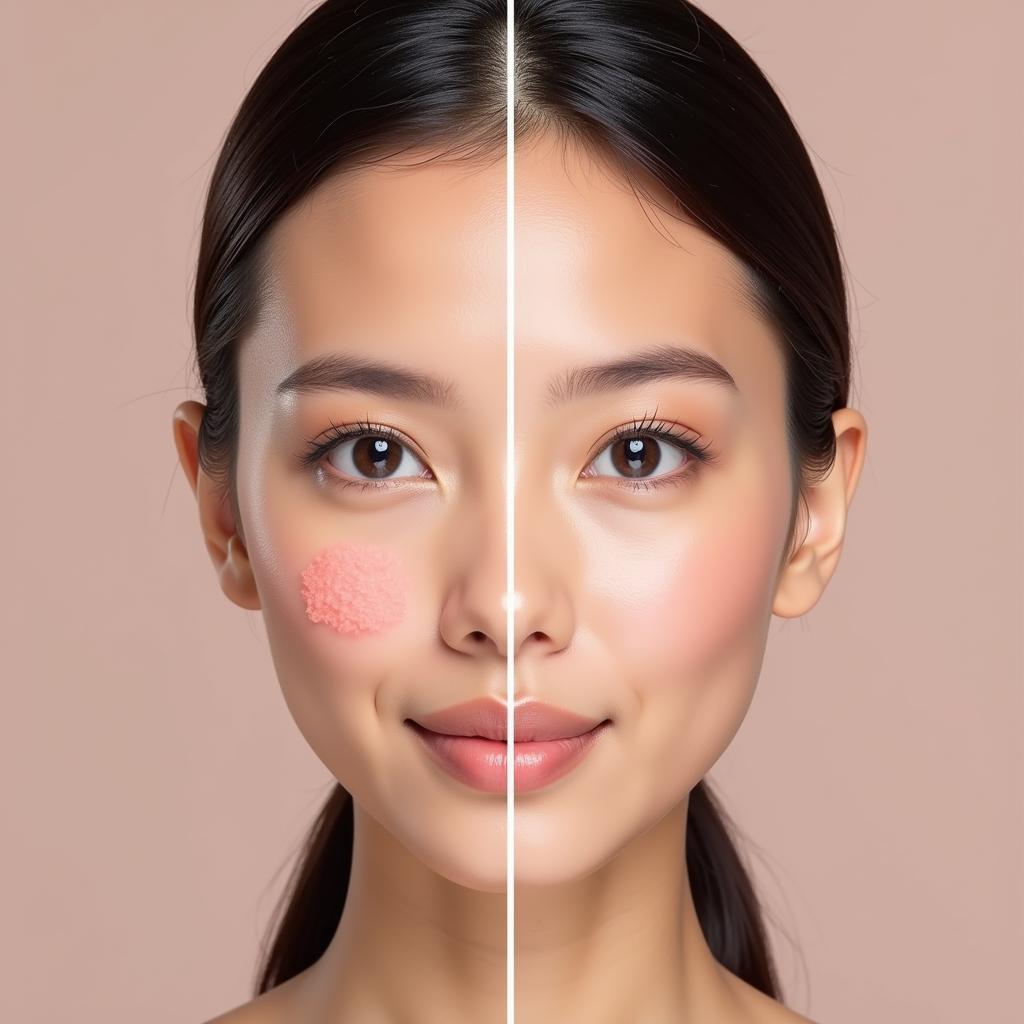
The Patch Tool in Photoshop CS3 is a powerful tool for seamlessly removing blemishes and unwanted objects from your images. Whether you’re retouching portraits, repairing damaged photos, or simply cleaning up distracting elements, understanding how to use the Patch Tool effectively is essential for any Photoshop user. This guide will provide a comprehensive overview of how to use the Patch Tool in Photoshop CS3, along with tips and tricks to achieve professional results.
Understanding the Patch Tool’s Functionality
The Patch Tool works by replacing a selected area with pixels from another area of your image. It intelligently blends the replacement pixels to match the surrounding texture and lighting, creating a seamless repair. This makes it ideal for removing imperfections like wrinkles, dust spots, and even larger objects that blend well with the surrounding environment. Unlike the Healing Brush, which requires you to sample a source area, the Patch Tool lets you select the area to be repaired first and then drag it to the source area.
Step-by-Step Guide to Using the Patch Tool in Photoshop CS3
- Open your image in Photoshop CS3: Start by opening the image you want to edit.
- Select the Patch Tool: Locate the Patch Tool in the toolbox. It’s often grouped with the Healing Brush Tool.
- Choose your Patch Tool mode: In the options bar, you’ll see two modes: “Source” and “Destination.” “Source” mode is the default and is generally preferred.
- Select the area to be patched: Carefully draw a selection around the area you want to remove or repair using the Patch Tool. Try to make the selection as precise as possible to avoid affecting surrounding areas.
- Drag the selection to the source area: Click and drag the selected area to a clean, unblemished area of your image that closely matches the texture and lighting of the area you’re repairing.
- Release the mouse button: When you release the mouse button, Photoshop will seamlessly blend the source pixels into the patched area.
Tips and Tricks for Optimal Results
- Use smaller selections: For complex areas or intricate textures, it’s often better to work with smaller selections. This allows for more precise blending and avoids unwanted artifacts.
- Feather the selection: Feathering softens the edges of the selection, which can create a more natural-looking blend. Experiment with different feather values to achieve the desired effect.
- Match lighting and texture: Carefully choose your source area to ensure it matches the lighting and texture of the area being patched. This is crucial for achieving seamless results.
- Use multiple patches: For larger areas or difficult repairs, it may be necessary to use multiple patches. Break down the area into smaller sections and patch each section individually.
- Experiment with different source areas: If the first patch doesn’t produce the desired result, try dragging the selection to a different source area.
Common Patch Tool Challenges and Solutions
- Visible seams: If you notice visible seams after patching, try adjusting the feather value or using smaller selections. You can also try using the Healing Brush Tool to refine the edges of the patched area.
- Color mismatch: If the patched area doesn’t match the surrounding color, try adjusting the brightness and contrast of the patched area using the levels or curves adjustments.
- Texture distortion: If the patched area appears distorted or unnatural, try using a different source area or adjusting the size and shape of the selection.
“The Patch Tool is a lifesaver for retouching images. It’s incredibly effective for removing unwanted elements and blending seamlessly with the surrounding pixels,” says renowned photo editor, Amelia Parker.
 Final Result After Using Patch Tool in Photoshop CS3
Conclusion
Mastering the Patch Tool in Photoshop CS3 is a valuable skill for any image editor. By following the steps outlined in this guide and practicing with different images, you can effectively remove blemishes, repair damage, and enhance your photos with professional-level precision. With a little patience and practice, you’ll be able to use the Patch Tool in Photoshop CS3 to create flawless images.
FAQ
- What is the difference between the Patch Tool and the Healing Brush Tool?
- How do I feather a selection with the Patch Tool?
- What should I do if the patched area doesn’t blend seamlessly?
- Can I use the Patch Tool to remove large objects?
- What are some common mistakes to avoid when using the Patch Tool?
- How do I change the Patch Tool mode from Source to Destination?
- Are there any keyboard shortcuts for the Patch Tool?
Need assistance? Contact us via WhatsApp: +1(641)206-8880, Email: [email protected] or visit us at 910 Cedar Lane, Chicago, IL 60605, USA. We have a 24/7 customer support team.
