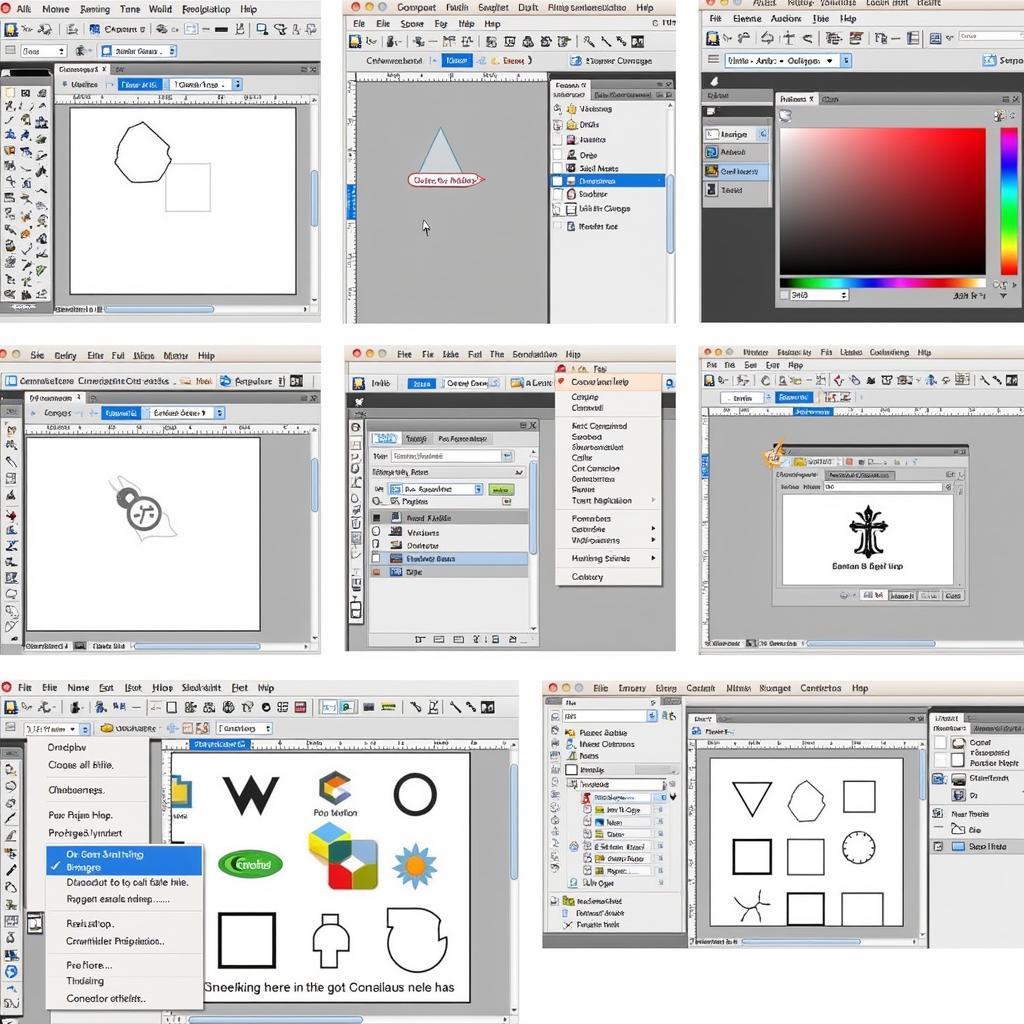
Learning how to use the pen tool in Photoshop CS5 is crucial for anyone looking to create precise selections, paths, and shapes. This powerful tool allows for pixel-perfect accuracy, making it essential for tasks like creating complex logos, isolating objects for photo manipulation, and designing custom illustrations. This guide will walk you through everything you need to know to become proficient with the pen tool in Photoshop CS5.
Understanding the Pen Tool’s Power
The pen tool might seem intimidating at first, but with practice, it becomes an indispensable tool in your Photoshop arsenal. It enables you to create vector paths, which are mathematically defined lines that remain smooth and crisp regardless of scaling. Unlike raster-based selections, vector paths are resolution-independent, offering flexibility and precision.
Getting Started with the Basics: Paths, Anchor Points, and Handles
The pen tool operates by creating paths defined by anchor points and handles. Anchor points are the points that define the shape of the path. Handles extend from anchor points and allow you to control the curvature of the lines connecting them. Understanding how these three elements interact is key to mastering the pen tool.
Creating Straight Lines
To create a straight line, simply click with the pen tool to place your first anchor point. Then, click again at another location to create a second anchor point connected by a straight line. Continue clicking to add more straight line segments.
Creating Curves
Creating curves involves manipulating the handles that extend from the anchor points. Click and drag with the pen tool to create an anchor point with handles. The direction and length of the handles determine the shape of the curve.
Advanced Pen Tool Techniques: Adding, Deleting, and Converting Anchor Points
Once you have a basic understanding of paths, anchor points, and handles, you can start exploring more advanced techniques. These include adding and deleting anchor points, converting anchor points from smooth to corner points, and adjusting the position and curvature of existing paths.
Adding and Deleting Anchor Points
You can add anchor points to an existing path by clicking on the path with the pen tool’s “Add Anchor Point Tool.” Conversely, the “Delete Anchor Point Tool” allows you to remove unwanted anchor points.
Converting Anchor Points
Converting anchor points between smooth and corner points allows for greater control over the shape of your path. A smooth point creates a continuous curve, while a corner point creates a sharp angle.
Practical Applications of the Pen Tool
The pen tool has a wide range of applications in Photoshop CS5. cara menggunakan magnetic tool pada photoshop provides similar functionality for quick selections. Here are a few examples:
- Creating Clipping Paths: Use the pen tool to create precise clipping paths for isolating objects and removing backgrounds.
- Designing Logos and Illustrations: The pen tool is ideal for creating vector-based logos and illustrations that can be scaled without loss of quality.
- Creating Shapes and Masks: You can use the pen tool to create custom shapes and masks for applying effects or making selections.
 Practical Applications of the Pen Tool
Conclusion: Mastering the Pen Tool for Precision and Control
Mastering the pen tool in Photoshop CS5 empowers you with the ability to create precise selections, paths, and shapes, opening up a world of creative possibilities. While it may take some practice to become completely comfortable with its functionalities, the rewards are well worth the effort. From creating intricate logos to isolating complex objects, the pen tool is an essential tool for any Photoshop user. cara menggunakan tool pada photoshop offers a broader overview of various tools, while this guide focuses specifically on the pen tool in CS5.
FAQ
- What is the difference between a path and a selection in Photoshop? A path is a vector-based outline, while a selection is raster-based.
- How do I convert a path to a selection? Right-click on the path in the Paths panel and select “Make Selection.”
- Can I edit a path after I’ve created it? Yes, you can use the Direct Selection Tool to modify anchor points and handles.
- How do I save a path? Save your work as a Photoshop (.psd) file to preserve your paths.
- What is the best way to practice using the pen tool? Start with simple shapes and gradually work your way up to more complex designs. cara menggunakan magic wand tool di ai offers a different approach to selection in Adobe Illustrator.
Have more questions? Check out cara menggunakan tool di photoshop and cara menggunakan designer tools for more helpful tips and tricks.
Need assistance? Contact us via WhatsApp: +1(641)206-8880, Email: [email protected] or visit us at 910 Cedar Lane, Chicago, IL 60605, USA. Our customer service team is available 24/7.

Leave a Reply