Working on car diagnostics often involves testing electrical circuits and components. A fused jumper wire is an essential tool for this, allowing you to safely bypass circuits and pinpoint electrical issues. While commercially available options exist, making your own fused jumper wires gives you control over wire gauge, fuse amperage, and overall length – tailoring the tool to your specific needs.
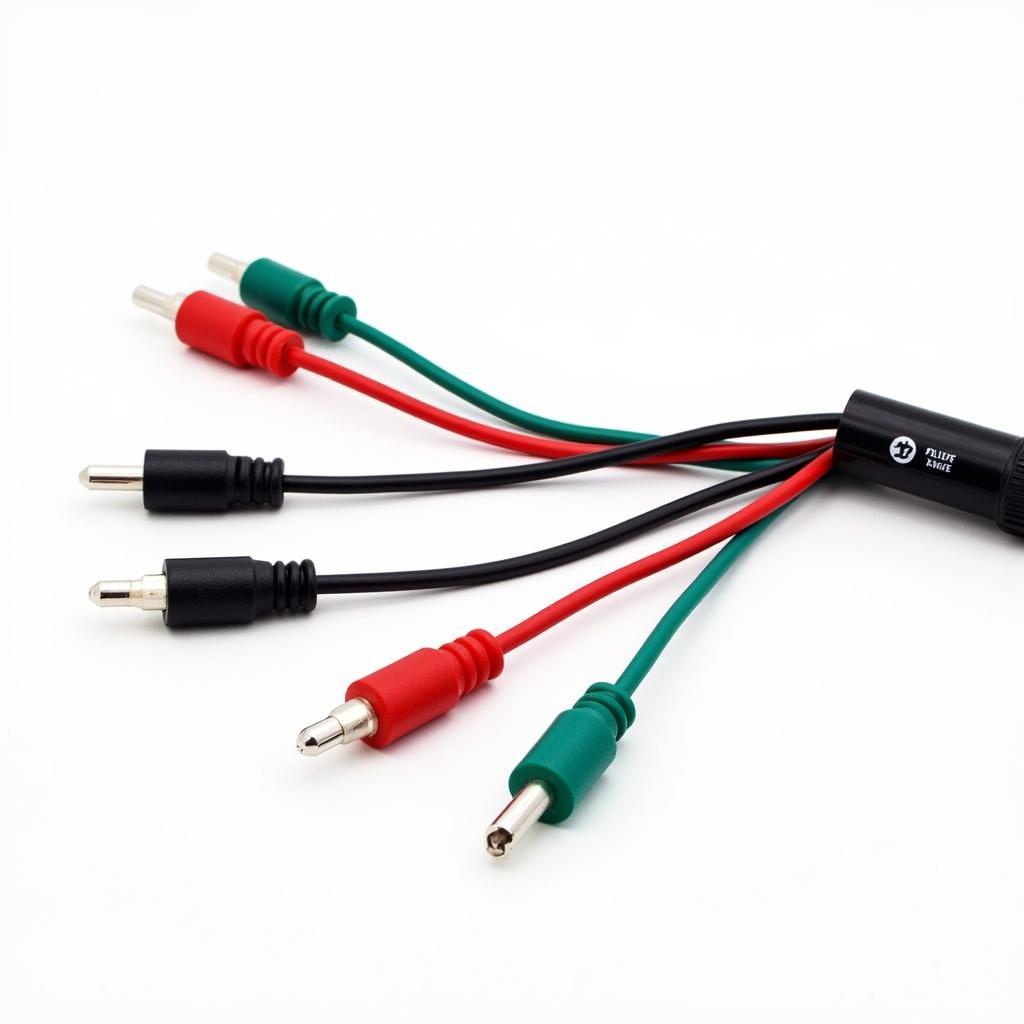
 Fused jumper wires for testing car electrical systems
Understanding Fused Jumper Wires
Before we delve into the how-to, let’s understand why fused jumper wires are crucial for car diagnostics. Unlike regular jumper wires, a fused version includes an inline fuse acting as a safety barrier. If a short circuit or overcurrent occurs during testing, the fuse blows, protecting both you and the vehicle’s delicate electronics from potential damage.
Gathering the Materials
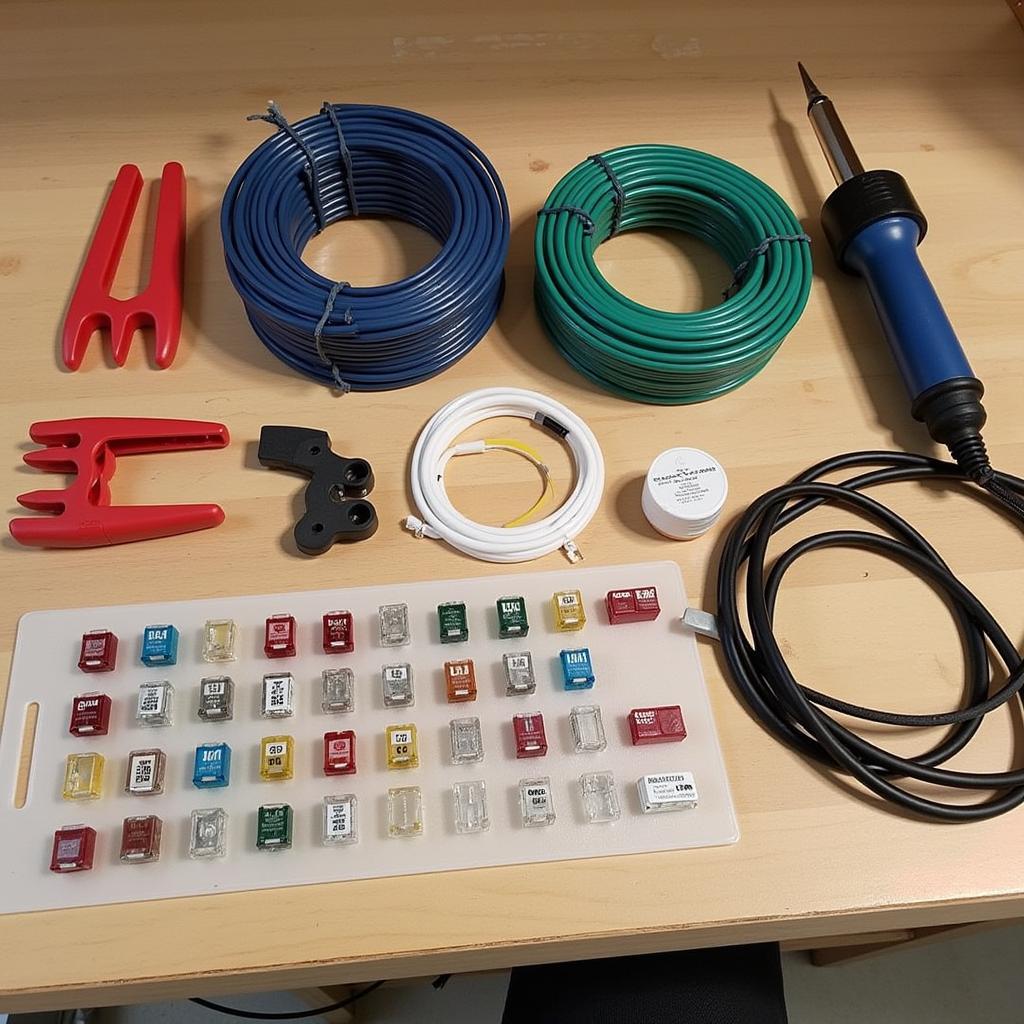
Creating your own fused jumper wires is a straightforward process requiring a few readily available components:
- Wire: Choose automotive-grade wire, ideally 16-gauge or 18-gauge, offering a good balance between current carrying capacity and flexibility. The length depends on your typical needs, but 12-18 inches is a good starting point.
- Alligator Clips: Select insulated alligator clips in various sizes for secure connections to battery terminals, fuses, and other components.
- Inline Fuse Holders: Opt for inline fuse holders compatible with standard automotive blade fuses.
- Fuses: Acquire an assortment of automotive blade fuses in different amperages, commonly ranging from 5A to 20A, to suit various circuit testing scenarios.
- Wire Strippers/Cutters: Essential for preparing the wires and cleanly removing insulation.
- Soldering Iron and Solder: While not mandatory, soldering the connections ensures optimal conductivity and durability.
- Heat Shrink Tubing: Provides insulation and strain relief for soldered connections, enhancing safety and longevity.
 Components needed for crafting DIY fused jumper wires
Constructing Your Fused Jumper Wires
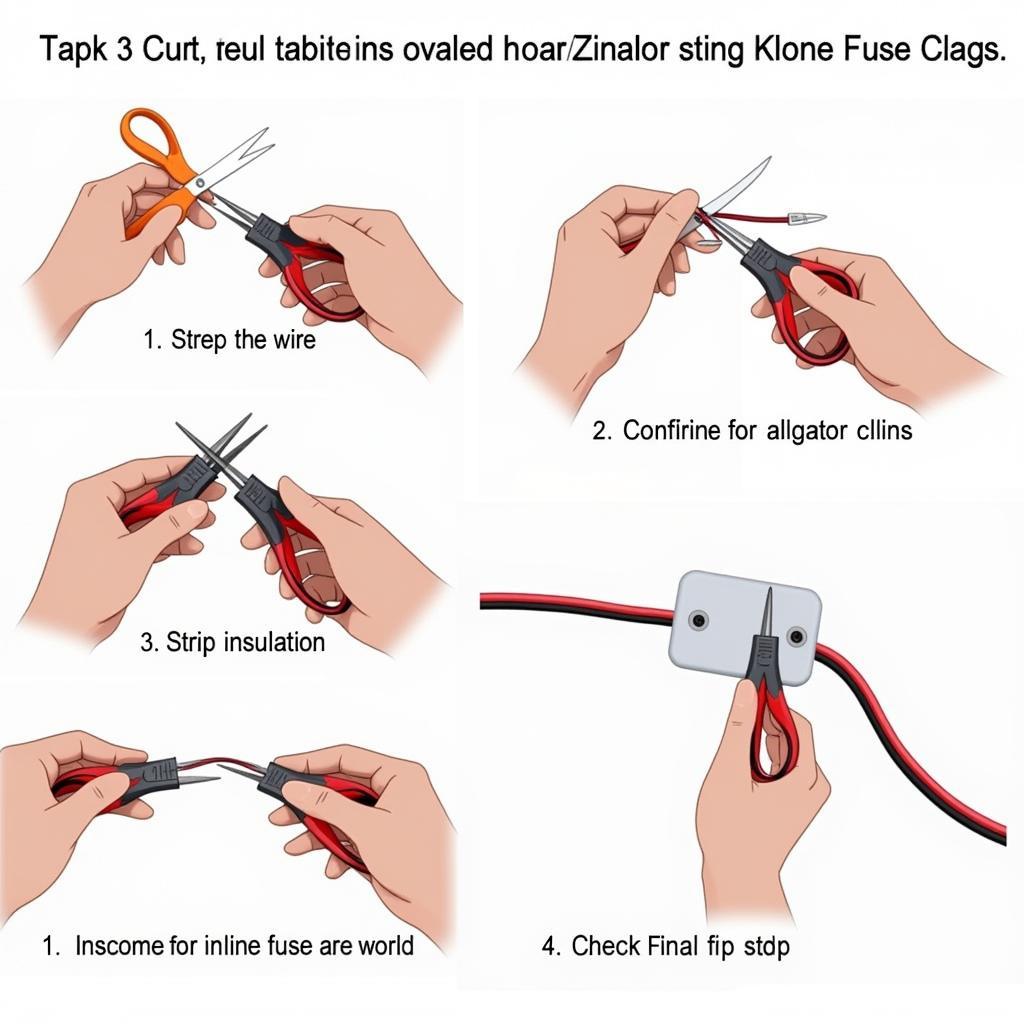
Follow these steps to assemble your own fused jumper wires:
- Cut the Wire: Measure and cut the wire to your preferred length, considering how much reach you’ll need during testing.
- Strip the Wire Ends: Using wire strippers, carefully strip approximately 1/2 inch of insulation from both ends of the wire, exposing the bare copper conductor.
- Attach Alligator Clips: Securely crimp or solder an alligator clip to one end of the stripped wire. If soldering, slide a piece of heat shrink tubing over the wire before soldering and then slide it over the soldered connection, applying heat to shrink it snugly for insulation. Repeat this process for the other end of the wire.
- Insert Fuse Holder: Cut the wire in half, ensuring you have enough length on either side to work with. Strip the insulation from the newly cut ends. Insert one end of the wire into the inline fuse holder and secure it according to the holder’s instructions (usually by crimping or screwing). Repeat for the other wire end on the opposite side of the fuse holder.
- Test the Connection: Before using your newly crafted fused jumper wire, test its continuity using a multimeter to ensure a solid connection throughout.
 Illustrated guide on how to make a fused jumper wire
Safety Precautions and Best Practices
While fused jumper wires offer a layer of protection, safety should always be paramount when working with car electrical systems:
- Disconnect the Battery: Before connecting any jumper wire, always disconnect the vehicle’s negative battery terminal to prevent accidental shorts or electrical shocks.
- Choose the Right Fuse: Always select a fuse amperage appropriate for the circuit you’re testing. Using a fuse with too high of an amperage can lead to component damage in case of a fault.
- Inspect Regularly: Periodically inspect your fused jumper wires for signs of wear and tear, such as frayed wires, loose connections, or damaged insulation. Replace any compromised components immediately.
- Store Properly: Store your fused jumper wires in a clean, dry place to prevent corrosion and ensure they remain in optimal condition.
Conclusion
Creating your own fused jumper wires for car diagnostics is a cost-effective and practical way to equip yourself with customized tools tailored to your specific needs. By following the outlined steps and prioritizing safety, you can confidently tackle electrical troubleshooting tasks knowing you have a reliable and safe tool at your disposal.

Leave a Reply