A car diagnostic machine is an essential tool for any mechanic or car enthusiast. It allows you to communicate with your car’s computer, read and clear fault codes, and access a wealth of data about your vehicle’s performance. But with so many different types of diagnostic machines on the market, it can be overwhelming to know where to start.
This comprehensive guide will walk you through how to use a diagnostic machine on your car, from choosing the right scanner to interpreting the results.
Choosing the Right Car Diagnostic Machine
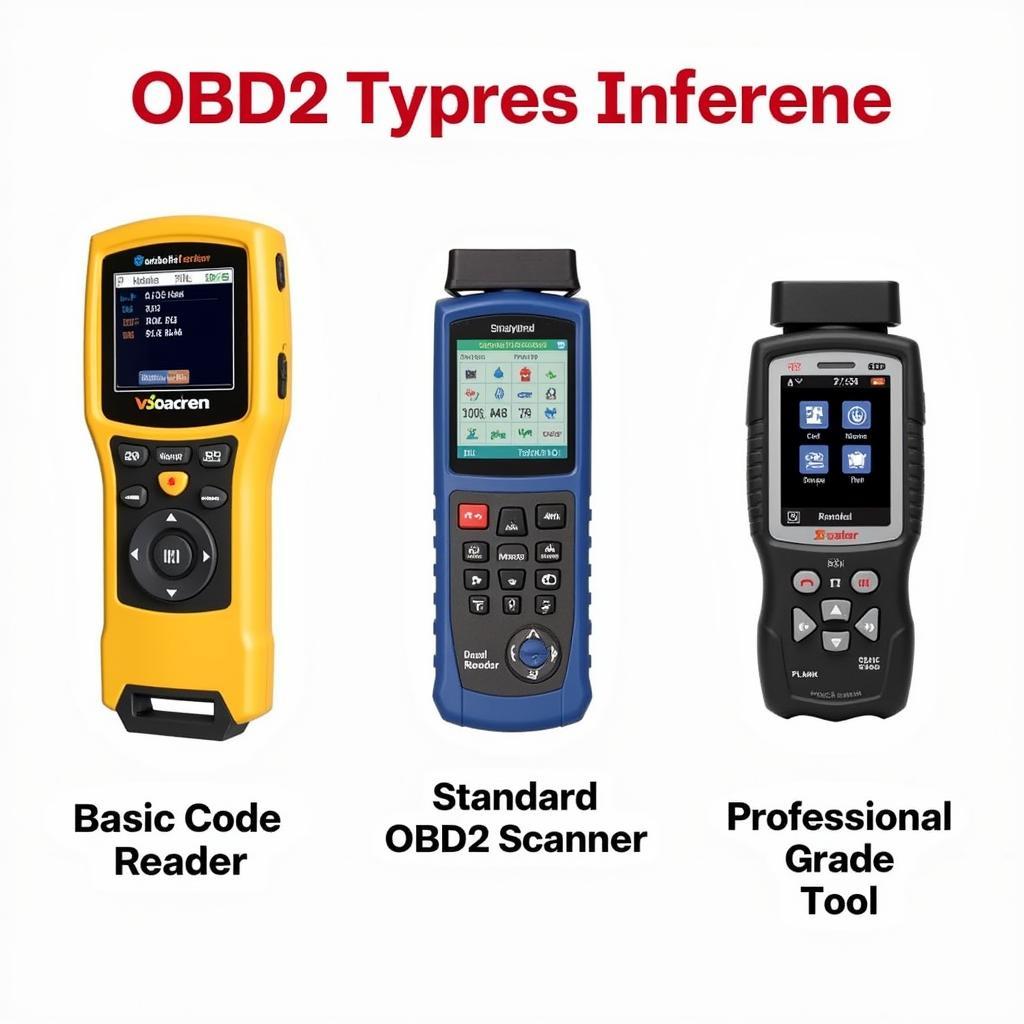
The first step is to choose the right diagnostic machine for your needs. There are three main types of car diagnostic scanners:
- Code Readers: These are the most basic type of scanner and can only read and clear basic fault codes. They are relatively inexpensive and suitable for DIYers who want to do some basic troubleshooting.
- OBD2 Scanners: These scanners are more advanced than code readers and can provide more detailed information about your car’s systems. They can also be used to perform some basic tests, such as reading live data streams. OBD2 scanners are a good option for home mechanics who want to do more in-depth diagnostics.
- Professional Diagnostic Scanners: These are the most sophisticated type of scanner and are typically used by professional mechanics. They offer a wide range of features, including the ability to access all of your car’s systems, program modules, and perform advanced diagnostics.
Once you’ve chosen the right scanner, you’ll need to locate your car’s OBD2 port. This is typically located under the dashboard on the driver’s side.
Connecting the Diagnostic Machine to Your Car
Connecting your diagnostic machine to your car is a straightforward process. Follow these simple steps:
- Locate the OBD2 port.
- Turn the ignition off.
- Plug the diagnostic machine into the OBD2 port.
- Turn the ignition on, but do not start the engine.
- The diagnostic machine should power on and connect to your car’s computer.
Reading and Understanding Fault Codes
Once the diagnostic machine is connected, you can start reading fault codes. Fault codes are alphanumeric codes that indicate a specific problem with your car. To read fault codes:
- Select “Read Codes” or a similar option on the scanner.
- The scanner will display a list of fault codes.
- Note down the codes and their definitions. You can usually find the definition of a fault code in the scanner’s manual or by searching online.
“Understanding the context behind a fault code is just as important as reading it,” says John Smith, Senior Automotive Engineer at Acme Auto Tech. “A single code could have multiple causes, so further investigation is often necessary.”
Clearing Fault Codes
Once you have addressed the problem that triggered the fault code, you can clear it using the diagnostic machine.
- Select “Clear Codes” or a similar option.
- The scanner will clear the fault codes from your car’s computer.
It’s important to note that clearing fault codes will also clear any data associated with them, so it’s a good idea to make a note of the codes and their definitions before clearing them.
Viewing Live Data Streams
Most OBD2 and professional diagnostic scanners allow you to view live data streams from your car’s sensors. This can be useful for monitoring engine performance, transmission temperatures, and other parameters in real-time.
- Select “Live Data” or a similar option on the scanner.
- The scanner will display a list of parameters that you can monitor.
Performing Advanced Diagnostics
Professional diagnostic scanners offer a wide range of advanced diagnostic features, such as:
- Actuator Tests: These tests allow you to activate components like solenoids, relays, and motors to verify their operation.
- Module Programming: This allows you to update the software in your car’s modules, which can be necessary to fix certain problems or add new features.
- Advanced Coding: This allows you to change the configuration settings of your car’s modules.
These features are complex and should only be used by trained professionals.
Conclusion
Using a diagnostic machine on your car can seem daunting at first, but it is a straightforward process once you understand the basics. By following the steps outlined in this guide, you can use a diagnostic machine to read and clear fault codes, view live data streams, and perform other essential diagnostic tasks. However, for advanced diagnostics or if you’re uncomfortable working on your own vehicle, it’s always best to consult a qualified mechanic.
For more information on car diagnostics and other automotive topics, browse our website.
- Learn more about how to use a car diagnostic machine.
- Find out who does car diagnostic tests.
We’re here to help you keep your car running smoothly. If you need assistance, don’t hesitate to contact our 24/7 support team via WhatsApp: +1(641)206-8880 or Email: [email protected].

