Removing molding from a car can seem daunting, especially if you’re worried about damaging the paint or the molding itself. But with the right tools and techniques, it’s a manageable task that even a DIYer can tackle. This guide will walk you through the process of removing molding from your car, covering everything from the essential tools to advanced techniques for tricky situations.
Why Would You Need to Remove Car Molding?
Car molding serves both aesthetic and protective purposes. It can add stylish accents, cover gaps between panels, and protect your car from minor dings and scratches. However, there are several reasons why you might need to remove it:
- Repairing or replacing damaged molding: Molding can become cracked, faded, or otherwise damaged over time.
- Accessing areas behind the molding: You might need to access areas behind the molding for repairs or modifications, such as installing new wiring or soundproofing.
- Repainting your car: Removing the molding ensures a smooth, even paint job.
- Upgrading to new molding: You might simply want to update the look of your car with new, more stylish molding.
Essential Tools for Removing Car Molding
Having the right tools is crucial for removing molding without causing damage. Here’s a list of essential tools:
- Plastic pry tools: These tools are designed to gently lift and separate the molding from the car body without scratching the paint. A variety of shapes and sizes are available to accommodate different molding profiles.
- Heat gun or hairdryer: Applying heat softens the adhesive holding the molding in place, making it easier to remove.
- Adhesive remover: This helps dissolve any remaining adhesive residue after the molding is removed.
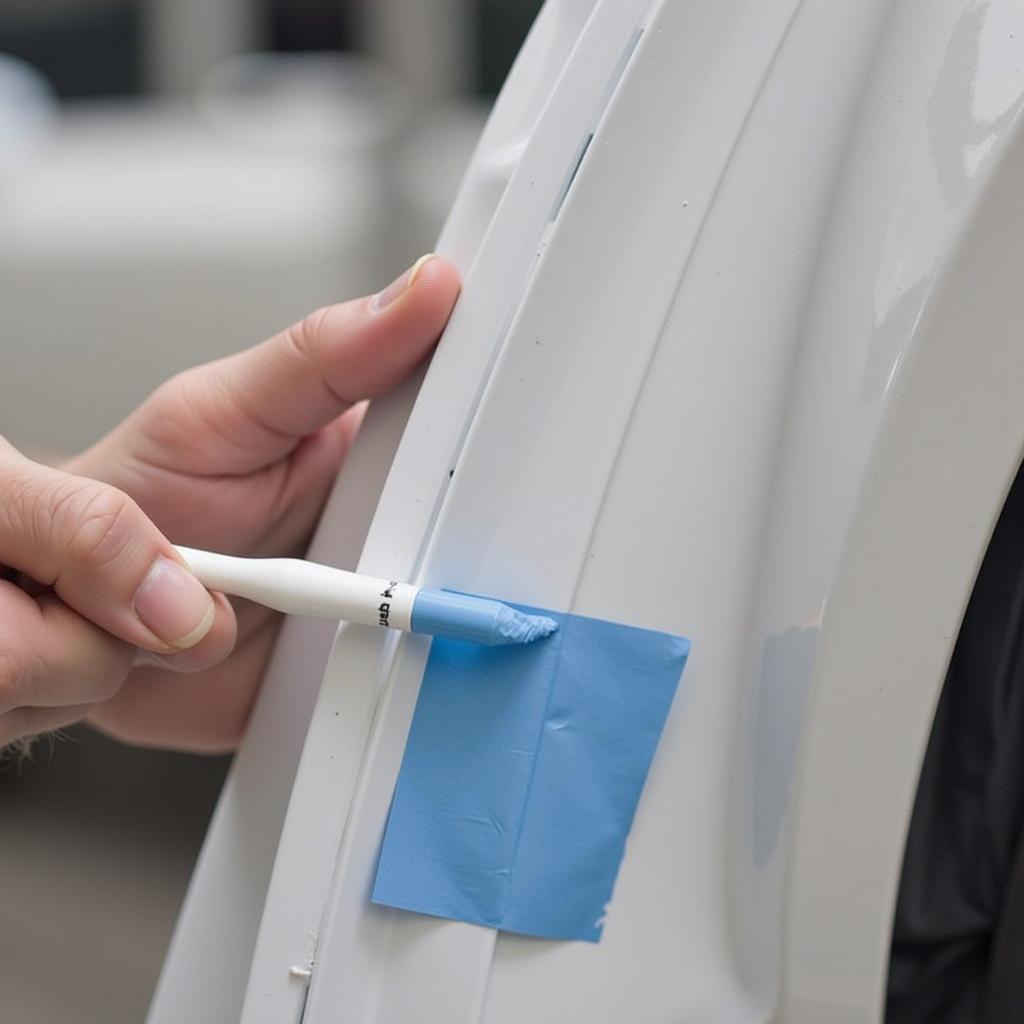
- Masking tape: Protects the surrounding paintwork from scratches during the removal process.
- Microfiber cloths: Used for cleaning the area after the molding is removed.
Step-by-Step Guide to Removing Car Molding
- Prepare the area: Clean the area around the molding with soap and water to remove any dirt or debris. Apply masking tape to the surrounding paintwork to protect it from scratches.
- Apply heat: Use a heat gun or hairdryer to gently heat the molding. Keep the heat source moving to avoid overheating and damaging the paint or the molding.
- Insert a pry tool: Carefully insert a plastic pry tool under the edge of the molding. Start at a corner or a less visible area.
- Gently pry the molding away: Slowly and steadily pry the molding away from the car body. Work your way along the length of the molding, inserting additional pry tools as needed to prevent it from snapping back into place.
- Remove any remaining adhesive: After the molding is removed, use an adhesive remover to dissolve any remaining adhesive residue. Follow the manufacturer’s instructions for the specific product you’re using.
- Clean the area: Clean the area with a microfiber cloth to remove any remaining adhesive remover and residue.
Dealing with Stubborn Molding
Sometimes, molding can be particularly difficult to remove. Here are some tips for dealing with stubborn molding:
- Apply more heat: If the molding is still difficult to remove, try applying more heat. Be careful not to overheat the paint or the molding.
- Use a thinner pry tool: A thinner pry tool might be able to reach under the molding more effectively.
- Try a different adhesive remover: Different adhesive removers work better on different types of adhesive.
- Seek professional help: If you’re still having trouble, it might be best to seek professional help from a qualified auto body technician.
“Patience is key when removing car molding. Taking your time and using the right techniques will help prevent damage and ensure a clean removal.” – John Smith, Certified Automotive Technician
Advanced Techniques for Removing Molding
For particularly delicate or complex molding, consider these advanced techniques:
- Fishing line technique: Use fishing line to saw through the adhesive behind the molding. This is especially helpful for removing molding that is bonded with double-sided tape.
- Specialized molding removal tools: There are specialized tools available for removing specific types of molding, such as clip removers for molding held in place by clips.
Conclusion
Removing molding from your car doesn’t have to be a stressful experience. With the right tools, techniques, and a little patience, you can successfully remove molding without damaging your car. Remember to always prioritize safety and take your time. If you encounter any difficulties, don’t hesitate to seek professional assistance. Removing molding from your car can be the first step towards a successful repair, upgrade, or a fresh new look.
“Using the correct tools and techniques is vital for preventing damage to the car’s paintwork during molding removal.” – Jane Doe, Automotive Paint Specialist
FAQ
- What type of pry tool is best for removing car molding? Plastic pry tools are generally recommended as they are less likely to scratch the paintwork compared to metal tools.
- Can I reuse the molding after removing it? It depends on the type of molding and how it was removed. If the molding is not damaged and the adhesive is still intact, it might be possible to reuse it.
- What should I do if I accidentally damage the paint while removing molding? Minor scratches can often be buffed out with polishing compound. For more significant damage, you might need to touch up the paint.
- Is it necessary to use heat when removing molding? Heat helps soften the adhesive, making the removal process easier and reducing the risk of damage. However, it’s not always essential, especially for molding held in place by clips.
- How can I prevent the molding from breaking during removal? Applying heat and using the appropriate pry tools can help prevent the molding from breaking. Working slowly and steadily is also important.
- What is the best adhesive remover for car molding? Several effective adhesive removers are available on the market. Consult your local auto parts store for recommendations.
- Can I remove car molding myself, or should I hire a professional? Removing car molding is a task that many DIYers can handle. However, if you’re uncomfortable with the process or concerned about damaging your car, it’s best to hire a professional.
Need further assistance with your car diagnostic needs? Contact us via WhatsApp: +1(641)206-8880, Email: [email protected] or visit us at 910 Cedar Lane, Chicago, IL 60605, USA. We have a 24/7 customer support team ready to help. We also have articles on other car repair and maintenance topics on our website. Check out our resources on [link to relevant article 1] and [link to relevant article 2].


