One of the most important tools in any mechanic’s arsenal is a high-quality car diagnostic machine. And when it comes to diagnostic tools, Star Diagnostic machines are renowned for their comprehensive coverage, advanced features, and user-friendly interface. But even with the best equipment, knowing how to properly connect a Star Diagnostic machine to a car is crucial for accurate diagnostics. This guide will walk you through the process, ensuring you can effectively utilize this powerful tool.
Understanding the Star Diagnostic System
Before diving into the connection process, it’s helpful to understand what makes the Star Diagnostic system unique. Developed by Mercedes-Benz, Star Diagnostic tools offer dealer-level functionality, allowing mechanics to access a wealth of information about a vehicle’s systems, including:
- Engine Control Unit (ECU): Analyze engine performance, identify misfires, and diagnose fuel system issues.
- Transmission Control Module (TCM): Troubleshoot transmission problems, analyze shift patterns, and reset adaptations.
- Airbag Control Module (ACM): Diagnose airbag system faults, read crash data, and reset the system after deployment.
- Anti-lock Braking System (ABS): Identify problems with wheel speed sensors, ABS modules, and braking system components.
- Body Control Module (BCM): Troubleshoot issues related to lighting, power windows, central locking, and other body electrical systems.
This extensive access allows for highly accurate diagnostics, leading to efficient repairs and satisfied customers.
Connecting Your Star Diagnostic Machine: A Step-by-Step Guide
Connecting your Star Diagnostic machine to a car is a straightforward process, but following these steps carefully ensures a secure and reliable connection:
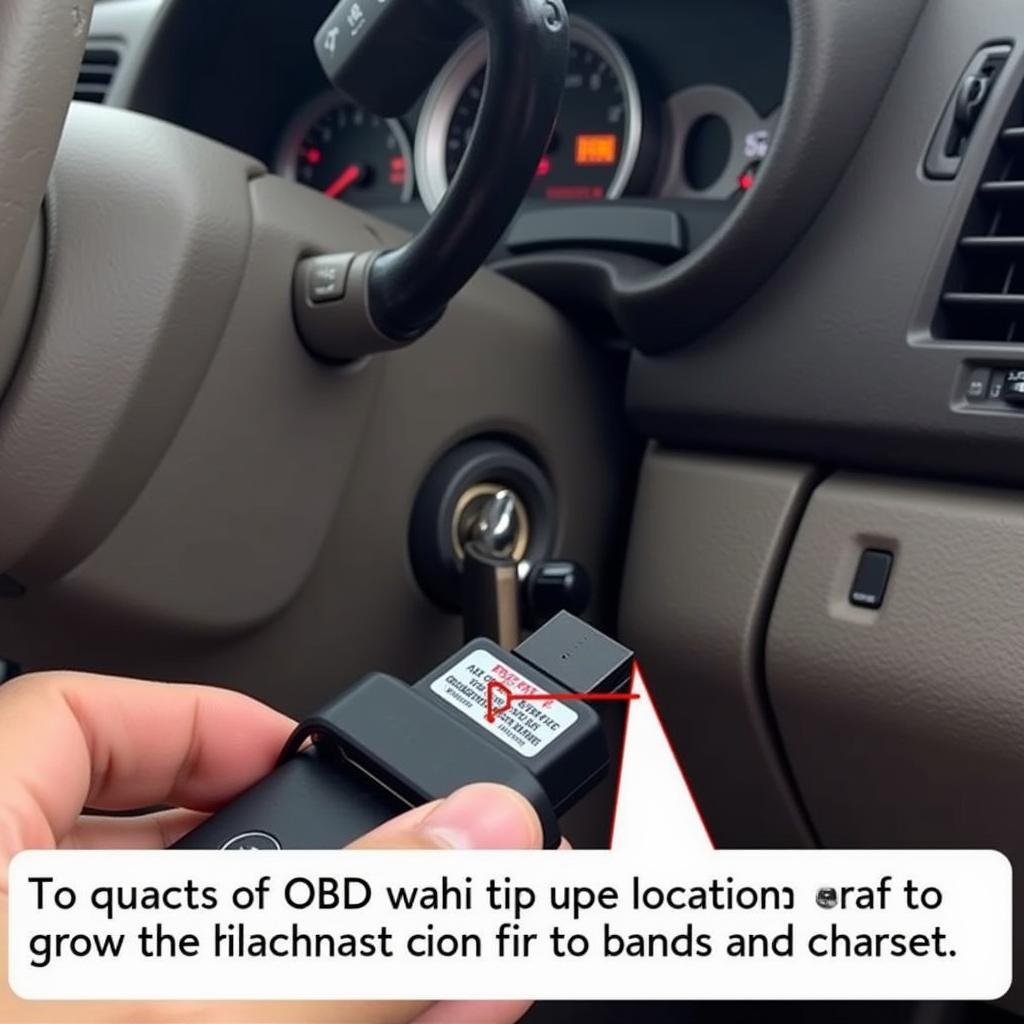
- Locate the OBD-II Port: The OBD-II port is typically located under the driver’s side dashboard, near the steering column.
 Star Diagnostic OBD2 Port Connection
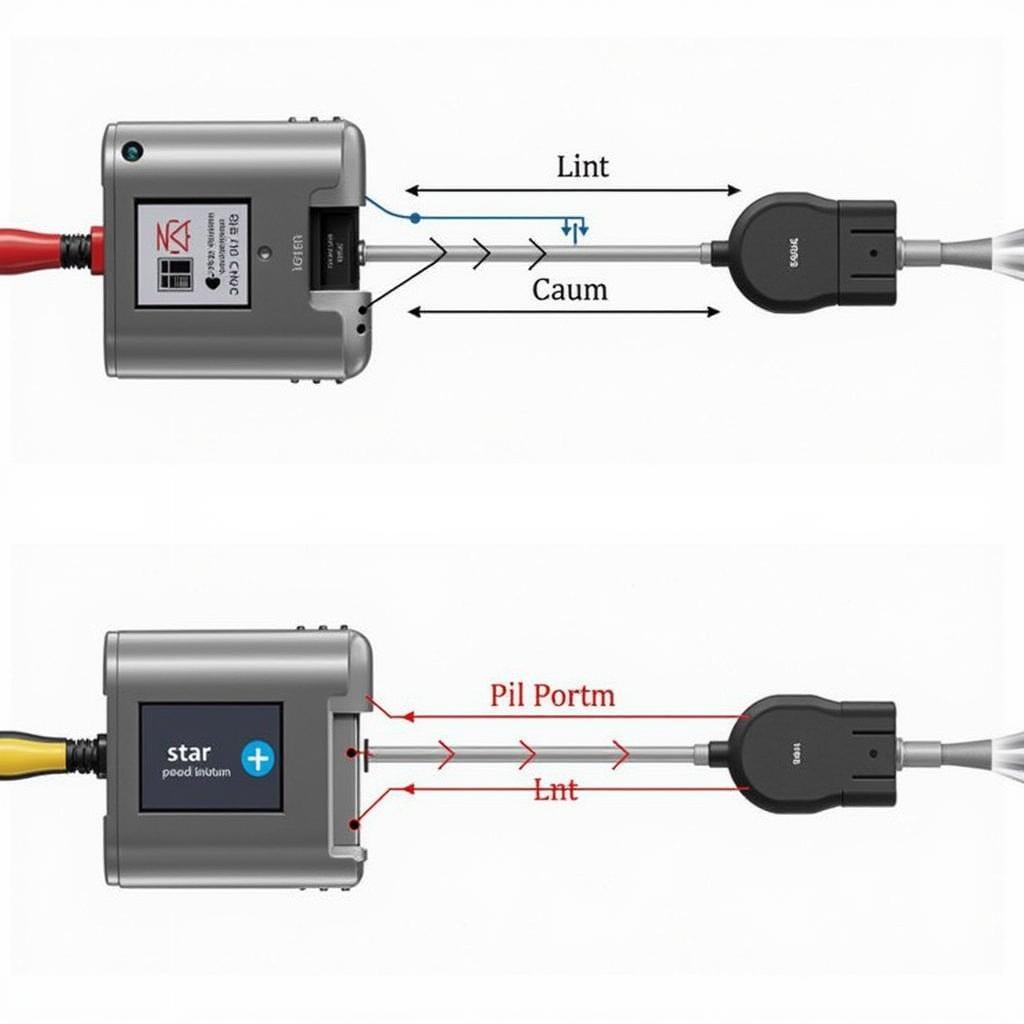
 - Connect the Diagnostic Cable: Connect one end of the Star Diagnostic cable to the OBD-II port and the other end to your diagnostic machine.
 Connecting Star Diagnostic Cable
 - Turn on the Ignition: Turn the ignition key to the “on” position without starting the engine. This powers up the car’s onboard computer systems.
- Initialize Communication: Power on your Star Diagnostic machine. It will automatically attempt to establish communication with the vehicle’s ECU.
- Select Vehicle Information: Once communication is established, you’ll need to input specific vehicle information, including the make, model, year, and engine type. This ensures the machine selects the correct software for accurate diagnostics.
Troubleshooting Connection Issues
While the connection process is generally seamless, you might encounter some issues. Here are some troubleshooting tips:
- Check Cable Connections: Ensure both ends of the diagnostic cable are securely connected to the OBD-II port and the machine.
- Verify OBD-II Port Functionality: Use a multimeter to test the power and ground pins on the OBD-II port to ensure it’s receiving power.
- Inspect the Diagnostic Cable: Examine the cable for any visible damage, such as cuts, frays, or bent pins. A damaged cable can disrupt communication.
- Update Software: Outdated software can sometimes lead to compatibility issues. Check for software updates for your Star Diagnostic machine and install them if available.
- Consult Manufacturer Documentation: If you’re unable to resolve the issue, refer to the manufacturer’s documentation for your specific Star Diagnostic model for detailed troubleshooting instructions.
Maximizing Your Diagnostic Capabilities
Connecting your Star Diagnostic machine is just the first step. To fully utilize its capabilities, consider these tips:
- Familiarize Yourself with the Interface: Spend time exploring the various menus, functions, and diagnostic options available within the Star Diagnostic software.
- Utilize Online Resources: Numerous online forums, tutorials, and videos offer valuable insights and guidance on using Star Diagnostic machines effectively.
- Seek Professional Training: For in-depth knowledge and hands-on experience, consider enrolling in a professional training course focused on Star Diagnostic systems.
Conclusion
Mastering the connection process for your Star Diagnostic machine opens up a world of diagnostic possibilities, empowering you to quickly and accurately identify and resolve even the most complex car problems. By following these steps and utilizing the resources available, you can confidently wield this powerful tool, elevating your diagnostic skills and providing top-notch service to your customers.
FAQ
1. Can I use a Star Diagnostic machine on any car model?
While Star Diagnostic machines are primarily designed for Mercedes-Benz vehicles, certain models offer multi-brand compatibility, allowing you to diagnose a wider range of car makes and models.
2. What information do I need to connect to a car?
To establish a connection, you’ll typically need the vehicle’s make, model, year, and engine type.
3. Can I update the software on my Star Diagnostic machine?
Yes, software updates are often released to improve functionality, add new features, and address compatibility issues.
4. What should I do if I can’t establish a connection?
Start by checking the cable connections, verifying OBD-II port functionality, and inspecting the diagnostic cable for any damage.
5. Where can I find additional support and resources?
Online forums, tutorials, manufacturer documentation, and professional training courses are valuable resources for troubleshooting, tips, and in-depth knowledge.
delphi ds150e car diagnostic tool download
Common Scenarios & Questions:
Scenario 1: A customer brings in a Mercedes-Benz C-Class with an engine warning light on.
Question: How can I use the Star Diagnostic machine to pinpoint the cause of the warning light?
Answer: Connect the machine, access the Engine Control Unit (ECU), and read the stored fault codes. Analyze the codes and related live data to identify the root cause, whether it’s a faulty sensor, misfire, or another issue.
Scenario 2: A mechanic needs to diagnose a problem with the transmission of a Mercedes-Benz E-Class.
Question: Can the Star Diagnostic machine provide insights into the transmission’s performance?
Answer: Yes, by accessing the Transmission Control Module (TCM), you can view live data, analyze shift patterns, and identify potential problems like slipping clutches or faulty solenoids.
Scenario 3: After replacing an airbag module, a technician needs to reset the airbag system.
Question: Can the Star Diagnostic machine be used to reset the airbag system after a repair?
Answer: Absolutely! The machine allows you to access the Airbag Control Module (ACM), clear fault codes, and reset the system, ensuring it functions correctly after the repair.
Need further assistance? Contact us via WhatsApp: +1(641)206-8880, or Email: [email protected]. Our dedicated support team is available 24/7 to help you with any questions or concerns.

Leave a Reply