Building a mousetrap car is a classic science project that teaches valuable lessons about physics and engineering. Choosing the right tools to make a mousetrap car can significantly impact its performance and your overall building experience. This guide will walk you through the essential tools, offering insights and recommendations for crafting a winning mousetrap car.
Gathering Your Mousetrap Car Building Arsenal
Creating a successful mousetrap car involves more than just a mousetrap. You’ll need a selection of tools to shape, assemble, and fine-tune your vehicle. Let’s explore the must-have tools to make a mousetrap car that stands out from the competition.
Essential Tools for Construction
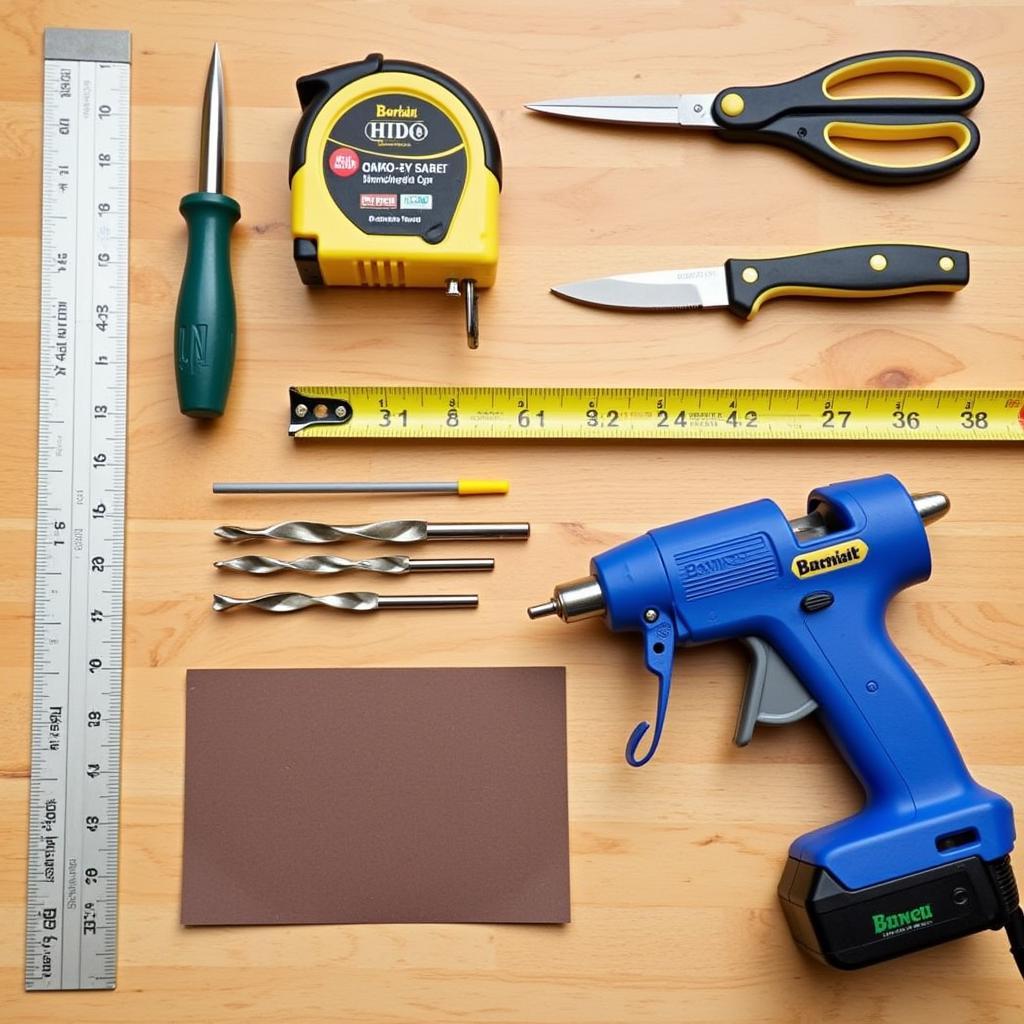
- Ruler/Tape Measure: Precise measurements are crucial for a well-functioning mousetrap car. A ruler or tape measure helps ensure accurate cuts and alignments.
- Scissors/Utility Knife: Cutting materials like cardboard, wood, or plastic requires sharp cutting tools. Scissors are suitable for thinner materials, while a utility knife is ideal for thicker or more rigid components.
- Hot Glue Gun/Adhesive: Securing the different parts of your mousetrap car requires a strong adhesive. A hot glue gun offers quick and efficient bonding, but other adhesives like epoxy or super glue can also be used.
- Drill and Drill Bits (Optional): If you’re working with harder materials like wood or metal, a drill with various sized drill bits will be necessary for creating holes and attaching components.
- Sandpaper: Smoothing rough edges and ensuring a streamlined design requires sandpaper. Different grits offer varying levels of smoothing power.
Tools for Enhanced Performance
Beyond the basic tools, consider these additional tools to make a mousetrap car that truly performs:
- Wheel and Axle Kit: Specialized wheel and axle kits are designed for mousetrap cars and can significantly improve efficiency and reduce friction.
- Lightweight Materials: Balsa wood or thin plastic sheets offer lightweight construction, minimizing the weight your mousetrap has to pull.
- String/Fishing Line: Strong, lightweight string or fishing line is essential for connecting the mousetrap’s lever arm to the car’s axle, transferring the energy for propulsion.
- Pliers: Pliers can be handy for bending wires, holding small parts, and making precise adjustments.
Which Materials to Use for Your Mousetrap Car?
Choosing the right materials can make or break your mousetrap car’s performance. Lightweight yet durable materials are key. Consider the following:
- Chassis: The chassis forms the base of your car. Cardboard, balsa wood, or foam board are popular choices due to their lightweight nature and ease of modification.
- Wheels: Lightweight wheels with minimal friction are crucial. Pre-made wheels from a kit are often the best option, but you can also create your own using CDs or other lightweight materials.
- Axles: Smooth, low-friction axles are essential. Metal rods or skewers can work well, and you can reduce friction further by using lubricants.
- Lever Arm: A sturdy yet lightweight lever arm is crucial for transferring the mousetrap’s energy to the axle. Balsa wood, thin plastic, or even sturdy cardboard can be effective choices.
Expert Insights on Material Selection
Dr. Emily Carter, a mechanical engineer specializing in vehicle dynamics, emphasizes the importance of material selection: “Choosing lightweight materials is critical for maximizing the distance your mousetrap car travels. The less mass the mousetrap has to pull, the further it will go.”
Putting it All Together: Assembling Your Mousetrap Car
With your tools and materials gathered, it’s time to assemble your mousetrap car. Follow these general steps, adapting them to your specific design:
- Build the Chassis: Cut and shape the chassis material to your desired design. Ensure it’s sturdy enough to support the other components.
- Attach the Wheels and Axles: Securely attach the wheels to the axles, ensuring they rotate freely with minimal friction.
- Mount the Mousetrap: Securely mount the mousetrap to the chassis, positioning it strategically for optimal energy transfer.
- Connect the Lever Arm: Attach the string or fishing line to the mousetrap’s lever arm and wind it around the axle. This connection will propel the car forward.
Conclusion: Building Your Winning Mousetrap Car
Choosing the right tools to make a mousetrap car is crucial for success. From basic cutting tools to specialized wheel and axle kits, each tool plays a vital role in crafting a high-performing vehicle. By carefully selecting your tools and materials, and following the assembly steps, you’ll be well on your way to building a mousetrap car that goes the distance.
FAQ
- What is the best material for a mousetrap car chassis? Lightweight and sturdy materials like balsa wood or cardboard are ideal.
- What kind of string should I use? Strong, lightweight string or fishing line works best.
- How can I reduce friction in my mousetrap car? Use smooth axles, lubricate moving parts, and choose lightweight wheels.
- Where can I find mousetrap car kits? Educational toy stores or online retailers often carry mousetrap car kits.
- What is the most important factor in mousetrap car performance? Minimizing friction and weight are key for maximizing distance.
- Can I use glue other than hot glue? Yes, other strong adhesives like epoxy or super glue can be used.
- What tools are absolutely necessary for building a mousetrap car? A ruler, cutting tool, and adhesive are the bare minimum.
For any further assistance, please contact us via WhatsApp: +1(641)206-8880, Email: [email protected] or visit our workshop at 910 Cedar Lane, Chicago, IL 60605, USA. We have a 24/7 customer support team ready to assist you.

