Understanding where to connect your car diagnostic tool reader is the first step towards unlocking a wealth of information about your vehicle’s health. This seemingly simple task can sometimes feel daunting for first-time users, especially with the variety of connectors and vehicle models available. Fear not, for this comprehensive guide will demystify the process and equip you with the knowledge to confidently connect your diagnostic tool.
Locating Your Vehicle’s OBD-II Port
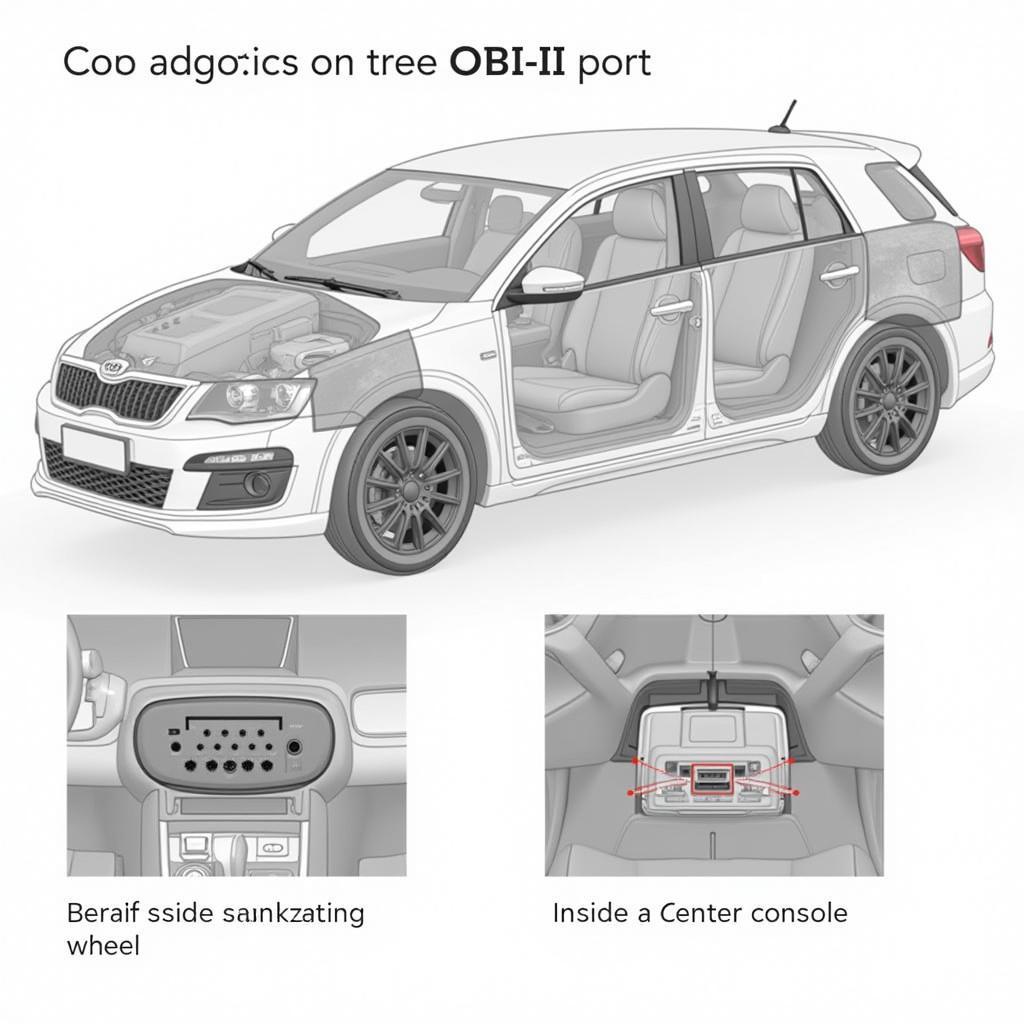
The OBD-II port, short for On-Board Diagnostics, is the gateway to your vehicle’s internal computer and the destination for your diagnostic tool reader. Almost all vehicles manufactured after 1996 come equipped with this standardized port. This universal connector ensures compatibility across a wide range of diagnostic tools and simplifies the process for car owners and mechanics alike.
 Common OBD-II Port Locations
While the OBD-II port’s shape and pin configuration are standardized, its location can vary depending on the car manufacturer and model.
Here are some common locations where you can find the OBD-II port:
- Under the dashboard on the driver’s side.
- Near the steering column below the dashboard.
- Inside the center console, often beneath a removable panel.
- Behind the ashtray or cigarette lighter.
If you are having trouble locating the OBD-II port, consult your vehicle’s owner’s manual. The manual will often have a diagram indicating the port’s location.
Understanding Your Car Diagnostic Tool Reader
 Car Diagnostic Tool Options
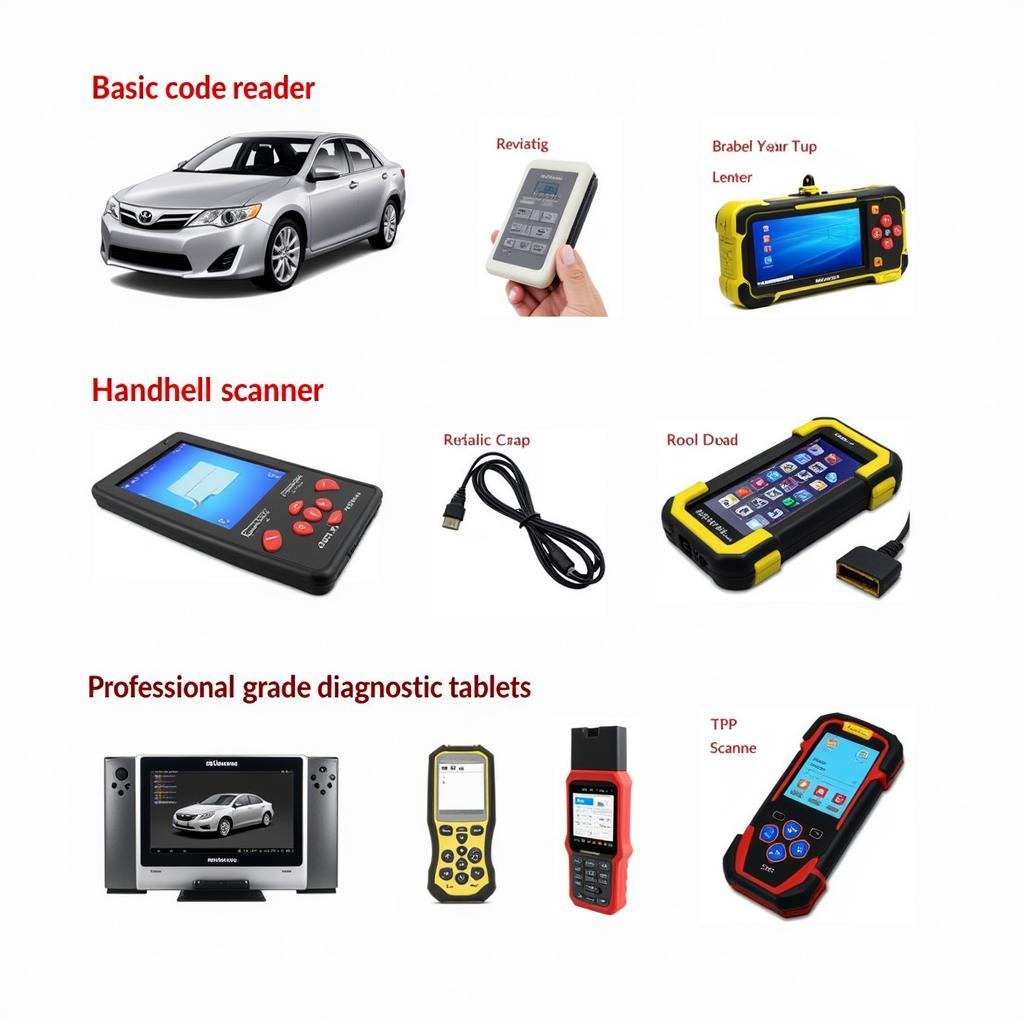
Car diagnostic tool readers come in various shapes and sizes, ranging from basic code readers to advanced professional scanners. Regardless of the complexity, they all connect to the OBD-II port.
Basic Code Readers: These entry-level devices primarily read and clear diagnostic trouble codes (DTCs). What does a diagnostic test on a car tell you? They are generally budget-friendly and suitable for DIY enthusiasts seeking basic diagnostic information.
Handheld Scanners: Offering more advanced features than code readers, handheld scanners provide live data streams, sensor readings, and additional diagnostic capabilities. These tools are ideal for car enthusiasts and DIYers who want a deeper understanding of their vehicle’s performance.
Professional-Grade Scanners: Used by mechanics and professional technicians, these high-end tools offer the most comprehensive diagnostic capabilities. They can access all vehicle systems, perform advanced functions like programming and coding, and provide detailed diagnostic reports. What is a car diagnostic scanner used for?
Connecting Your Diagnostic Tool Reader: A Step-by-Step Guide
Once you have located your vehicle’s OBD-II port and have your diagnostic tool reader in hand, follow these steps to establish a connection:
- Ensure your vehicle’s ignition is switched off. This will protect both your car and the diagnostic tool from potential electrical issues.
- Insert the diagnostic tool reader’s connector into the OBD-II port. The connector should fit snugly and securely. You will often hear a click when the connection is established.
- Turn on your vehicle’s ignition to the “on” or “accessory” position. This will power up the diagnostic tool reader without starting the engine.
- Turn on your diagnostic tool reader and follow the on-screen instructions. Each tool will have its own interface and menu system. However, most will prompt you to select your vehicle’s make, model, and year. How car diagnostics work is a complex process, but the tools simplify the interaction for the user.
- Establish communication between the diagnostic tool reader and your vehicle. The tool will communicate with your car’s computer to retrieve diagnostic information.
“Connecting your car diagnostic tool reader doesn’t have to be intimidating,” says automotive expert Jane Doe, ASE Certified Master Technician. “With a little understanding of your vehicle and the tool itself, you can easily unlock a wealth of information about your car’s performance.”
Troubleshooting Connection Issues
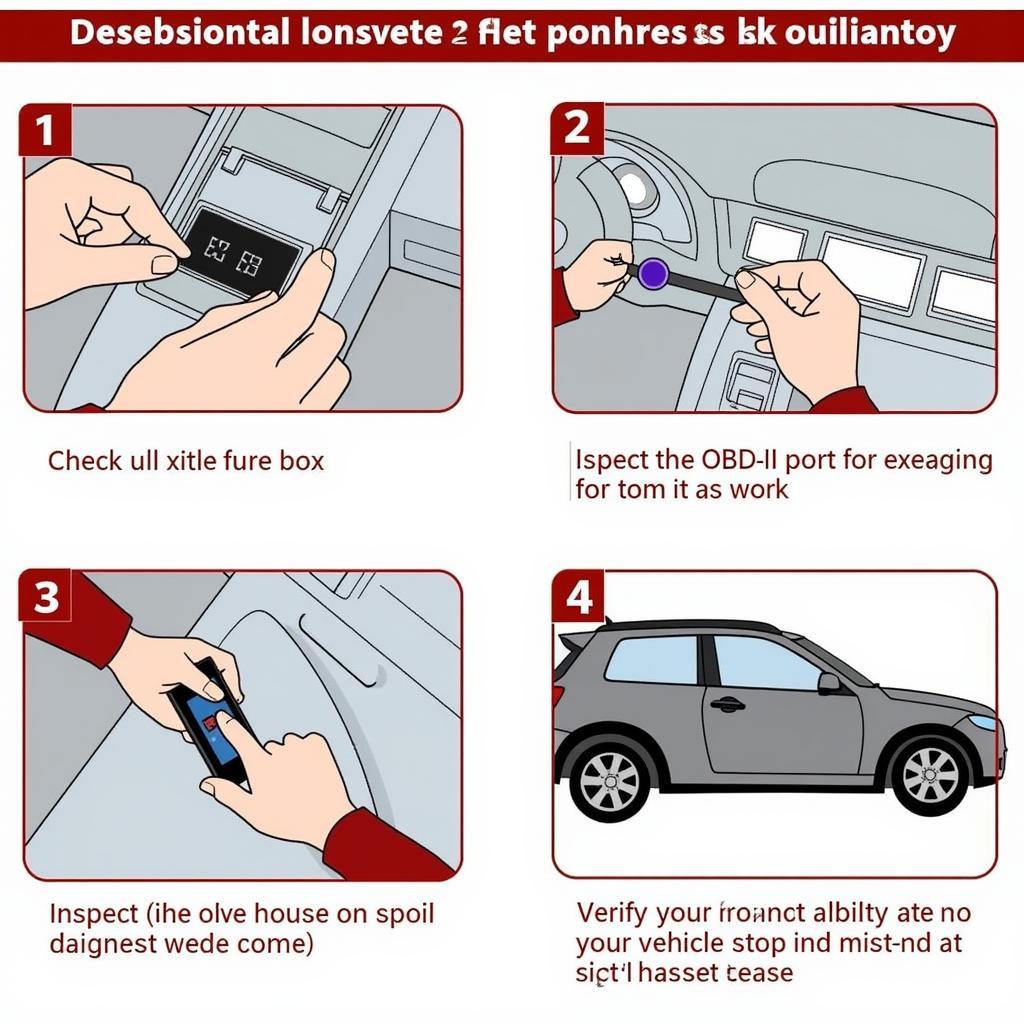
While connecting your diagnostic tool reader is typically straightforward, you may encounter occasional issues. Here are some common problems and their solutions:
- Loose Connection: Ensure the connector is firmly seated in the OBD-II port.
- Dead Battery: Verify that your vehicle’s battery has sufficient charge. A low battery can disrupt communication between the tool and the car.
- Blown Fuse: Check the fuse related to the OBD-II port in your vehicle’s fuse box.
- Compatibility Issues: Ensure your diagnostic tool reader is compatible with your vehicle’s make, model, and year.
 Troubleshooting Diagnostic Tool Connection Issues
If you have tried these troubleshooting steps and are still unable to establish a connection, consult your vehicle’s owner’s manual or contact the diagnostic tool reader’s manufacturer for further assistance.
Conclusion
Connecting your car diagnostic tool reader is a simple yet crucial step towards understanding your vehicle’s health and performance. With the information provided in this guide, you can confidently connect your tool and unlock valuable insights into your car’s inner workings. Remember, being able to connect your diagnostic tool empowers you to take control of your vehicle’s maintenance, troubleshoot issues, and ensure a smooth and enjoyable driving experience. [What is the best value diagnostic tool for cars?](https://diagfixpro.com/what-is-the best-value-diagnostic-tool-for-cars/) That answer can vary, but understanding the basics will help you make an informed decision.
Need more help with your car diagnostic tool reader? Contact our team of experts via WhatsApp: +1(641)206-8880, Email: [email protected]. We are available 24/7 to assist you.

Leave a Reply